
How to Use a 3D Printer: A Beginner-Friendly Workflow
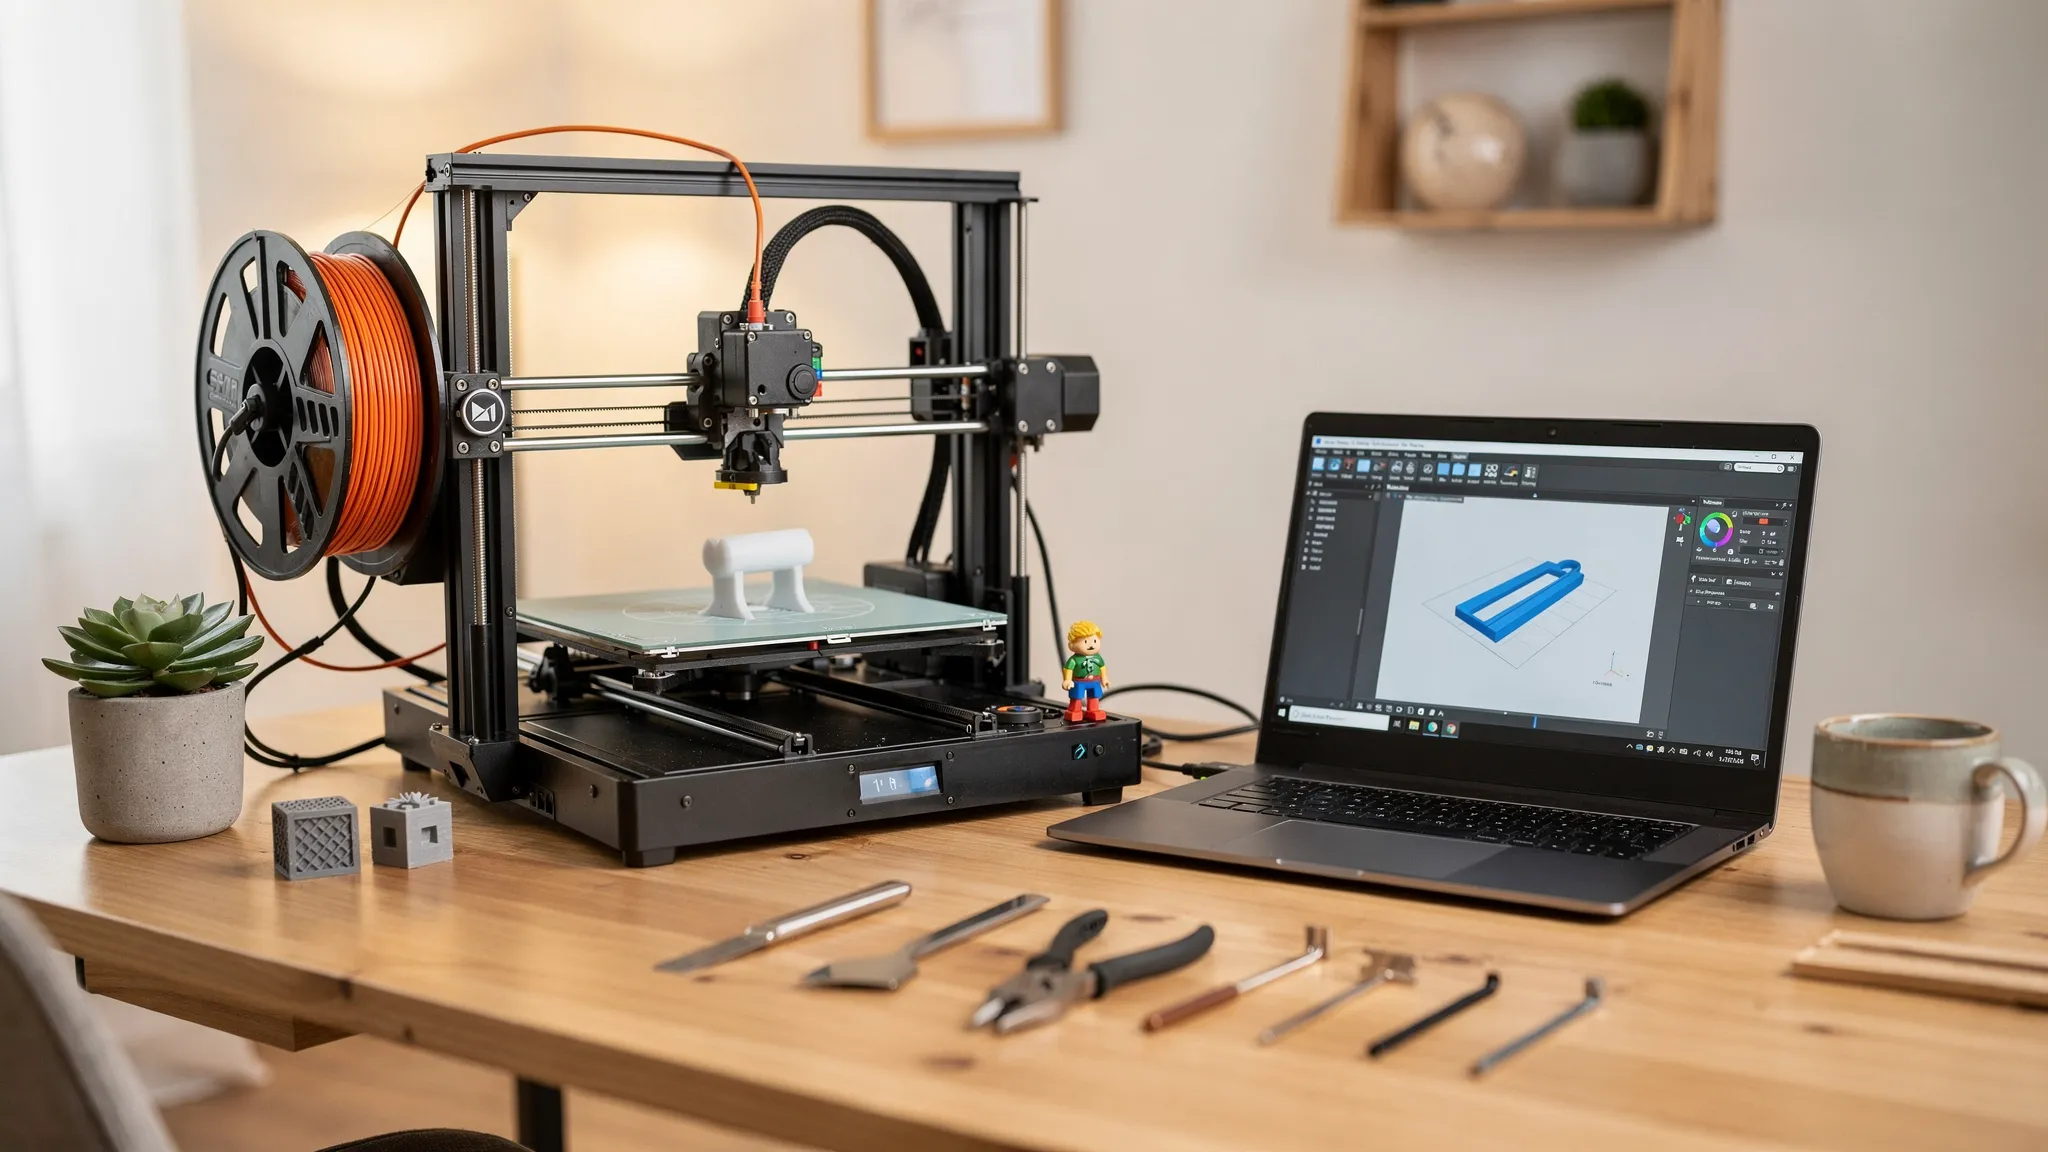
Getting your first successful print can feel like magic, until you hit the common beginner hurdles: files that will not slice, prints that will not stick, and spaghetti-like failures halfway through. The good news is that most issues come down to a repeatable workflow. Once you learn that workflow, you can confidently use a 3D printer for prototypes, gifts, replacement parts, and product ideas.
This guide walks you through a beginner-friendly process from choosing a model file to post-processing, with practical settings, safety notes, and troubleshooting.
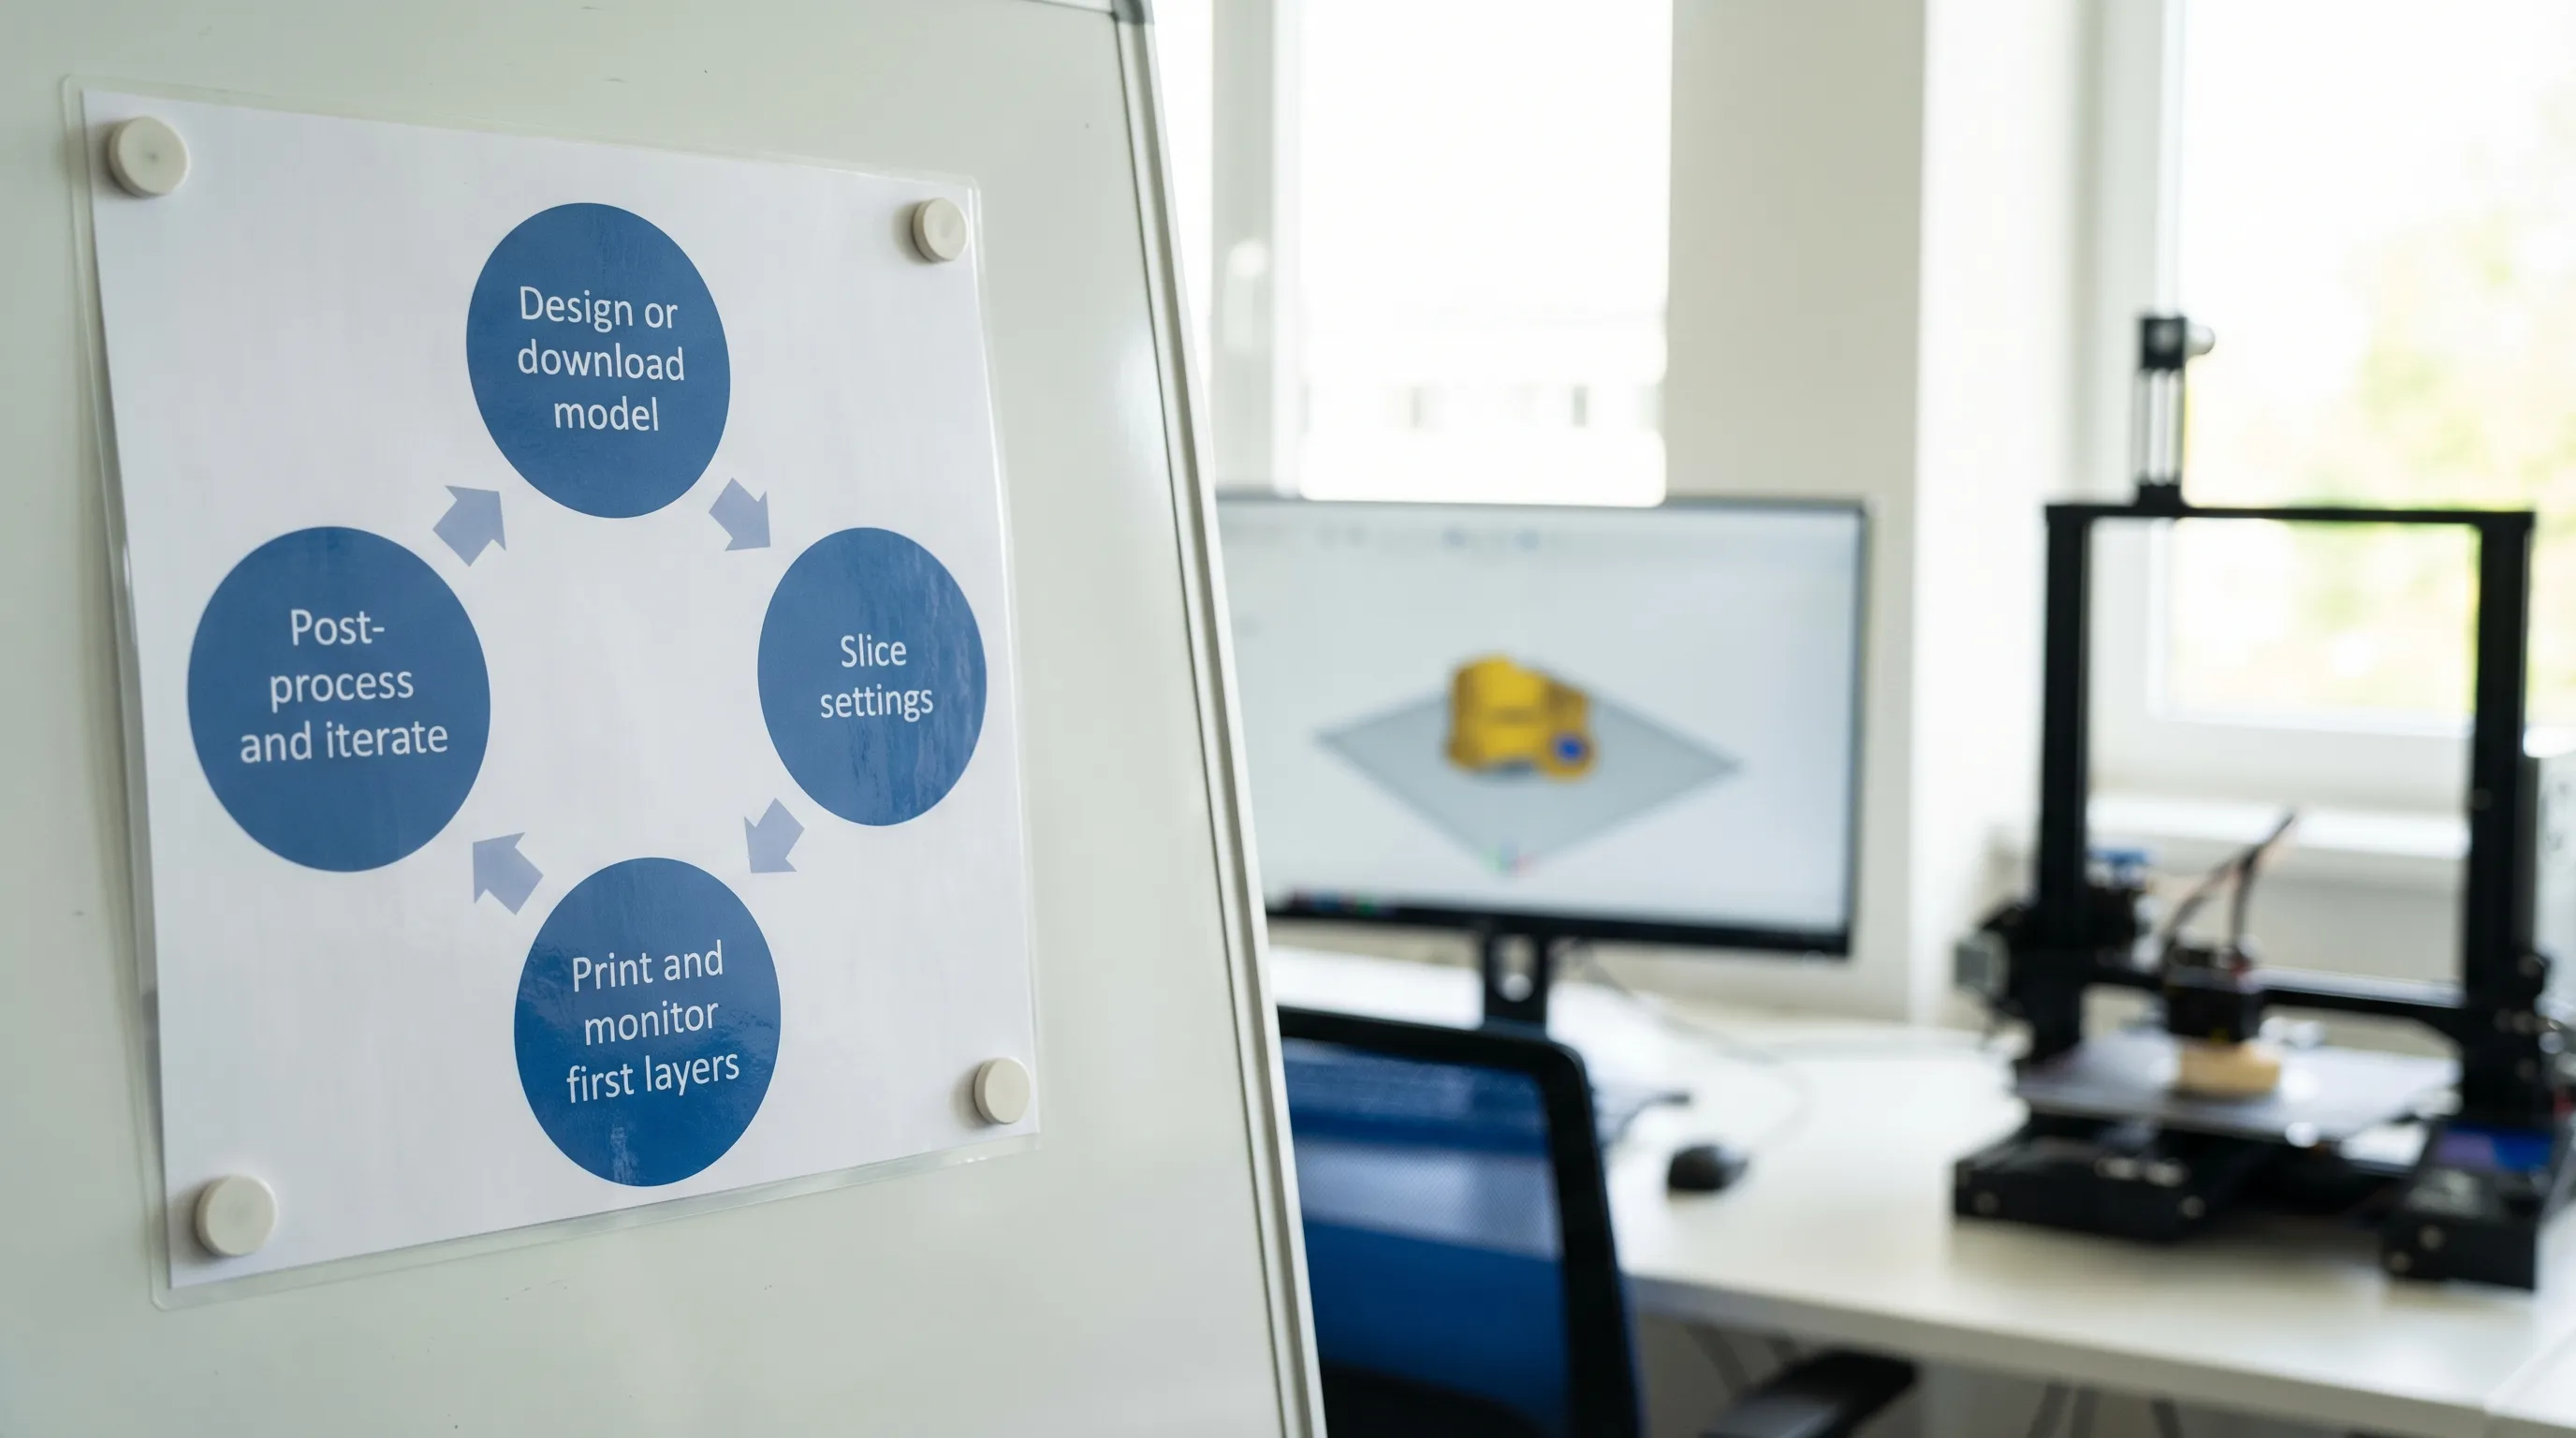
The beginner workflow at a glance
If you remember only one thing, make it this: model file → slice → prepare printer → calibrate → print → post-process → iterate.
| Stage | What you do | What usually goes wrong | Quick fix to try first |
|---|---|---|---|
| Choose a model | Pick or design an STL/3MF | Model is not printable | Use a known-good test model (Benchy, calibration cube) |
| Slice | Convert model to G-code | Wrong profile/material | Start with your printer brand’s default profile |
| Prepare printer | Clean bed, load material | Poor adhesion | Clean bed with isopropyl alcohol (IPA) |
| Calibrate | Level bed, set Z-offset | First layer is messy | Re-run first-layer calibration |
| Monitor first layers | Warping, shifting | Reduce speed, increase bed temp (FDM) | |
| Post-process | Remove supports, finish | Scars, broken parts | Use better support settings next time |
| Iterate | Adjust settings and reprint | Random changes | Change one variable at a time |
Step 1: Know what kind of 3D printer you are using (FDM vs resin)
Beginner advice differs depending on your printer type.
FDM (filament) printers
FDM printers melt plastic filament (like PLA) and lay it down in layers. They are common for beginners because materials are easy to handle and cleanup is simple.
Good for: prototypes, brackets, enclosures, toys, functional parts.
Resin (SLA/MSLA) printers
Resin printers cure liquid resin with light. They can produce very high detail, but require more safety steps and post-processing.
Good for: miniatures, jewelry masters, detailed figurines, small high-detail parts.
Safety note: Resin handling typically requires gloves, eye protection, good ventilation, and proper disposal practices. Follow your resin manufacturer’s safety documentation.
Step 2: Get a printable 3D model file (and check it before you print)
Most prints start as:
- STL: the most common mesh format
- 3MF: often better because it can store units, materials, and settings
Where beginners usually get files
- Model libraries (many makers start with community files)
- Designer-authorized storefronts
- Your own CAD designs (Fusion, Onshape, SolidWorks, etc.)
Quick checks that prevent 80% of beginner failures
Before slicing, confirm:
- The model is the right size (units confusion is common, especially mm vs inches).
- It sits flat where you want it to (or you have a reason to angle it).
- Thin features are not unrealistically thin for your nozzle or resin settings.
If you are designing your own parts, a useful rule of thumb is to avoid walls thinner than your printer can reliably produce. For FDM, wall thickness is strongly related to nozzle diameter and extrusion width.
Step 3: Slice the model (turn it into printer instructions)
Slicing is where you choose settings and export G-code (FDM) or a printer-specific job file (resin).
Common slicers:
- FDM: Ultimaker Cura, PrusaSlicer
- Resin: CHITUBOX, Formlabs PreForm
Beginner settings that work (FDM)
If you are using PLA and want a dependable starting point:
- Layer height: 0.20 mm
- Infill: 10% to 20%
- Walls/perimeters: 2 to 3
- Supports: only if needed
- Adhesion aid: brim if corners tend to lift
Beginner settings that work (resin)
Resin printing depends heavily on your resin brand and printer model. Start with the manufacturer’s recommended profile and only adjust:
- Layer height
- Exposure times
- Support density and placement
If you are unsure, check your printer or resin vendor documentation. Formlabs maintains a strong set of print and post-processing resources for resin beginners on its site, including safety and curing guidance.
Step 4: Prepare the printer (the “boring” step that makes prints succeed)
Preparation is where consistent results come from.
For FDM printers
Focus on the build surface and filament path:
- Clean the build plate (finger oils cause adhesion failures). Many users wipe with IPA, then let it fully dry.
- Check the nozzle is not clogged and filament feeds smoothly.
- Confirm the correct filament is loaded and dry. Moisture can cause popping, stringing, and weak layers.
For resin printers
Focus on cleanliness, leveling, and safe handling:
- Ensure the build plate is leveled according to the manufacturer steps.
- Inspect the vat film (often called FEP or similar) for clouding or damage.
- Mix resin gently if required by the manufacturer.
Step 5: Calibrate the first layer (FDM) or supports (resin)
Most beginner frustration comes from skipping calibration.
FDM: bed leveling and Z-offset
Your goal is a first layer that is slightly “squished” into the plate, without gaps and without scraping.
Signs you are too high:
- Lines do not touch each other
- Corners lift early
Signs you are too low:
- Nozzle drags
- First layer looks rough or elephant-skinned
Many printers include assisted leveling, but you still may need to set Z-offset correctly.
Resin: supports are your calibration
In resin, the print can fail even with perfect exposure if supports are weak or poorly placed.
Aim for:
- Enough contact points to hold islands
- Supports on the correct side (usually the underside of angled surfaces)
- Drainage paths for hollow models
Step 6: Start the print and watch the first 10 to 20 minutes
Do not babysit the whole job, but do watch the beginning.
What to look for (FDM)
- First layer adhesion: does it stick uniformly?
- Nozzle path: no clicking, grinding, or missed steps
- Early warping: corners lifting, especially on larger parts
What to look for (resin)
- Early layers adhering to the build plate (not the vat)
- No unusual sounds that indicate peeling issues
If something looks wrong early, stop the job. It is normal and smart to abort early failures.
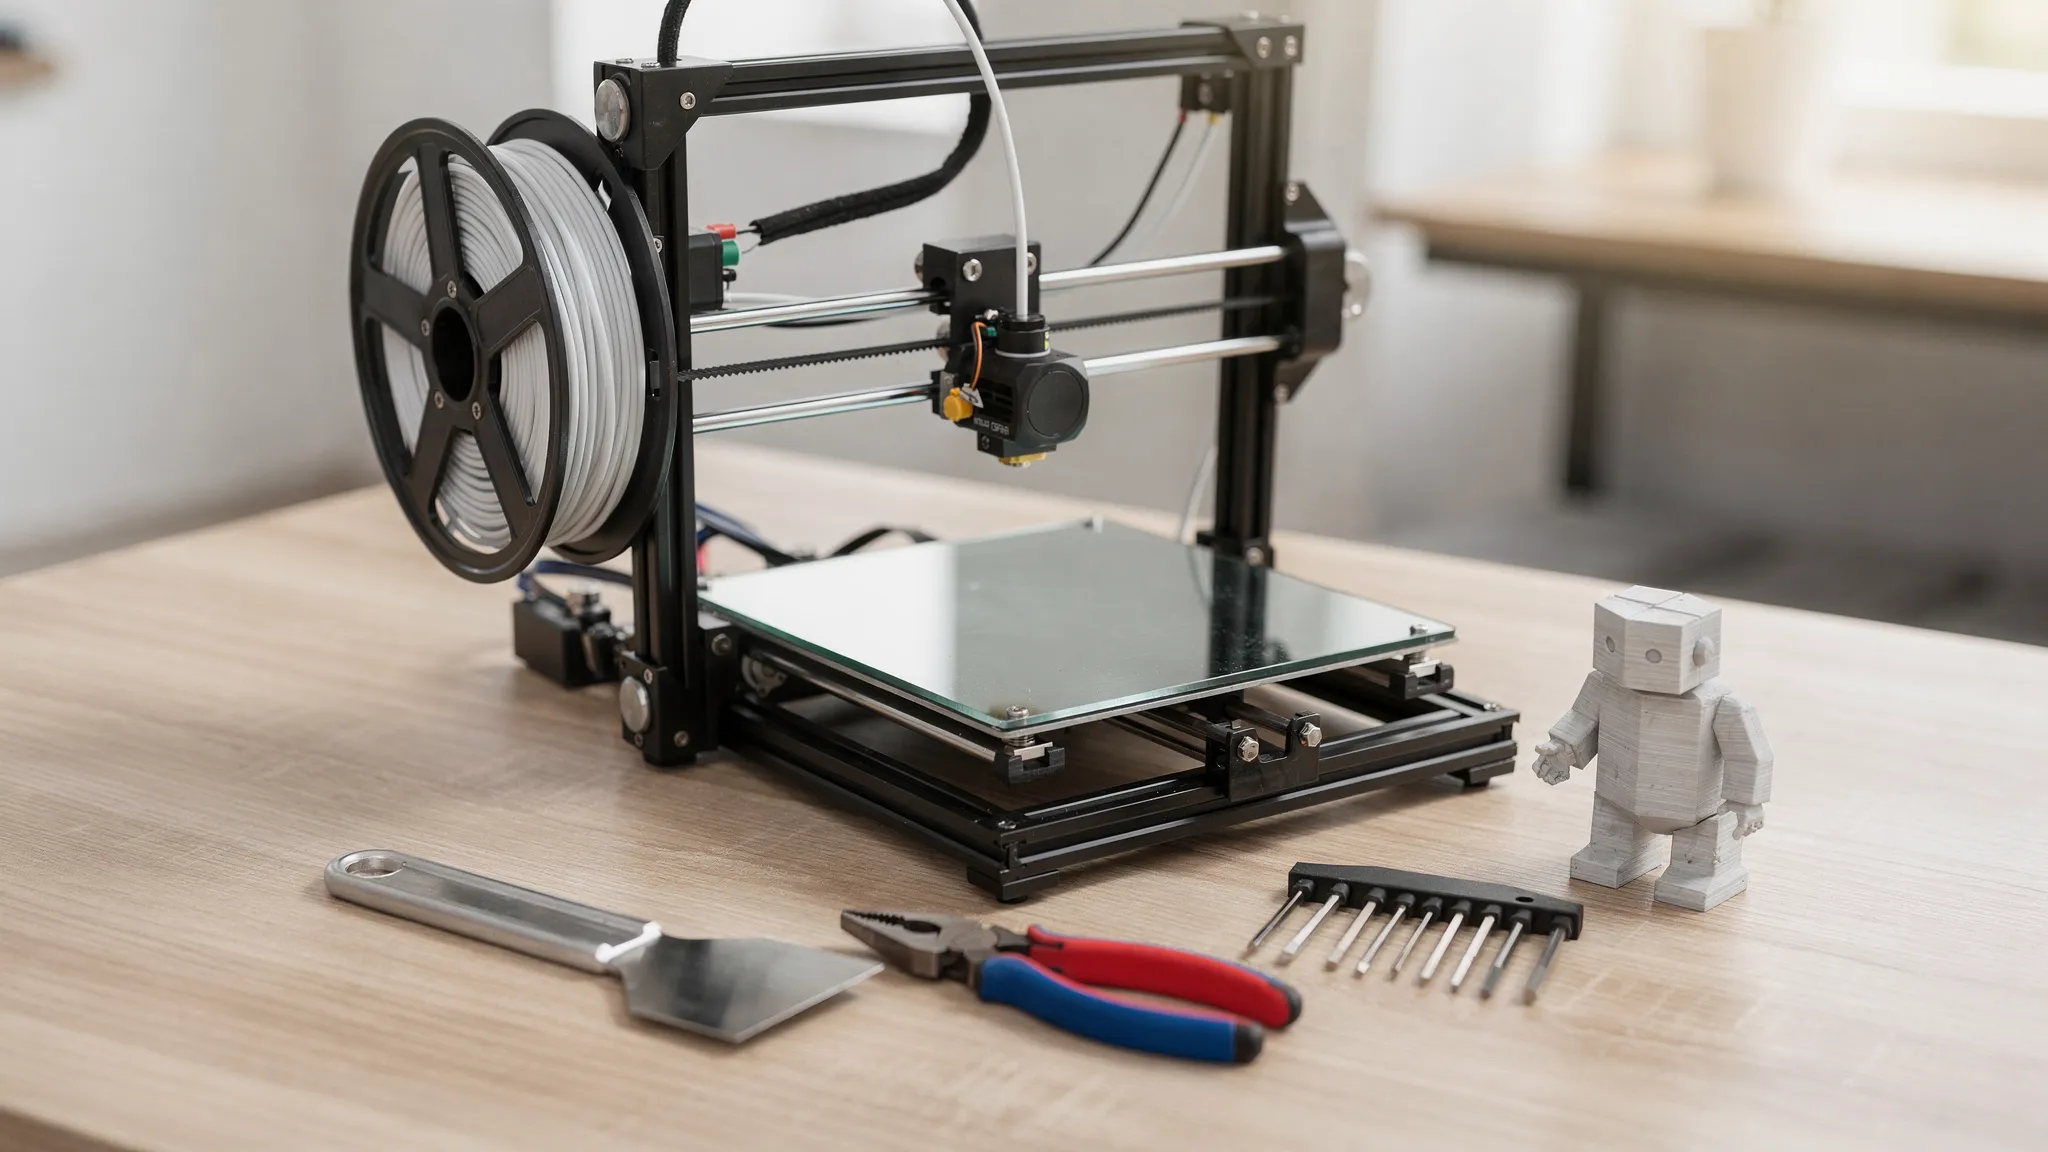
Step 7: Post-process safely and cleanly
FDM post-processing
Common steps:
- Let the part cool before removal (many materials release more easily when cool).
- Remove supports carefully (flush cutters help).
- Optional: sand, prime, paint.
Resin post-processing
Resin typically requires:
- Washing (often in IPA or a dedicated wash solution)
- Drying
- Post-curing (UV cure)
Always follow your resin manufacturer’s guidelines for handling, curing, and disposal.
Common materials and what beginners should choose
If you are starting with FDM, PLA is the easiest on most machines.
| Material | Best for | Beginner difficulty | Notes |
|---|---|---|---|
| PLA | General prints, decor, prototypes | Easy | Low warp, great for learning first layers |
| PETG | More durability, some outdoor use | Medium | Can string, needs good tuning |
| ABS/ASA | Heat resistance, functional parts | Hard | Warps easily, often needs enclosure and ventilation |
| TPU | Flexible parts | Medium to hard | Slow printing, requires good filament path |
Material choice affects print settings a lot. When in doubt, use your slicer’s default profile for your exact material brand if available.
Troubleshooting: the fastest fixes for common beginner problems
Problem: print will not stick to the bed (FDM)
Try, in this order:
- Clean the plate thoroughly and avoid touching it afterward.
- Re-run first-layer calibration and adjust Z-offset.
- Slow the first layer speed in the slicer.
- Add a brim for more contact area.
Problem: stringing and wisps
Often caused by temperature too high, retraction not tuned, or wet filament.
- Reduce nozzle temperature slightly.
- Dry the filament if it has been exposed to humidity.
Problem: layer shifting
Usually mechanical.
- Check belt tension and pulley set screws.
- Lower print speed and acceleration.
Problem: supports weld to the part
This is a slicer and orientation problem.
- Reorient the model to reduce supports.
- Adjust support interface density and Z-gap.
When it makes sense to use a 3D printing service instead of printing at home
Learning to use a 3D printer is rewarding, but it is not always the fastest way to get a high-quality part in your hands. A printing service can be a better option when:
- You need high-detail prints without spending time tuning a machine.
- You need multiple materials but do not want to stock filament or resin.
- You want a fast turnaround for a prototype or gift.
- You want to print designer-authorized models from a curated shop.
Firecloud Printz provides custom 3D printing and a curated shop of designer-authorized prints, which is useful if you have a file ready to produce or you want a ready-made product without managing the printer yourself.
Frequently Asked Questions
What do I need to start using a 3D printer? You need a 3D printer (FDM or resin), the correct material (filament or resin), a slicer, and basic tools for removal and cleanup. For resin, also plan for gloves, ventilation, and wash and cure steps.
What is the easiest thing to print first? A calibration cube or a Benchy-style test print is a good first job because it reveals first-layer issues, overhang behavior, and general tuning problems quickly.
Why does my print fail halfway through? Common causes include poor bed adhesion that eventually lets go, a nozzle clog, tangled filament, or mechanical issues like loose belts. Watching the first layers and checking filament feed reduces mid-print failures.
Do I need supports for every print? No. Supports are only needed for overhangs that exceed what your printer can handle. Good orientation and small design tweaks can reduce or eliminate supports.
Is PLA strong enough for functional parts? Sometimes. PLA is stiff and easy to print but can deform with heat and prolonged stress. For tougher parts, PETG, ABS/ASA, or other engineering materials may be better depending on the use case.
Want a great print without the trial and error?
If you would rather skip calibration, material testing, and failed attempts, you can still bring your idea to life. Firecloud Printz offers high-quality custom 3D printing and a curated selection of designer-authorized prints.
Explore options or start your order at Firecloud Printz.