
How To Choose a 3D Model for 3D Printer Success
A “bad print” often isn’t the printer or the material, it’s the file. Choosing the right 3D model for 3D printer success means picking (or preparing) geometry that matches your goal, your tolerances, and how 3D printing actually builds parts layer by layer.
This guide walks you through what to look for before you click “buy,” “download,” or “upload,” so your first print is far more likely to come out clean, strong, and accurate.
Start with the end use (because the model should match the job)
Before you evaluate polygons and wall thicknesses, clarify what the printed part must do. Two models can look similar on screen but behave very differently in real life.
Common end uses and what they imply:
| End use | What to look for in the model | What usually causes failure or disappointment |
|---|---|---|
| Display piece (figurines, decor) | Clean surfaces, sensible pose, stable base, details not thinner than a hair | Overhang-heavy poses, ultra-fine details that disappear, fragile contact points |
| Functional part (brackets, holders, mounts) | Thick enough walls, fillets at corners, room for fasteners | Sharp internal corners, thin arms, unclear dimensions |
| Fit parts (covers, enclosures, adapters) | Clear dimensions, intentional clearances, flat reference faces | “Perfect fit” in CAD that binds in real prints, no tolerance allowance |
| Assemblies (hinges, threaded caps, moving toys) | Tested clearances, printable joints, easy post-processing access | Tight gaps, trapped supports, joints that fuse |
| Outdoor or shop use | Geometry that tolerates warping and impact | Large flat panels that curl, thin snap features |
If you are ordering a custom print, telling your printer what the part must do is just as important as sending the file.
Choose a trustworthy model source (and check the license)
Not all model libraries are curated the same way. Many files online are visually appealing but were never validated for printability.
Reliable places to browse (still verify each model):
- Printables (often includes makes, settings, and remixes)
- Thingiverse (huge library, quality varies)
- MyMiniFactory (many creators focus on printable minis)
Also pay attention to licensing, especially if you plan to sell prints or use them in a business. Many files are shared under Creative Commons licenses with restrictions (attribution required, non-commercial, no-derivatives, etc.). A quick overview is available at Creative Commons licenses.
If you want to skip the licensing uncertainty, Firecloud Printz also offers a curated shop of designer-authorized prints (including as an authorized Hive seller), which is a straightforward path when you need legit, ready-to-print models.
Pick the right file format (STL is common, 3MF is often better)
Most consumer 3D prints still start from an STL, but STL has limitations. It does not store units, color, or many print-related settings, so scale mistakes are common.
In general:
- STL: Most universal for simple single-material prints, but unitless.
- 3MF: Modern format that can store units and more metadata (many slicers prefer it).
- OBJ: Can store color/texture information, more common in visual workflows.
If you export from CAD, always confirm whether your software exported in mm or inches, and verify the dimensions in your slicer before you order.
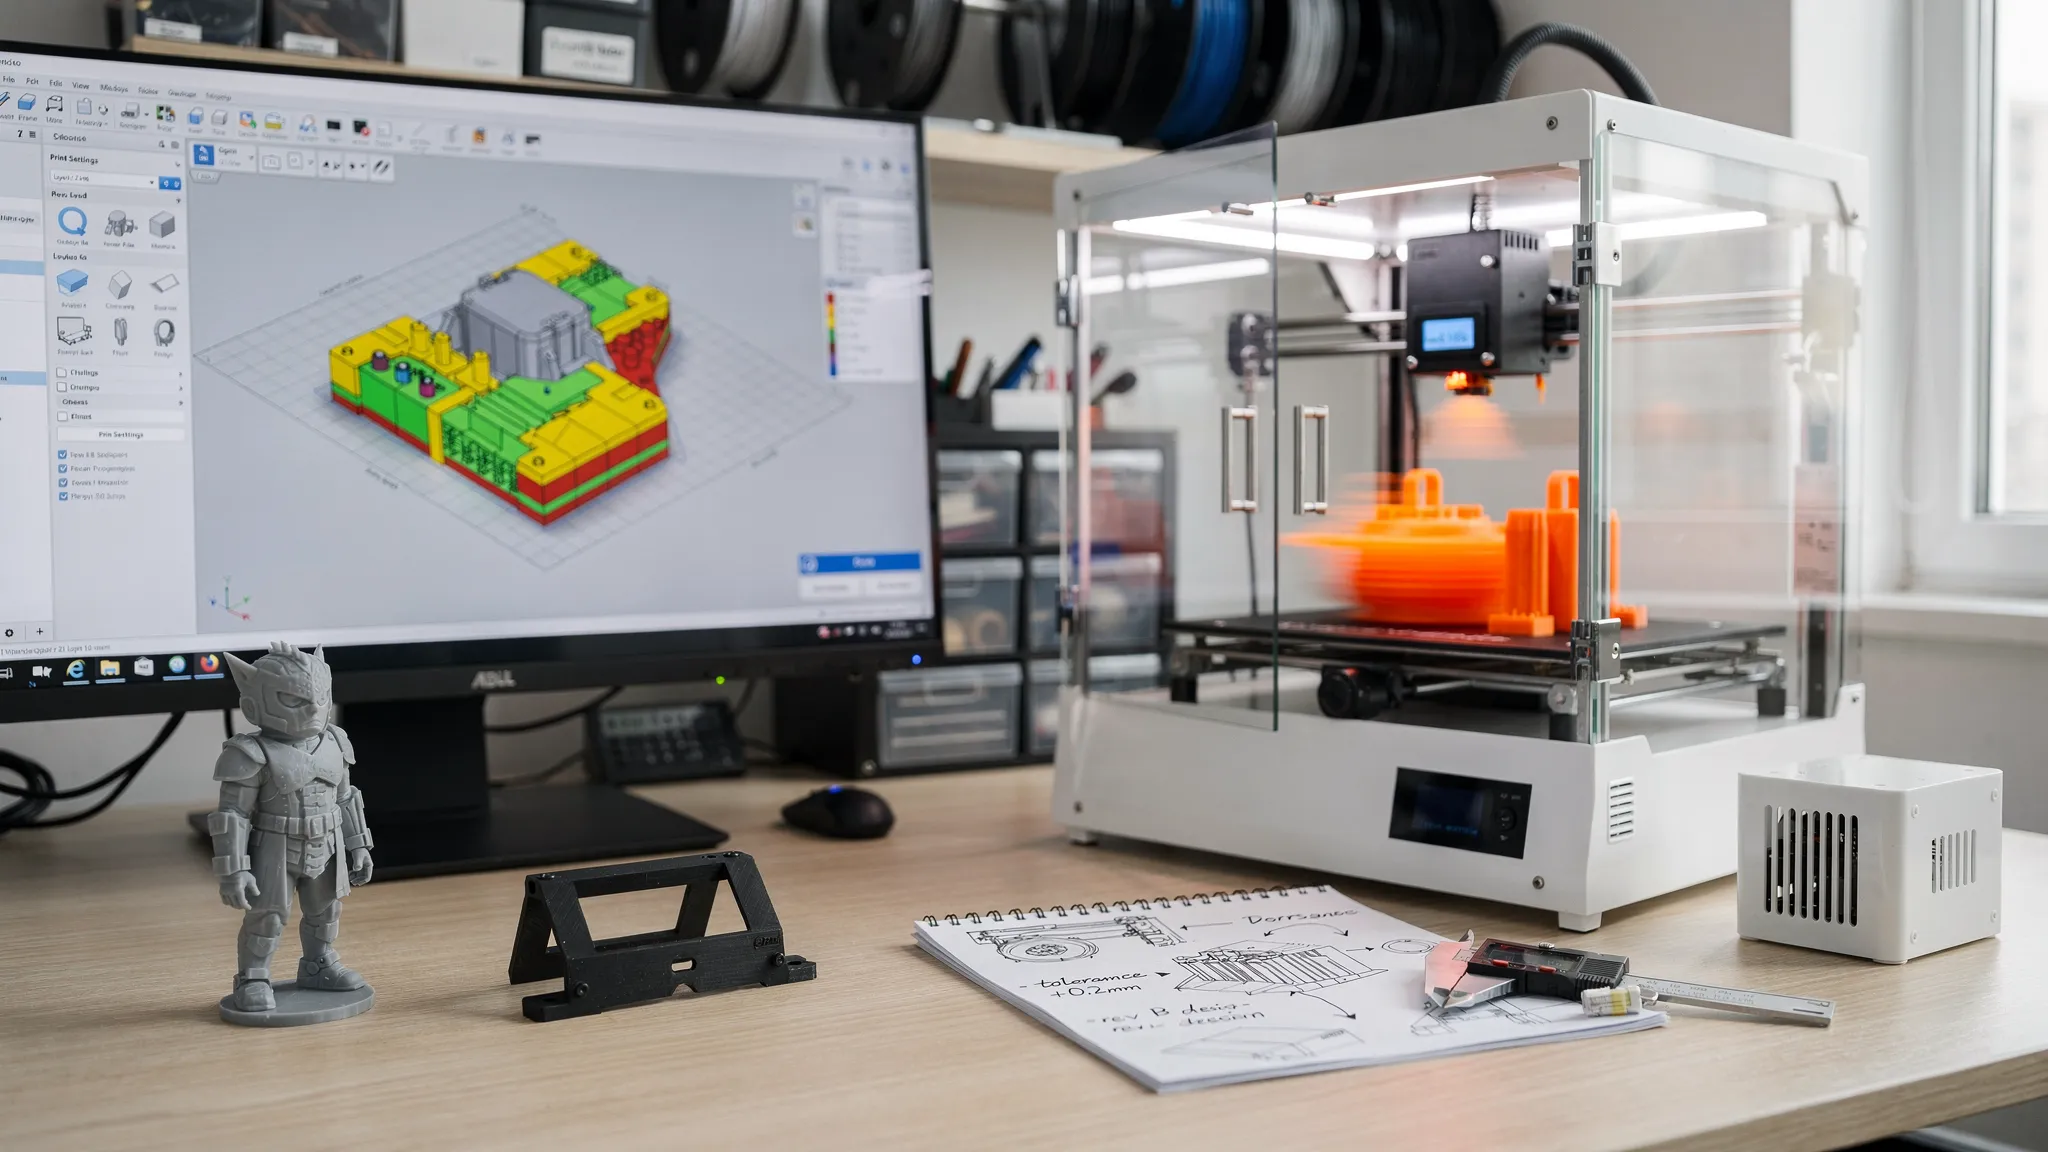
The printability checklist: what to verify before you commit
These are the checks that most often separate “prints perfectly” from “why did it fail at 80%?” You do not need to be an engineer to use them, you just need to be consistent.
Manifold and watertight geometry (no “open” meshes)
For most prints, the model should describe a solid shape. Non-manifold edges, holes in the mesh, and self-intersections can confuse slicers and lead to missing layers or weird internal voids.
What to do:
- Run a mesh repair in your modeling tool or a mesh editor.
- If you did not create the file, preview it in a slicer and look for missing faces or odd gaps.
Wall thickness and minimum feature size
A beautiful model can still fail if its walls are too thin for the print process, or if details are smaller than what the printer can resolve.
As a practical rule, avoid “knife-edge” features. If a sword blade, antenna, or clip looks like it is one or two extrusion lines wide, expect fragility.
If you want deeper process-specific guidelines, manufacturers publish useful references, for example:
- Ultimaker: design guidelines for FDM
- Formlabs: design guidelines for resin printing
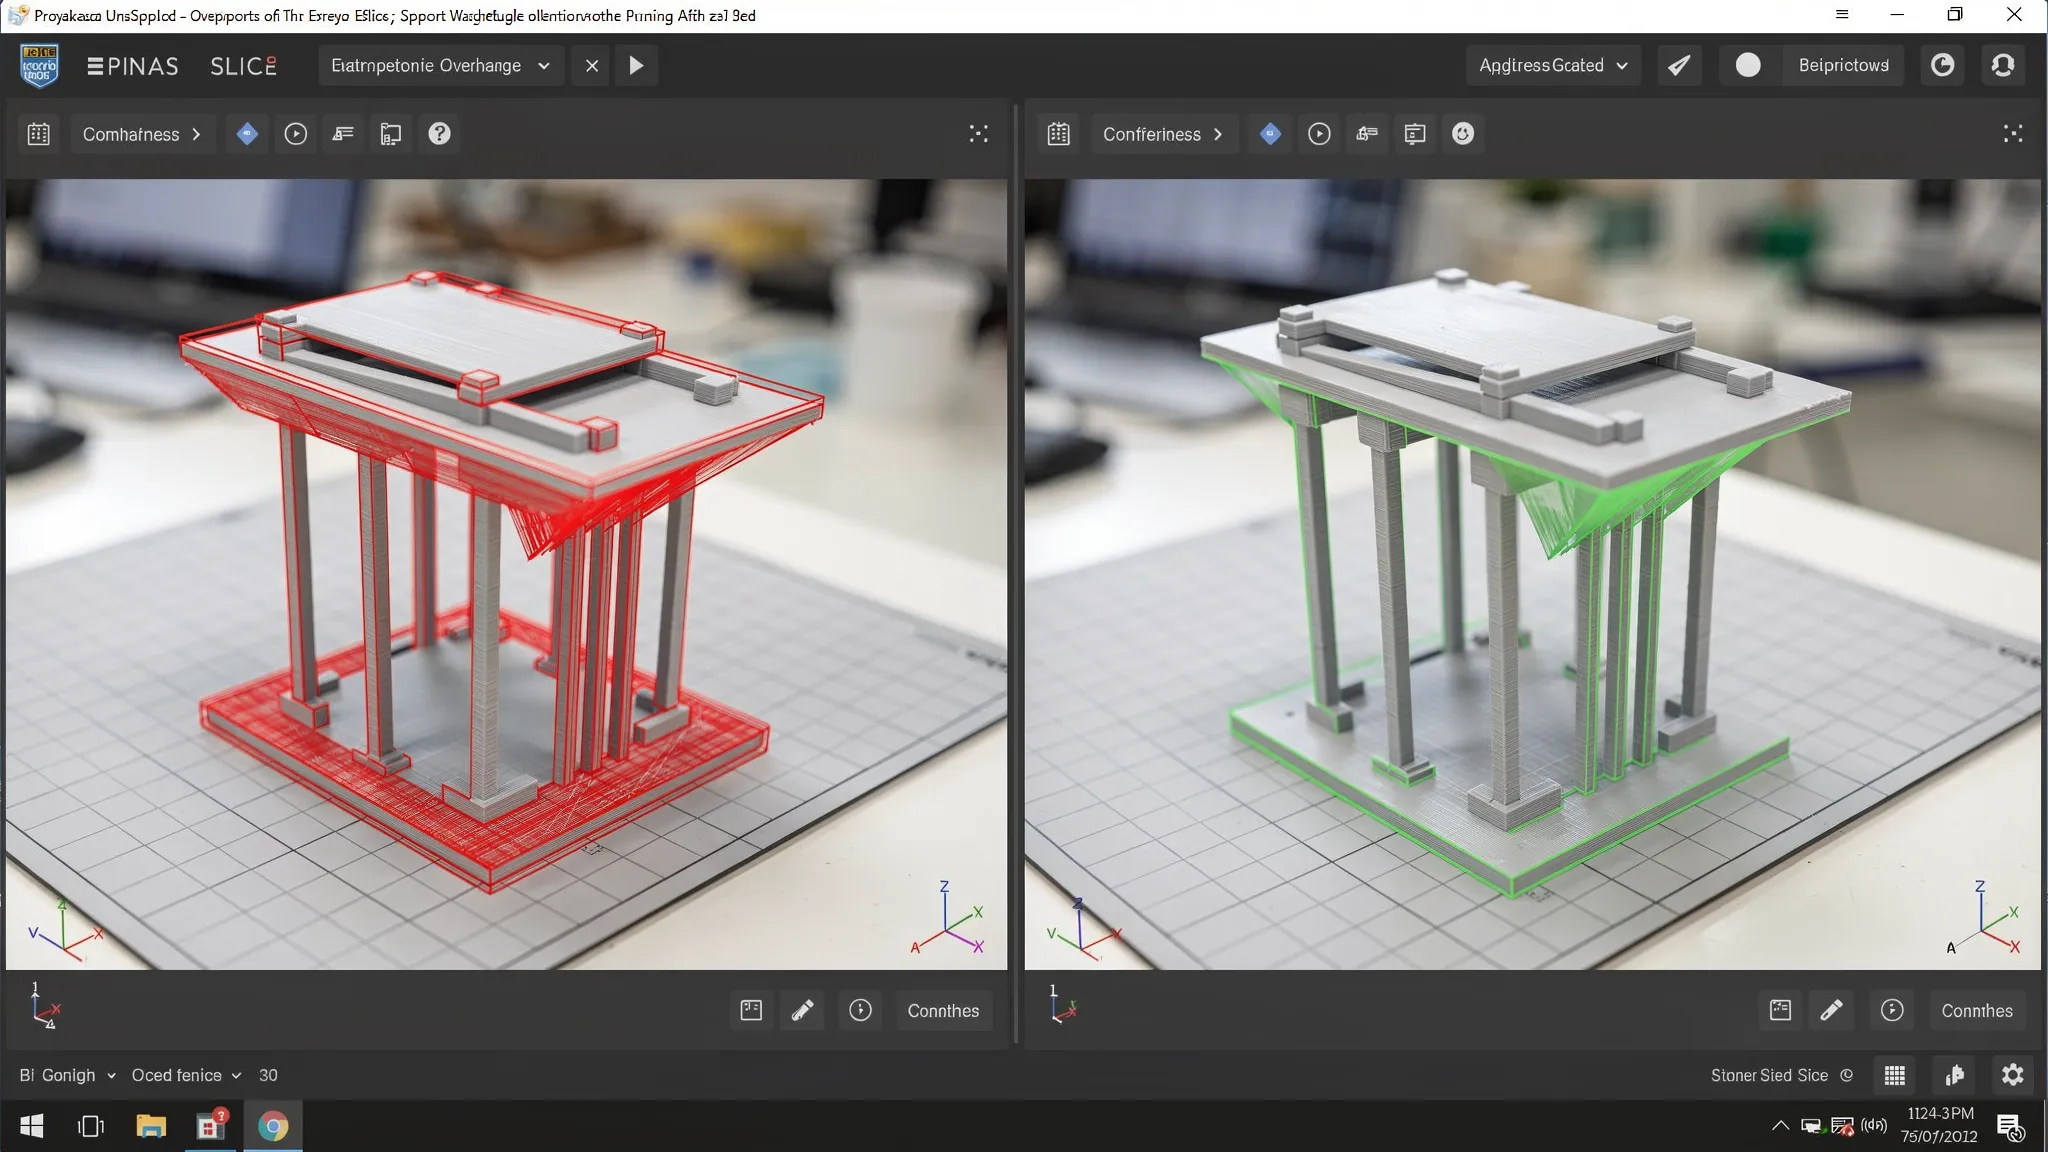
Overhangs, bridges, and support strategy
Overhangs are the #1 reason a “cool model” turns into a stringy mess.
When evaluating a model, ask:
- Does it have long horizontal surfaces hanging in mid-air?
- Are there facial features, fingers, or thin edges that would require supports?
- If supports are needed, will they attach to a visible “hero surface” that you want pristine?
Sometimes the best choice is simply a different model with a more printable pose, or one designed to be printed in parts.
Orientation: how it will sit during printing
The same model can print cleanly or fail depending on orientation.
Look for:
- A stable base: tiny contact patches can detach mid-print.
- Layer direction vs strength: if a hook will carry weight, avoid designs where the load pulls layers apart.
(For a broader explanation of orientation-dependent strength and other additive constraints, see Firecloud Printz’s guide to additive printing materials, uses, and benefits.)
Clearances and tolerances for parts that must fit
If the model includes sliding fits, press fits, lids, snap joints, or “print in place” mechanisms, it must include clearance.
A model that is dimensionally perfect in CAD can still bind after printing due to:
- Layer squish and slight expansion
- Support scarring
- Normal variation across materials and processes
If the listing does not mention tested clearances, assume you may need to adjust the model or accept post-processing.
Resin-specific geometry: trapped volume and drainage
If you are considering a high-detail resin print, hollow models can reduce material use and weight, but they require drain holes and thoughtful orientation. Without drainage, you risk trapped resin and messy post-processing.
If you do not see obvious vent/drain features in a hollow model, it is a cue to ask for guidance or choose a different version.
Mesh resolution: not too low, not unnecessarily huge
A low-poly mesh can show faceting on curves. An excessively dense mesh can be hard to handle and sometimes introduces errors.
You want curves to look smooth at the final size, especially for:
- Rounded enclosures
- Character faces
- Product display pieces
Split lines and assembly planning (for large or complex parts)
If the model is larger than a typical print volume or includes extreme overhangs, the best models are designed to be printed as multiple parts.
Good split design includes:
- Flat mating faces
- Registration keys or alignment pins
- Join locations that hide seams (for example, under armor plates or along natural panel lines)
Quick “red flags” table: when to skip the model
This table is a fast way to decide if you should keep looking.
| Red flag you see in the model preview | What it usually means | Better option |
|---|---|---|
| Hair-thin spikes, claws, antennae everywhere | Fragile details, likely breakage | A thicker “printable” remix or a scaled-up version |
| Huge flat surfaces with no ribs | Warping risk and uneven finish | Model with ribs, curvature, or segmented panels |
| “Print in place” moving parts with no tolerance notes | Likely fused joints | Model that states tested clearances or prints as an assembly |
| Hollow resin model with no drain holes | Trapped resin and cleanup problems | Version with drain/vent features or solid print |
| No makes, no photos, no comments | Unknown printability | Model with proven makes or a designer-authorized product |
Decide whether to remix, repair, or replace
If you have basic CAD skills (or can ask your print provider for guidance), many models can be made printable with small changes. But there is a point where it is smarter to choose a different file.
Fixable issues often include:
- Slightly increasing wall thickness
- Adding fillets to sharp corners
- Cutting a model into parts to remove impossible overhangs
- Adding drain holes for hollow resin prints
Hard-to-fix issues include:
- Poorly sculpted surfaces that will always need heavy sanding
- Broken topology that constantly reintroduces slicing artifacts
- A design that depends on unrealistic tolerances
If your goal is speed and reliability, start from a model designed for printing, not just for rendering.
Validate the model in a slicer before you order
Even if you are not printing at home, a slicer preview is a powerful “X-ray.” You can usually do this for free using common slicers.
In preview, check:
- The model dimensions and units
- Layer view for missing layers or strange voids
- Support touchpoints and whether they hit important surfaces
- Thin areas that might vanish
This step alone catches many problems early and saves time, money, and frustration.

How to get better results when ordering from Firecloud Printz
Firecloud Printz can work from your file (custom 3D printing) or you can choose from ready-made, designer-authorized products in the shop. To improve your odds of a perfect result on the first run, include context with your order request:
- Intended use (display, functional, fit part, outdoor)
- Target dimensions (and confirm mm vs inches)
- Any must-hit requirements (for example, “this hole must fit an M3 screw”)
- Surface priorities (where you care most about cosmetics)
That information helps match the model’s geometry to a practical printing plan.
Frequently Asked Questions
What is the best 3D model for 3D printer beginners? A simple model with a flat base, minimal overhangs, and proven “makes” from other users. Avoid thin spikes, print-in-place mechanisms, and huge flat panels at first.
Is STL or 3MF better for sending a model to print? 3MF is often better because it can include units and other metadata, which reduces scaling mistakes. STL is still widely accepted, but always confirm dimensions.
How do I know if a model needs supports? Open it in a slicer and check overhang areas. If the model has large sections that hang in mid-air or delicate details underneath, it will likely need supports.
Why do print-in-place models sometimes fuse together? Clearances can be too tight for the chosen process, material, or orientation, and support material can get trapped. Look for models that state tested tolerances.
Can I legally sell prints from a downloaded model? Only if the license allows it. Many downloads are non-commercial. Check the model’s license terms, such as Creative Commons variants, before selling.
Bring your best model to life with Firecloud Printz
If you have a file you want printed (or you want to choose a designer-authorized piece from a curated catalog), Firecloud Printz specializes in high-detail, custom 3D printing with quick order estimates and multiple material options.
Explore the shop or request a custom estimate at Firecloud Printz.