
3D Files 101: Formats, Quality Checks, and Common Issues
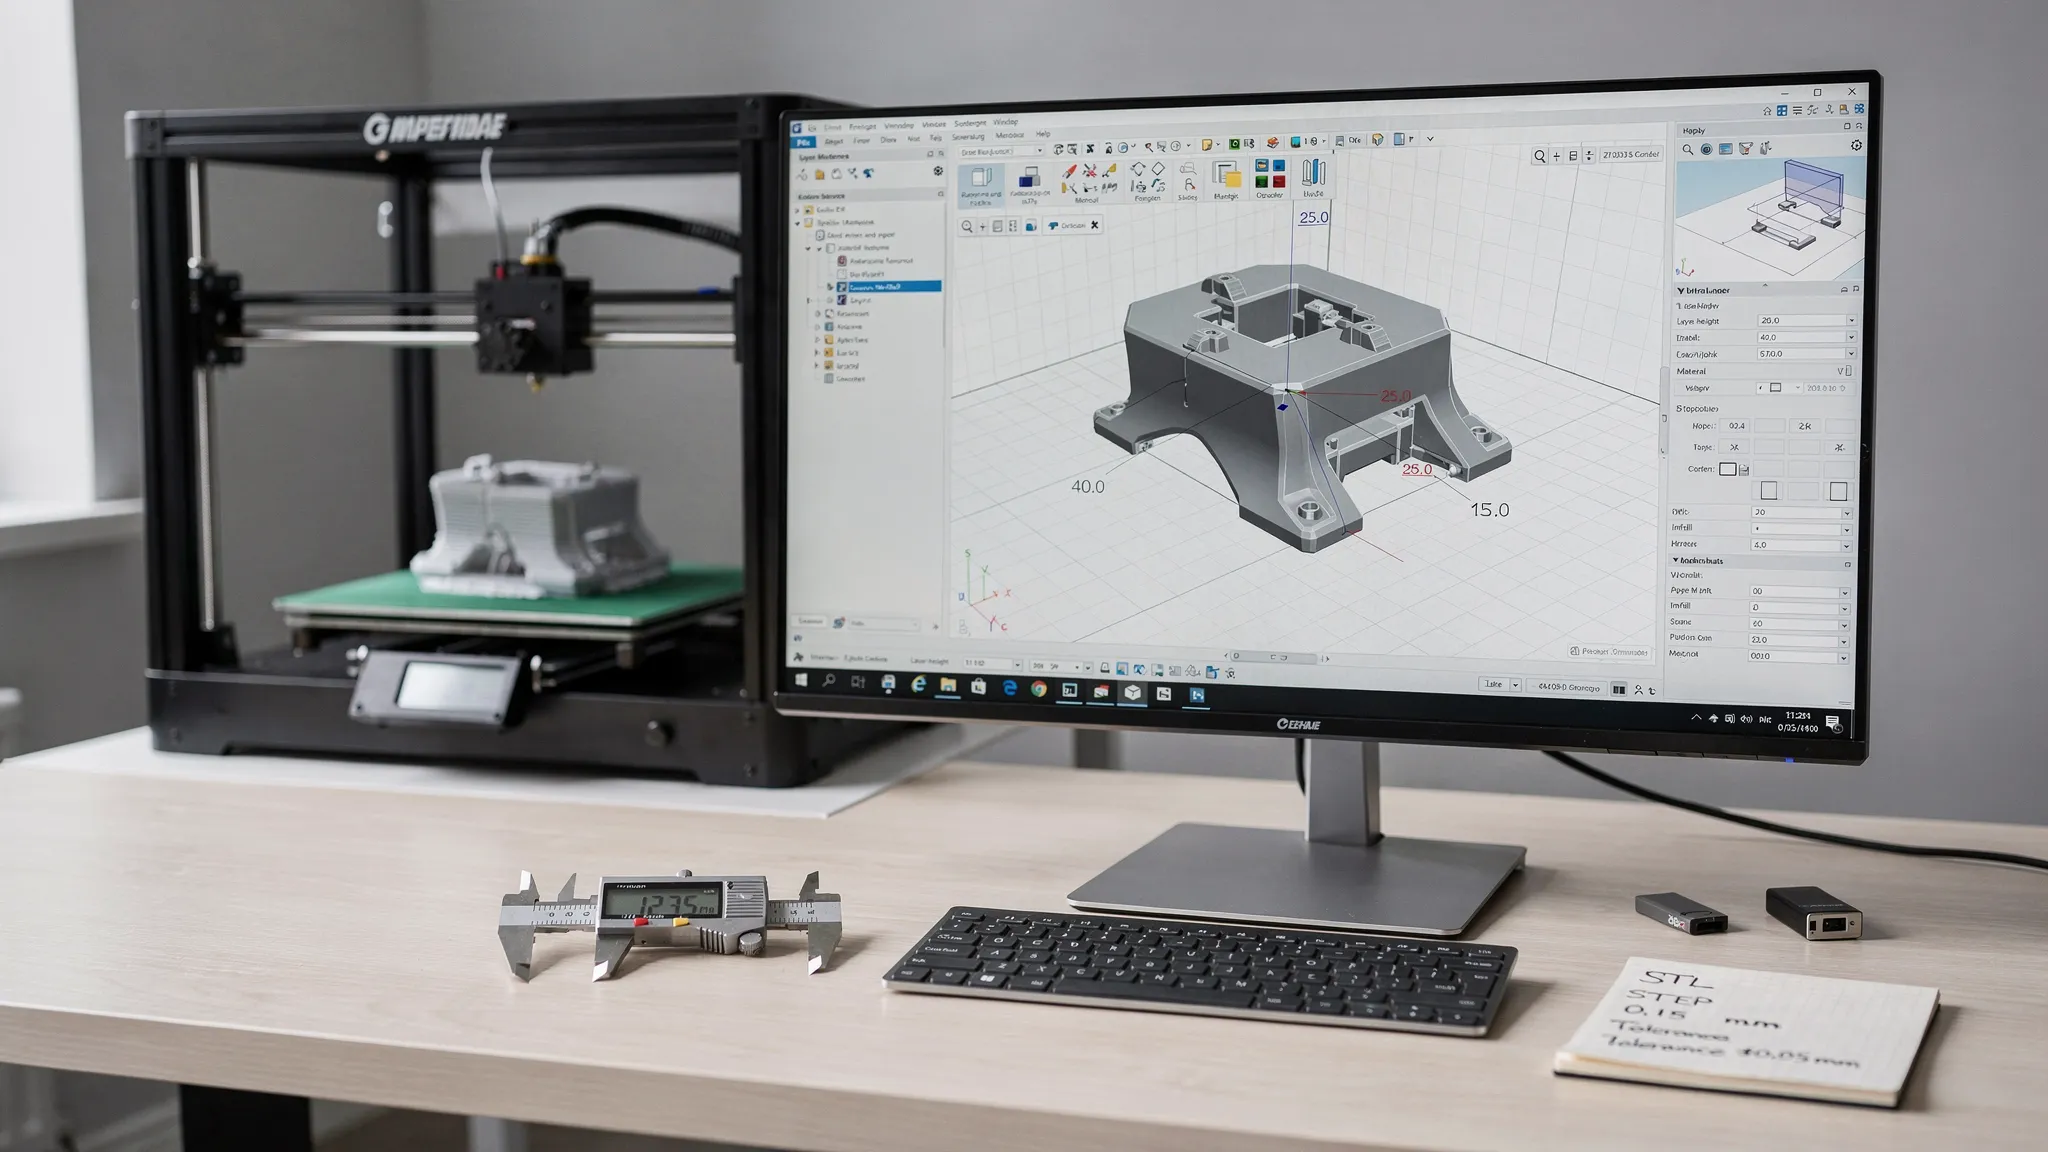
A 3D print is only as reliable as the file behind it. A beautiful model can still fail if it is the wrong format, scaled incorrectly, full of mesh errors, or missing details that matter for the printing process.
If you are new to ordering custom prints, the good news is that you do not need to become a CAD expert. You just need to understand what 3D files contain, which formats are easiest to work with, and which checks help a print shop turn your design into a clean physical part.
This guide breaks down the basics in plain English so you can send better files, avoid delays, and reduce the chance of surprise reprints.
What Are 3D Files?
3D files are digital descriptions of a three-dimensional object. Instead of storing a flat image like a JPG or PNG, they store shape, size, surfaces, and sometimes color, texture, material, units, or assembly information.
For 3D printing, a file usually goes through three broad stages:
- Design file: The original CAD or sculpted model, often editable.
- Printable model file: A mesh or manufacturing file exported for review and slicing.
- Sliced file: Machine instructions that tell a specific printer how to build the part layer by layer.
Most customers send the second type to a printing service. That usually means an STL, 3MF, OBJ, or sometimes a STEP file. The print provider then reviews the model, chooses settings, prepares supports, and slices it for the selected printer and material.
The key idea: a 3D file is not automatically printable just because it opens on your computer. It still needs to be checked for scale, geometry, wall thickness, tolerances, and process-specific risks.
Common 3D File Formats and When to Use Them
Different file formats are built for different jobs. Some are lightweight and widely accepted, while others preserve more technical design information.
| Format | Best for | What it stores well | Common limitations |
|---|---|---|---|
| STL | Basic single-material 3D printing | Surface geometry as triangles | No reliable units, color, texture, or material data |
| 3MF | Modern print-ready files | Geometry, units, colors, materials, and metadata | Not every older workflow supports it equally |
| OBJ | Decorative models, scans, textured objects | Geometry, color, UVs, and texture references | Texture files may be missing, scale can still be unclear |
| STEP / STP | CAD review, engineering parts, editable solids | Precise solid/surface CAD data | Usually needs conversion to a mesh before printing |
| IGES / IGS | Older CAD exchange | Surface and curve data | Can be less reliable than STEP for solid parts |
| AMF | Additive manufacturing data | Geometry, color, and materials | Less commonly used than STL or 3MF |
| ZIP | Bundling project files | Multiple files in one package | Must include the actual model and any linked textures |
STL: The universal default
STL is the most common format for 3D printing. It represents a model as a collection of triangles, which makes it simple and widely compatible. According to the Library of Congress format description, STL is widely used in computer-aided manufacturing and rapid prototyping workflows.
The downside is that STL is limited. It does not reliably store units, color, texture, material settings, or design history. If you export an STL in millimeters and someone opens it as inches, the model can appear 25.4 times too large or too small.
Use STL when the model is simple, single-material, and you can clearly communicate the intended dimensions.
3MF: The better modern option when available
3MF was created to solve several STL limitations. It can store units, color, material information, and other production data in one package. The 3MF Consortium describes it as a format designed specifically for modern 3D manufacturing workflows.
For many custom print jobs, 3MF is a strong choice because it reduces ambiguity. If your software exports 3MF cleanly, it is often worth sending alongside an STL or STEP file.
OBJ: Useful for artistic and textured models
OBJ is common for sculpted models, character models, scans, and decorative objects. It can reference texture and material files, usually through companion MTL and image files.
If you send an OBJ, make sure all linked files are included. A model may open as a plain gray object if the texture image or MTL file is missing.
STEP: Best for engineering review
STEP files are not always sent directly to a printer, but they are extremely useful for functional parts. Unlike STL, STEP preserves CAD-style surfaces and solid geometry, which can make it easier to verify holes, flat faces, dimensions, and design intent.
If your part is mechanical, has precise fit requirements, or may need repair before printing, sending a STEP file can help. Many print shops can convert it to a printable mesh after review.
Mesh Files vs CAD Files: Why the Difference Matters
A mesh file, like STL or OBJ, approximates surfaces using many small triangles. A CAD file, like STEP, describes shapes more mathematically, often as solids, surfaces, sketches, and features.
Think of it this way: a CAD file knows a hole is a round hole. A mesh file only knows the hole is made of many flat triangle edges arranged in a circle.
That difference affects quality. If a mesh is exported with too few triangles, curved surfaces look faceted. If it has far too many triangles, the file becomes heavy and harder to process without actually improving the print. A clean CAD file can often be re-exported at a better resolution, while a poor mesh may require repair or remodeling.
For decorative prints, a high-quality mesh is usually enough. For parts that need accurate fit, fasteners, or repeatability, a CAD file can be valuable.
Quality Checks Before Sending 3D Files to Print
Before you request a quote or place a custom order, run through a few practical checks. These checks can prevent the most common file-related problems.
| Quality check | What to look for | Why it matters |
|---|---|---|
| Scale and units | Confirm overall height, width, and depth | Prevents tiny or oversized prints |
| Watertight geometry | No holes, gaps, or open edges | Helps slicers understand inside vs outside |
| Manifold mesh | Every edge belongs to a valid surface structure | Reduces slicing errors and missing features |
| Wall thickness | Thin areas meet the needs of the process and material | Prevents fragile or unprintable sections |
| Clearances | Moving or mating parts have intentional gaps | Prevents assemblies from fusing together |
| Normals | Surface directions face outward | Avoids inside-out or invisible geometry problems |
| Mesh resolution | Curves are smooth without excessive file size | Balances surface quality and processability |
| Support risk | Overhangs, islands, and delicate features are printable | Reduces scarring, breakage, and failure risk |
| Licensing | You have permission to print or sell the design | Avoids intellectual property issues |
Check scale first
Scale issues are among the easiest mistakes to make. Always verify the model’s bounding box dimensions before sending it. Do not rely on how big it looks in your viewer, since zoom level can be misleading.
If you are ordering a replacement part, measure the original with calipers when possible. If the part must fit something else, include those critical dimensions in your order notes.
Make sure the model is watertight
A watertight model has a closed surface with no accidental gaps. Imagine filling the model with water. If water would leak out through missing faces or open edges, the file needs attention.
Watertight geometry helps slicing software determine what is solid and what is empty. Non-watertight files can create missing walls, strange internal structures, or failed slices.
Look for non-manifold geometry
Non-manifold geometry means the model has surfaces that do not form a physically valid solid. Examples include internal faces, edges shared by too many surfaces, floating shells, or infinitely thin walls.
This is common in models made for animation or video games, where visual appearance matters more than manufacturability. For 3D printing, the model needs to represent a real object with thickness and volume.
Confirm wall thickness and small details
A wall that looks fine on-screen may be too thin to print reliably. Tiny text, delicate spikes, thin fins, or decorative edges can break during printing, support removal, shipping, or normal handling.
The right minimum wall thickness depends on material, print process, part size, and purpose. A small display piece has different requirements than a functional bracket. When in doubt, mention which features are critical and ask for a manufacturability review.
Review clearances and tolerances
If your model includes sliding parts, snap fits, lids, pegs, hinges, or holes for hardware, clearances matter. A perfect zero-gap fit in CAD usually becomes a fused or too-tight fit in the real world.
Every 3D printing process has dimensional variation. Materials can shrink, resin can cure slightly differently, and FDM layers can create small ridges. Design gaps intentionally instead of assuming the printer will reproduce exact mathematical contact.
Common 3D File Issues and How to Fix Them
Most file problems are fixable, but they are easier to solve before production begins. Here are the issues print shops see often.
The model opens at the wrong size
This usually happens because the file does not store units clearly, especially with STL. A model designed in inches may be interpreted as millimeters, or the reverse.
Fix it by checking the intended bounding box in your design software and writing the final dimensions in your notes. If possible, send a 3MF or STEP file in addition to STL.
The file has holes or missing faces
Open edges and missing surfaces can confuse slicers. The result may be missing walls, unexpected infill, or geometry that disappears entirely.
Many slicers and mesh tools can repair simple holes automatically. For complex models, it may be better to return to the original CAD or sculpting file and fix the source geometry.
The mesh is too low resolution
Low-resolution exports create flat, faceted curves. This is especially visible on round objects, helmets, miniatures, rings, knobs, and cylindrical features.
Fix it by re-exporting from the original software with a finer mesh setting. Avoid simply smoothing a bad mesh if dimensional accuracy matters, since smoothing can change edges and hole sizes.
The mesh is unnecessarily huge
A very large file is not always a better file. Millions of triangles can slow down review, repair, and slicing without improving the final print, especially if the printer cannot reproduce that level of detail.
Fix it by reducing mesh density carefully, while preserving critical edges and curves. If you still have the CAD file, export a cleaner mesh rather than decimating blindly.
The model includes paper-thin surfaces
Models made for rendering often include surfaces with no thickness, such as capes, leaves, clothing panels, walls, or shells. These may look solid in a viewer but are not printable as physical objects.
Fix it by adding real thickness. For functional parts, add thickness based on expected load and material. For decorative parts, make sure thin features can survive handling and post-processing.
Parts that should move are fused together
A common beginner issue is designing an assembly with separate-looking pieces but no actual clearance between them. The slicer treats touching surfaces as one object, or the printed parts bond during production.
Fix it by adding clearance between moving or removable parts. For critical fits, consider printing a small test coupon before producing the full object.
OBJ textures are missing
An OBJ file may reference an MTL file and one or more image textures. If those files are not included, the model’s color or surface detail may not appear.
Fix it by sending the OBJ, MTL, and texture images together in a ZIP file. If color is not required, say so clearly so the print provider does not spend time searching for missing assets.
The file is not licensed for the intended use
A downloadable model may be free for personal use but not for resale, commercial display, or production. This is especially important for fan art, designer models, game assets, and marketplace downloads.
Fix it by checking the license terms and keeping proof of permission. If you need to contact a designer for authorization, a polished permission request can save time, and tools like LetterCraft AI can help draft a clear professional letter quickly.
A Simple Preflight Workflow for Better Prints
You do not need expensive software to do a basic preflight. The goal is to catch obvious problems before they slow down your estimate or cause a print failure.
Use this workflow before sending 3D files for review:
- Open the file in a viewer or slicer and confirm it loads correctly.
- Check the overall dimensions and write down the intended final size.
- Inspect the model for missing faces, floating shells, or strange internal geometry.
- Confirm thin features, text, clips, and pegs are large enough for the intended use.
- Verify that moving parts, mating parts, and holes have realistic clearance.
- Export a fresh STL or 3MF from the original design file when possible.
- Include notes about material, color, finish, purpose, and critical dimensions.
If you have both the editable CAD file and the exported mesh, send both or mention that the CAD file is available. That gives the print provider more flexibility if the mesh needs adjustment.
What to Include When Requesting a Custom 3D Print
A clean file is important, but context is just as important. A print provider can make better decisions when they understand what the object needs to do.
For a smoother estimate, include:
- The 3D file, preferably STL, 3MF, OBJ, STEP, or a ZIP with all related assets.
- The intended dimensions, especially if the file format may not store units.
- The purpose of the part, such as display, prototype, replacement, cosplay, tool, or fixture.
- Any critical surfaces, holes, threads, snap fits, or cosmetic areas.
- Preferred material, color, and finish if you already know them.
- Quantity needed and whether this is a one-off, prototype, or repeat order.
- Any license or designer authorization if the model is not your original work.
This information helps avoid guesswork. For example, a decorative dragon statue, a bracket for a workshop jig, and a product prototype might all be printable, but they should not be prepared the same way.
When File Repair Is Enough and When Redesign Is Better
Automatic repair tools are useful, but they are not magic. They can close small holes, remove duplicate faces, and fix minor mesh errors. They cannot always understand design intent.
File repair is usually enough when the issue is simple, such as a few open edges, flipped normals, or a minor mesh export problem. Redesign is often better when the model has no wall thickness, impossible clearances, weak load-bearing features, or geometry made only for visual rendering.
This distinction matters because a repaired file can become technically printable while still being a poor physical design. For example, a thin phone stand might slice successfully but snap the first time it is used. A miniature sword might print beautifully but break during support removal if the blade is too thin.
The best results come from combining file cleanup with design-for-print thinking.
How Firecloud Printz Helps Turn Files Into Finished Prints
Firecloud Printz specializes in custom 3D printing, ready-made designer-authorized prints, high-detail output, multiple material options, and quick order estimates. If you already have a file, a clear preflight makes it easier to evaluate. If you are not sure whether your model is ready, sharing the file with notes about size, purpose, and finish expectations can help identify potential issues before production.
For customers who do not want to troubleshoot every mesh error themselves, working with a print service is often the simplest path. You get help matching the file, material, and printing approach to the result you want, whether that is a display piece, prototype, replacement component, or small custom order.
Frequently Asked Questions
What is the best 3D file format for 3D printing? STL is the most widely accepted, but 3MF is often better when supported because it can store units and additional print-related data. For functional CAD parts, STEP is also helpful for review and conversion.
Can I send a ZIP file for 3D printing? Yes, a ZIP file is useful when your project includes multiple parts, OBJ textures, reference images, or notes. Make sure the actual 3D model file is included inside the ZIP.
Why does my 3D file open too small or too large? The most common reason is a unit mismatch. STL files do not reliably store units, so a model designed in inches may be interpreted as millimeters. Always provide intended dimensions with your order.
Are video game or animation models printable? Sometimes, but they often need repair. Models made for screens may have thin surfaces, open geometry, overlapping parts, or details that look good visually but cannot exist as durable physical features.
Do I need to repair my file before requesting a quote? Not always. Basic checks are helpful, but you can still request guidance if you are unsure. Include your file, intended size, purpose, and any critical features so the print provider can evaluate it properly.
Can a bad 3D file always be fixed? Many issues can be repaired, but some files need redesign. If the model lacks thickness, has unrealistic tolerances, or was never built as a physical object, remodeling may produce a better result than automatic repair.
Ready to Print From a Clean File?
Better 3D files lead to better prints, faster estimates, and fewer surprises. Before sending your model, check the format, scale, geometry, wall thickness, clearances, and licensing. If anything is uncertain, include notes so your print provider can understand the intended result.
When you are ready to bring your design to life, visit Firecloud Printz to explore custom 3D printing services, ready-made designer-authorized products, and support for turning digital models into high-quality physical prints.
