
3D Model Printing Guide: From File to Finished Part
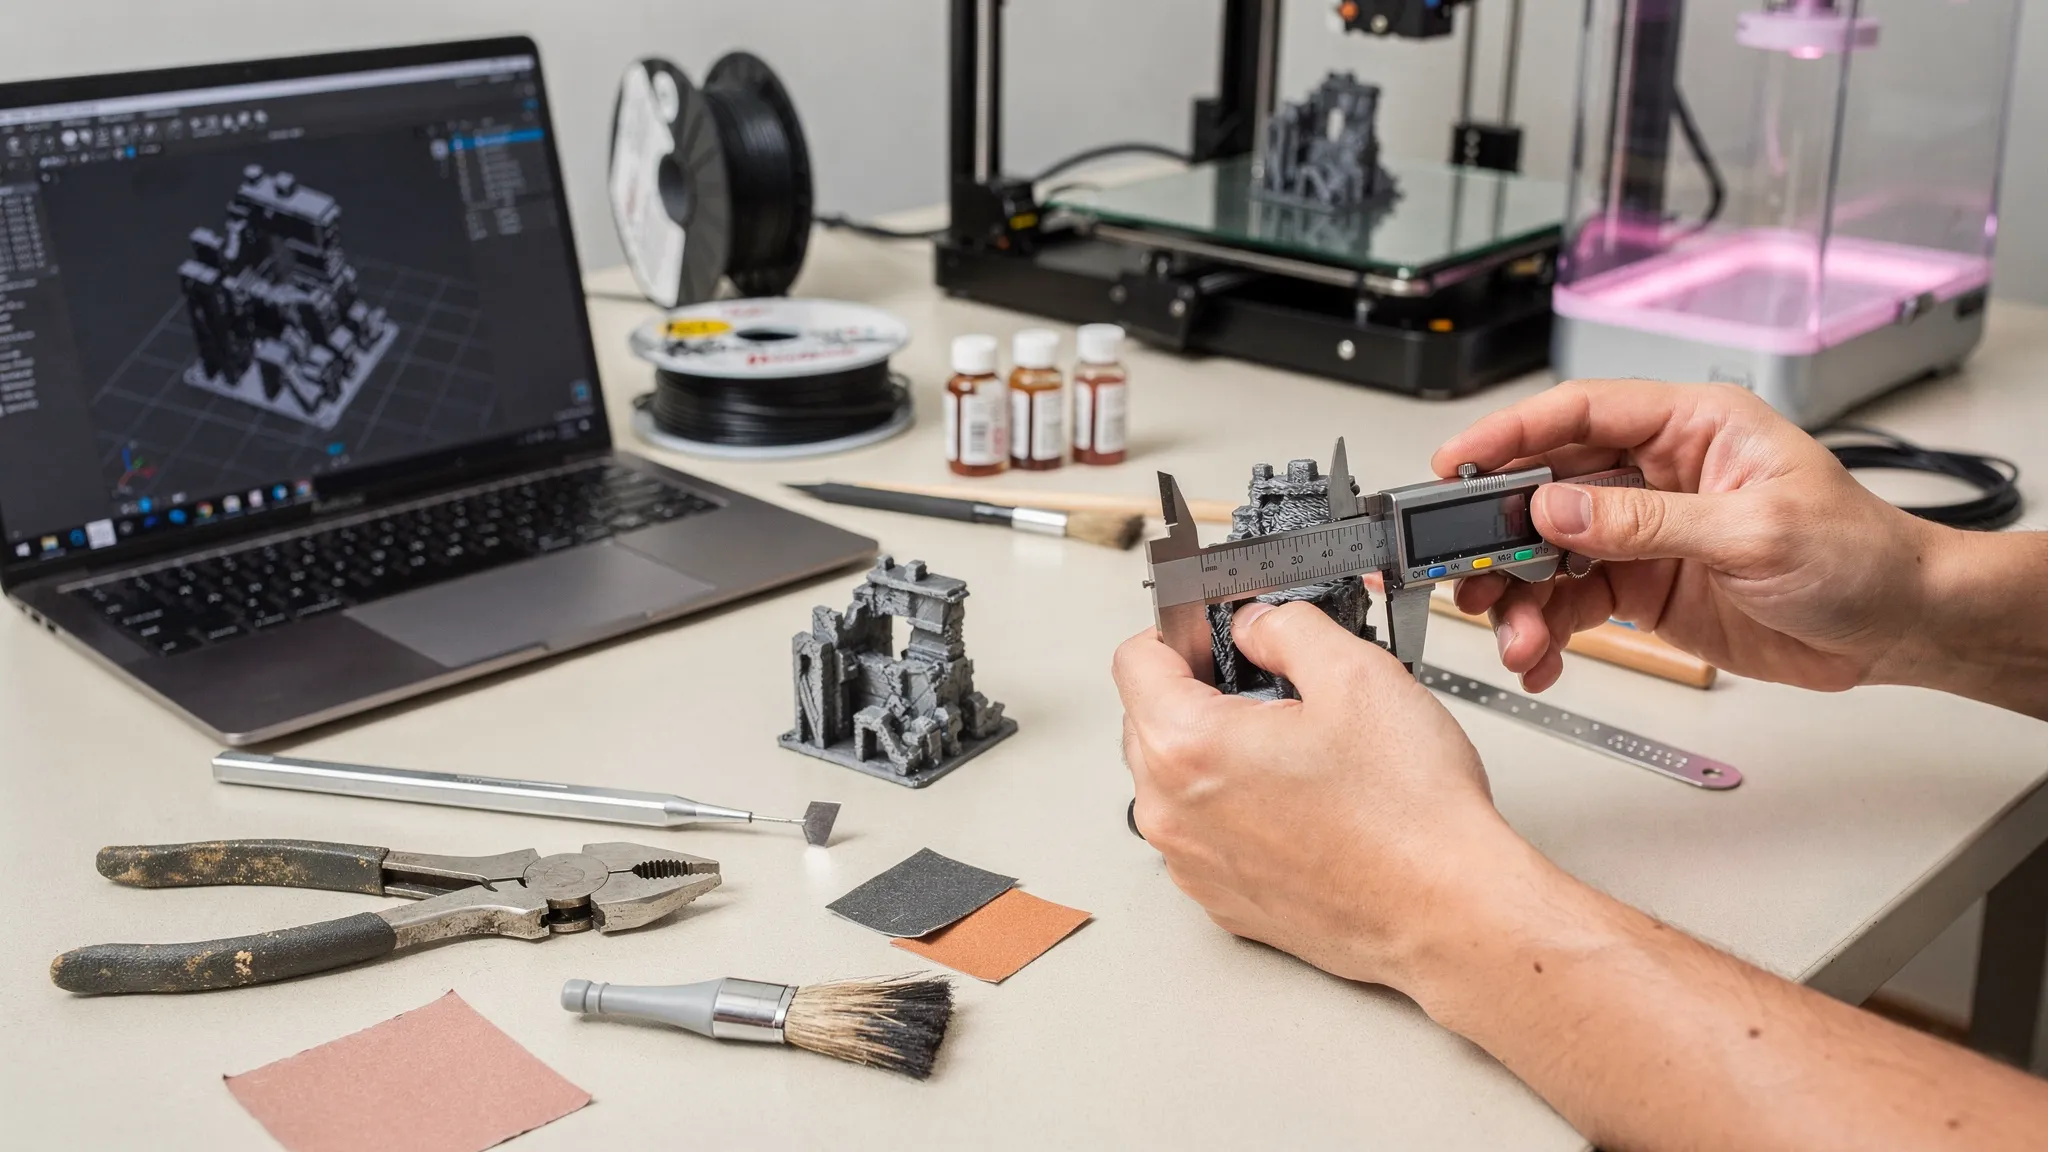
A 3D model is only the starting point. The finished part depends on a chain of decisions: file format, scale, wall thickness, material, print process, orientation, supports, post-processing, and inspection. Skip one of those steps and even a great-looking model can become a weak, warped, oversized, undersized, or costly print.
This guide walks through the practical 3D model printing workflow from file to finished part, so you know what to check before you print at home or send a file to a professional service like Firecloud Printz.
What 3D model printing actually involves
3D model printing is the process of turning a digital 3D file into a physical object through additive manufacturing. Instead of cutting material away from a block, a printer builds the part layer by layer from plastic, resin, powder, or another printable material.
That sounds simple, but the printer does not understand your design intent. It only follows instructions created from your file. A model that looks perfect on screen may still have paper-thin walls, disconnected surfaces, unclear units, unsupported overhangs, or details that are too small for the selected process.
A reliable workflow bridges that gap. It translates “this is what I want” into “this is how the part should be made.”
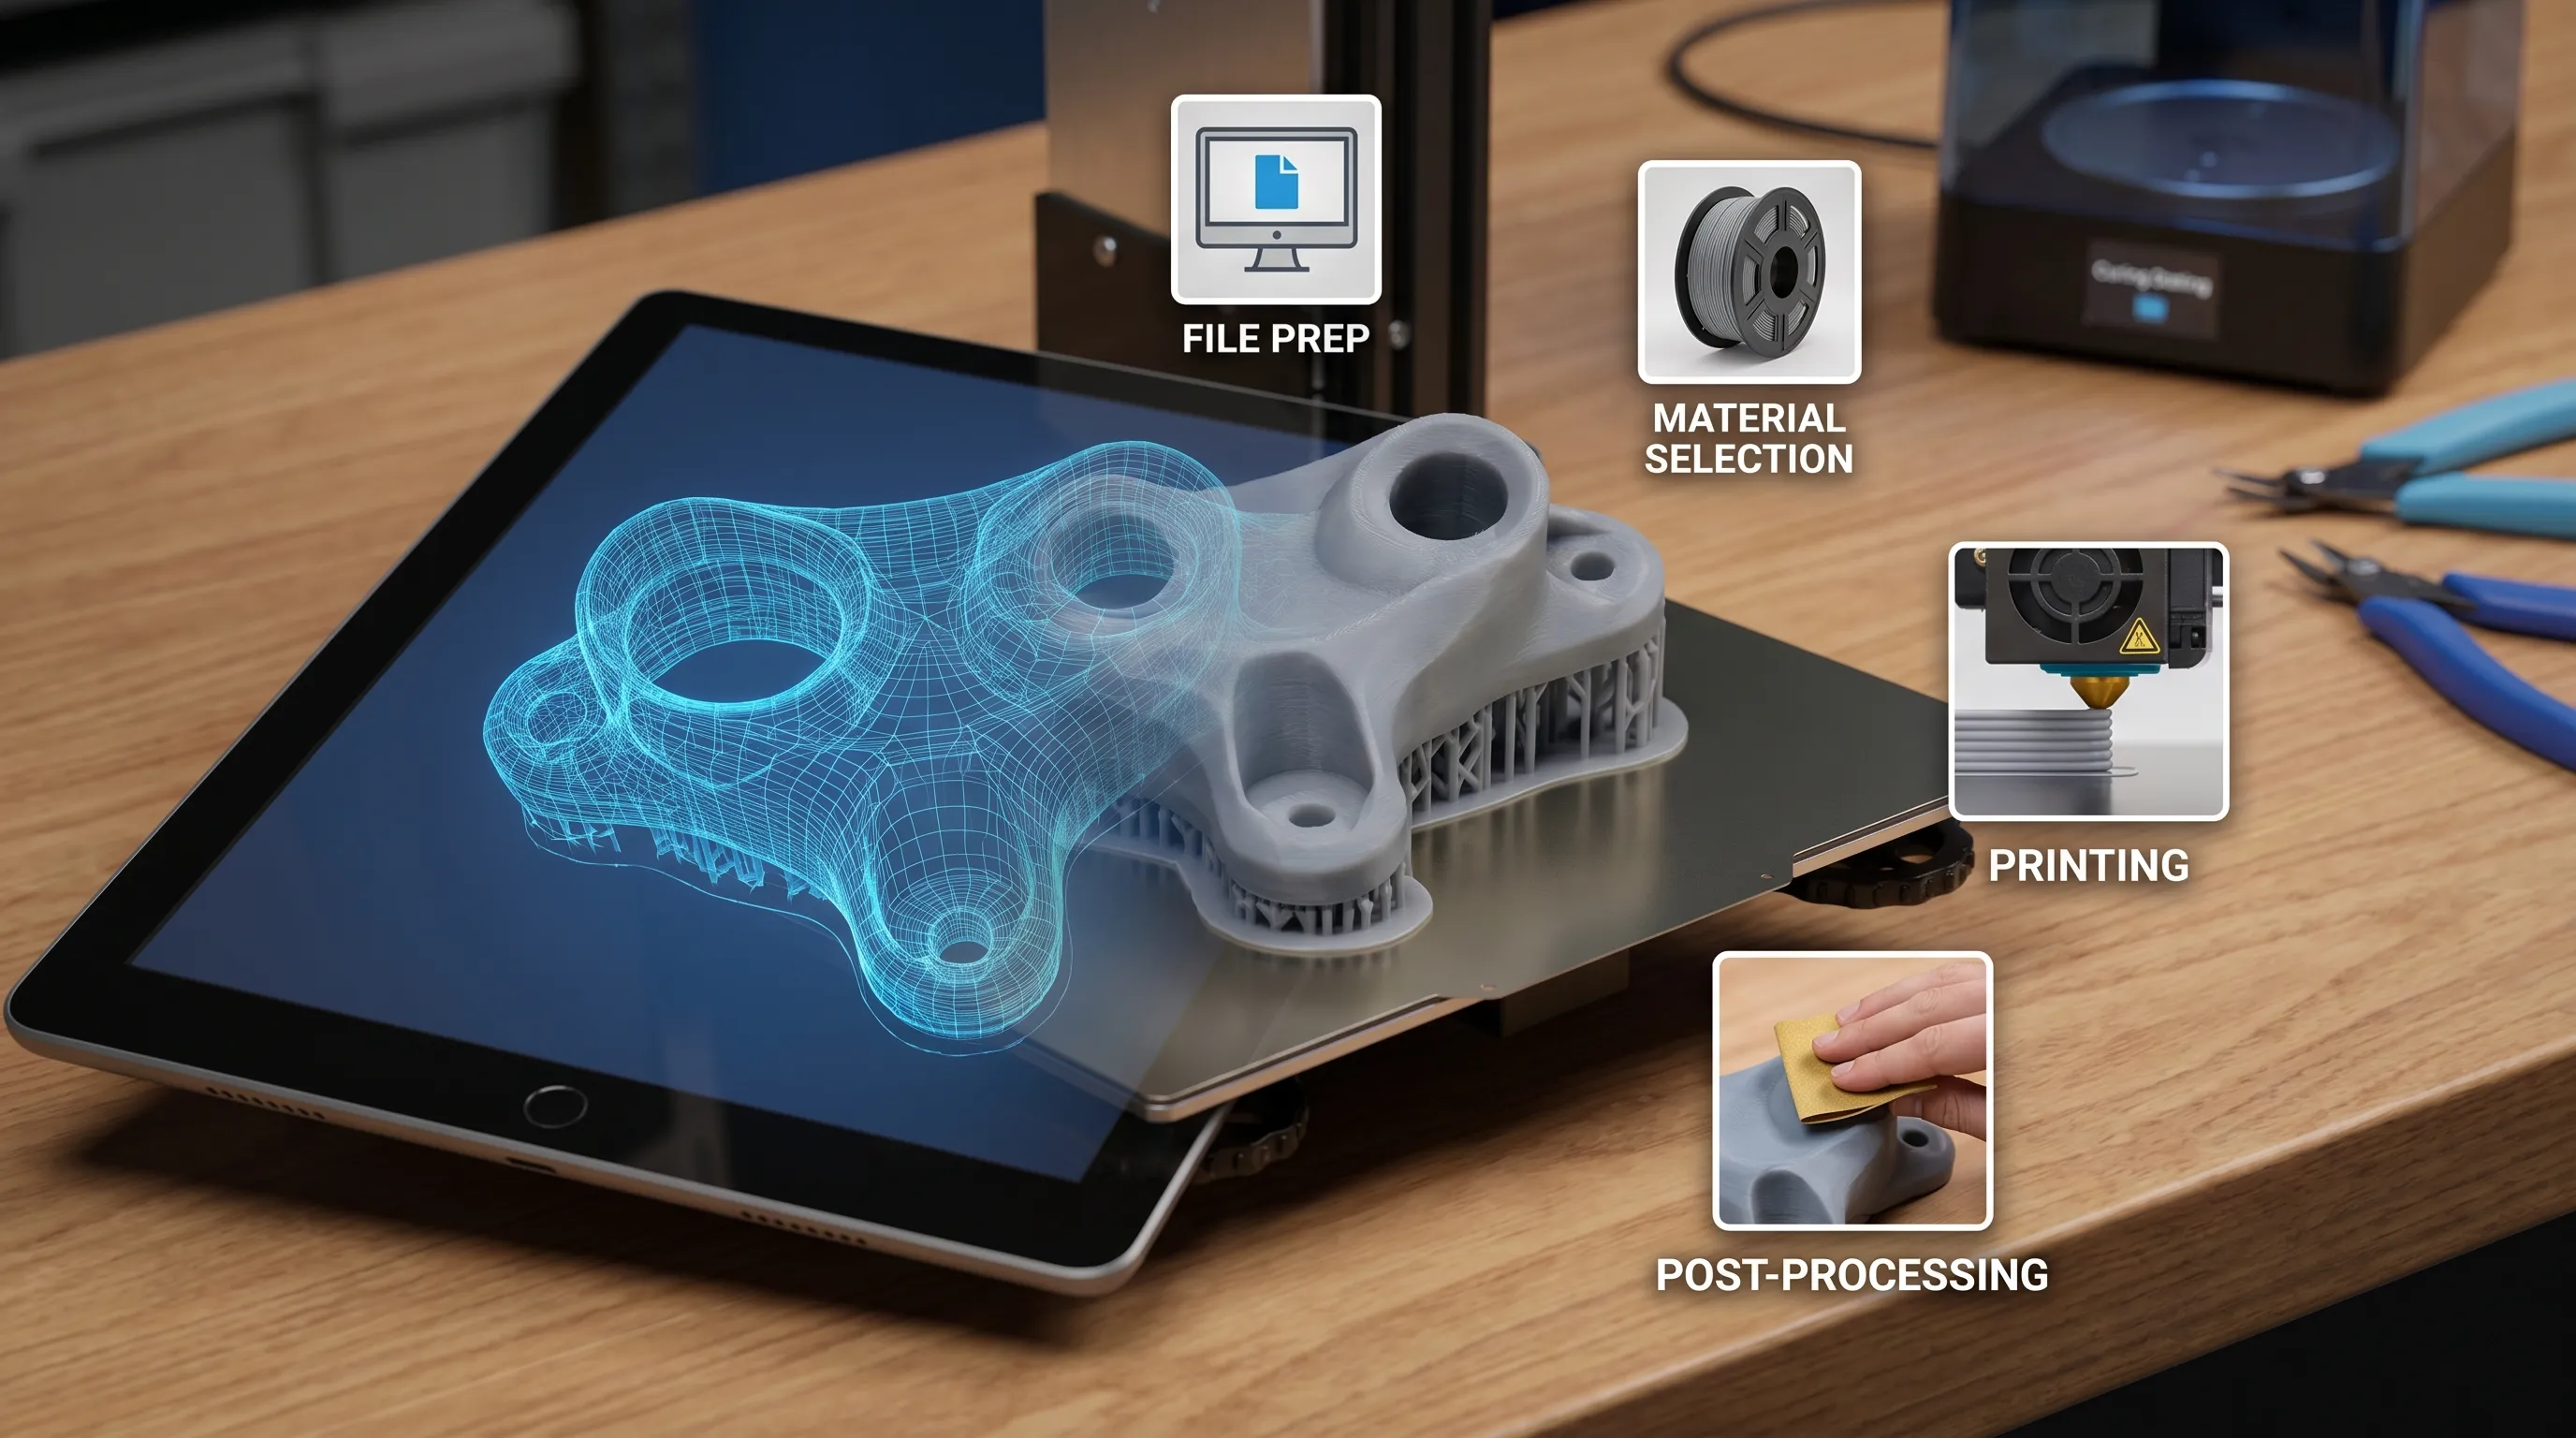
Step 1: Define what the finished part needs to do
Before fixing the file or choosing a material, define the purpose of the part. A display model, cosplay accessory, replacement knob, product prototype, tabletop miniature, and business fixture all have different success criteria.
If the part only needs to look good on a shelf, surface detail and finish may matter more than strength. If it needs to hold weight, snap into another component, or survive outdoor use, material and geometry become more important than cosmetic perfection.
| Part goal | What matters most | Details to define before printing |
|---|---|---|
| Decorative model | Detail, surface finish, color, support marks | Display distance, visible faces, desired finish |
| Functional prototype | Fit, scale, stiffness, iteration speed | Critical dimensions, mating parts, expected handling |
| Replacement part | Strength, heat resistance, tolerance | Original dimensions, load direction, environment |
| Retail or display item | Appearance, repeatability, durability | Branding needs, batch quantity, customer-facing surfaces |
| Miniature or collectible | Fine detail, clean supports, crisp features | Scale, fragile areas, licensing rights |
This step is also where you should think about business context. Custom printed fixtures, signage mockups, display stands, and sample models can help physical retailers test presentation ideas before committing to larger fabrication. For example, customer-facing stores with carefully curated showroom experiences, such as bridal boutiques with extensive wedding collections, often need polished presentation details where a prototype or custom display component could be useful.
Step 2: Choose the right file format
Most 3D printing projects begin with an STL, 3MF, OBJ, or STEP file. Each format carries different information, and that affects how easy it is to quote, repair, scale, and print the model.
STL is common and widely accepted, but it only describes surface geometry. It usually does not preserve color, material assignments, units, or manufacturing notes. 3MF is often more useful for modern 3D printing because it can store richer print information. OBJ is common for sculpted or artistic models, especially when textures are involved. STEP is preferred when the model comes from engineering CAD and may need dimensional edits.
| File format | Best for | Watch out for |
|---|---|---|
| STL | Simple printable models and broad compatibility | Units may be unclear, no material or color data |
| 3MF | Printing-ready files with richer information | Not every older workflow uses it well |
| OBJ | Sculpted models, organic shapes, textured assets | Textures may not translate to physical color unless specified |
| STEP | Mechanical parts and editable CAD geometry | Often needs conversion before slicing |
If you are ordering from a print service, send the original file if possible. If you have both a STEP and an STL, providing both can help the shop review the design more accurately. For a deeper pre-order checklist, Firecloud Printz also has a related guide on what you need before ordering a 3D print from a file.
Step 3: Preflight the model before printing
Preflighting means checking whether the file is physically printable. It is one of the most important parts of 3D model printing because it catches problems before money, time, and material are wasted.
Start with scale and units. A model designed in inches but interpreted as millimeters may print far too small. A miniature downloaded online may look detailed on screen but have swords, fingers, railings, or clips that are thinner than the printer can reliably produce.
Next, check geometry. A printable model should generally be watertight, also called manifold. That means the surfaces form a complete solid volume without holes, inverted faces, or internal fragments that confuse slicing software. Non-manifold geometry can cause missing layers, unexpected walls, hollow sections, or failed prints.
Wall thickness also deserves attention. Visual models can get away with thin surfaces on screen, but physical parts need enough material to survive printing, support removal, handling, and normal use. Thin areas may snap, curl, or never form correctly.
Key file checks include:
- Confirm the correct scale and units.
- Make sure the model is watertight and has no missing surfaces.
- Check that walls, pins, clips, and decorative details are printable.
- Remove hidden internal shells or duplicate geometry.
- Confirm that the model is legally allowed to be printed, especially for commercial use.
- Label critical dimensions if the part must fit another object.
If the model is from a designer, marketplace, or subscription community, review the license. Personal-use files should not be used for commercial sales unless the designer allows it. Firecloud Printz offers ready-made designer-authorized prints, which helps customers buy unique products without guessing whether a file is legitimate.
Step 4: Match the process and material to the part
The best printing method depends on what the part needs to do. A large bracket, a detailed miniature, and a small batch of customer-facing products may all need different processes.
FDM printing is common for practical parts, prototypes, organizers, brackets, and larger objects. It uses filament and is often a strong choice when cost, size, and material variety matter. Resin printing can produce sharper detail and smoother surfaces, making it useful for miniatures, display models, intricate designs, and small high-detail parts. Powder-based processes can be useful for durable, complex, or support-free geometries, although availability depends on the service provider and project requirements.
| Need | Often suitable approach | Why it helps |
|---|---|---|
| Lower-cost prototype | FDM | Fast iteration and practical material options |
| Fine detail | Resin | Crisp features and smooth surfaces |
| Larger display object | FDM or split assembly | Better size flexibility and manageable cost |
| Durable functional part | Material-specific FDM or powder process | Better performance when matched to loads and environment |
| Small batch of polished products | Resin, FDM, or powder depending on design | Balances appearance, repeatability, and cost |
Material selection should follow the part’s environment. Will it sit in a hot car? Be used outdoors? Flex repeatedly? Hold a screw? Contact skin? Need a smooth painted finish? These questions matter more than simply asking for “the strongest material.”
Strength is not only a material property. It also depends on wall thickness, part orientation, layer direction, infill, corners, fillets, and how forces travel through the geometry. If strength and finish are both important, review the design as a system rather than relying on material choice alone. For more detail on this topic, see Firecloud Printz’s guide to improving strength and finish in 3D printer prints.
Step 5: Plan orientation, supports, and surface quality
Orientation is one of the most overlooked decisions in 3D model printing. It affects strength, visible layer lines, support marks, print time, and the risk of failure.
For FDM parts, layer lines create directional behavior. A part may be strong along one axis but weaker between layers. If a hook, tab, or bracket will be pulled in a certain direction, orientation can determine whether it holds or snaps.
For resin parts, orientation helps manage suction forces, drainage, support placement, and surface quality. A flat face printed directly parallel to the build plate may not always produce the best result. Angled orientation can reduce visible artifacts, but it may require more supports.
Supports are temporary structures that hold overhangs during printing. They are useful, but they leave marks and add labor. Good design reduces unnecessary supports by using chamfers, fillets, self-supporting angles, flat mating faces, or split assemblies.
A practical rule is to decide which surfaces matter most. If one side will face the customer, place supports on a hidden side when possible. If a face must mate with another part, avoid heavy support scarring there unless it will be sanded, machined, or otherwise finished.
Step 6: Slice the model into printer instructions
Slicing software converts the 3D model into machine instructions. It calculates layer height, wall paths, infill, supports, speeds, temperatures or exposure settings, and other process-specific details.
Layer height influences detail and print time. Thinner layers can improve curved surfaces and fine detail, but they usually take longer. Thicker layers can be faster and practical for large prototypes, but they may show more visible stepping.
Wall settings often matter more than infill for strength. A part with sensible wall thickness and well-planned geometry may outperform a poorly designed part with very high infill. For functional prints, focus on walls, load paths, fillets, and orientation before assuming that more infill solves everything.
Slicing is also where the estimate becomes more realistic. Two models with the same outer dimensions can have very different print times if one needs heavy supports, fine layers, multiple parts, or extensive post-processing.
Step 7: Print with process control in mind
Once the file is prepared and sliced, the actual printing begins. This stage may look automatic, but quality still depends on controlled conditions.
For filament printing, bed adhesion, material dryness, nozzle condition, temperature stability, and first-layer quality can make or break the print. For resin printing, exposure settings, resin handling, support strategy, cleaning, and curing all affect the final result. For any process, consistency matters more as the part moves from one-off prototype to repeatable production.
The first stage of a print is especially important. Poor adhesion, early lifting, missing supports, or visible shifting can signal a failed build long before the print finishes. Catching those issues early saves time and material.
Professional services add value here because they are not just pressing “print.” They are reviewing the file, selecting settings, managing equipment, handling materials, and checking the result against the order requirements. Firecloud Printz focuses on high-detail custom 3D printing, quick order estimates, multiple material options, and efficient production for both custom orders and ready-made designer products.
Step 8: Post-process the part for its final use
A print is not always finished when it leaves the machine. Post-processing turns a raw part into a usable, presentable object.
Basic post-processing may include removing supports, trimming edges, cleaning residue, curing resin, sanding contact points, or assembling split parts. More advanced finishing can include filler primer, painting, vapor smoothing for compatible materials, threaded inserts, hardware installation, or surface polishing.
| Finish goal | Common post-processing steps | Tradeoff |
|---|---|---|
| Clean prototype | Support removal, light cleanup | Fast, but layer lines may remain visible |
| Display-ready surface | Sanding, priming, painting | Better appearance, more labor and cost |
| Functional assembly | Drilling, inserts, hardware, test fitting | Improves usability, requires planning |
| Resin miniature | Washing, curing, careful support cleanup | High detail, more handling steps |
| Customer-facing product | Batch cleanup, inspection, consistent packaging | More repeatable, but needs quality control |
If you plan to paint the part, say so early. The print orientation and material choice can affect how easily the surface can be finished. If a hole will receive a screw insert, that should also be known before printing, not discovered after the part is already made.
Step 9: Inspect the finished part
Inspection closes the loop between the digital file and the physical result. At minimum, inspect the part visually and confirm that it matches the intended scale and appearance.
For functional parts, check critical dimensions with calipers. Test fit with the mating component if available. Look for cracks, layer separation, warped corners, support damage, blocked holes, or features that are too fragile for use.
A good inspection process asks three questions:
- Does the part match the approved model and order notes?
- Does it meet the functional requirements that were defined at the start?
- If it needs revision, is the issue caused by the model, material, orientation, tolerance, or finish expectation?
That last question is important. Not every imperfect first print is a failure. In product development, the first version often reveals what to adjust. A prototype may show that a clip needs more clearance, a handle needs a fillet, or a decorative detail needs to be enlarged.
Common issues and how to prevent them
Many 3D printing problems are predictable. They usually come from unclear requirements, weak geometry, the wrong material, or mismatched expectations about finish and tolerance.
| Problem | Likely cause | Prevention |
|---|---|---|
| Part prints too small or too large | Unit mismatch or incorrect scaling | Confirm dimensions before slicing or ordering |
| Thin details break | Features are below practical print size | Thicken fragile areas or choose a finer process |
| Holes or tabs do not fit | No clearance allowance | Define mating parts and test critical fits |
| Warped corners | Material shrinkage, geometry, or bed adhesion | Add fillets, split large parts, choose a better material |
| Rough visible surface | Orientation or support placement | Put supports on hidden faces and plan finishing |
| Quote changes after review | Missing requirements or non-printable file issues | Send notes, dimensions, material goals, and use case upfront |
The most useful prevention step is communication. A print shop can make better recommendations when it knows what the part is for, which surfaces are visible, what dimensions matter, and whether the item is decorative, functional, or production-bound.
What to send when requesting a 3D model printing estimate
If you want a fast and accurate estimate, send more than just the file. The model is essential, but it rarely tells the whole story.
Include the following details with your request:
- The 3D file, preferably STL, 3MF, OBJ, or STEP.
- The desired size or at least one known reference dimension.
- The intended use of the finished part.
- Any required material, color, or finish preferences.
- Which surfaces are cosmetic or customer-facing.
- Quantity needed and whether this is a prototype or final part.
- Tolerance or fit requirements for holes, clips, lids, joints, or mating parts.
- Any designer license or authorization if the file is not your own.
- Your timeline or deadline if timing matters.
Clear notes reduce back-and-forth and help avoid assumptions. If you are unsure about material, finish, or process, describe the goal instead. A good printing partner can recommend options based on the part’s purpose.
FAQ
What is the best file type for 3D model printing? STL is the most common, but 3MF and STEP can be better when you need richer data or editable CAD geometry. If you are unsure, send the best original file you have and include scale notes.
Can any 3D model be printed? Not always. Some models are made only for rendering, animation, or games. Printable models need real thickness, closed geometry, suitable scale, and features that the chosen process can reproduce.
How long does it take to print a 3D model? Timing depends on size, material, detail level, supports, quantity, and post-processing. A small simple part may be quick, while a large or highly detailed item can require more production and finishing time.
Why does my printed part not match the screen exactly? Digital models are ideal geometry, while physical prints are affected by material behavior, layer height, orientation, supports, shrinkage, and finishing. Good file preparation and clear requirements help close that gap.
Do I need to know the exact material before ordering? No. It helps if you have a preference, but you can also describe the part’s use, environment, strength needs, and finish expectations. The print provider can suggest suitable material options.
Can Firecloud Printz print designer files? Firecloud Printz offers designer-authorized ready-made prints and custom 3D printing services. If you provide a third-party file, make sure you have the right to print it, especially for commercial use.
Turn your 3D model into a finished part
Successful 3D model printing is not just about owning a file. It is about preparing that file, choosing the right process, planning the build, finishing the part, and checking whether it meets the original goal.
If you have a custom design, prototype, replacement part, miniature, or display concept ready to print, Firecloud Printz can help turn your digital model into a tangible product with attention to detail and efficient turnaround. You can also browse the online shop for unique designer-authorized prints or start with a quick custom order estimate.
Visit Firecloud Printz to bring your next idea from file to finished part.
