
3D Printing Process Step by Step (Without the Jargon)
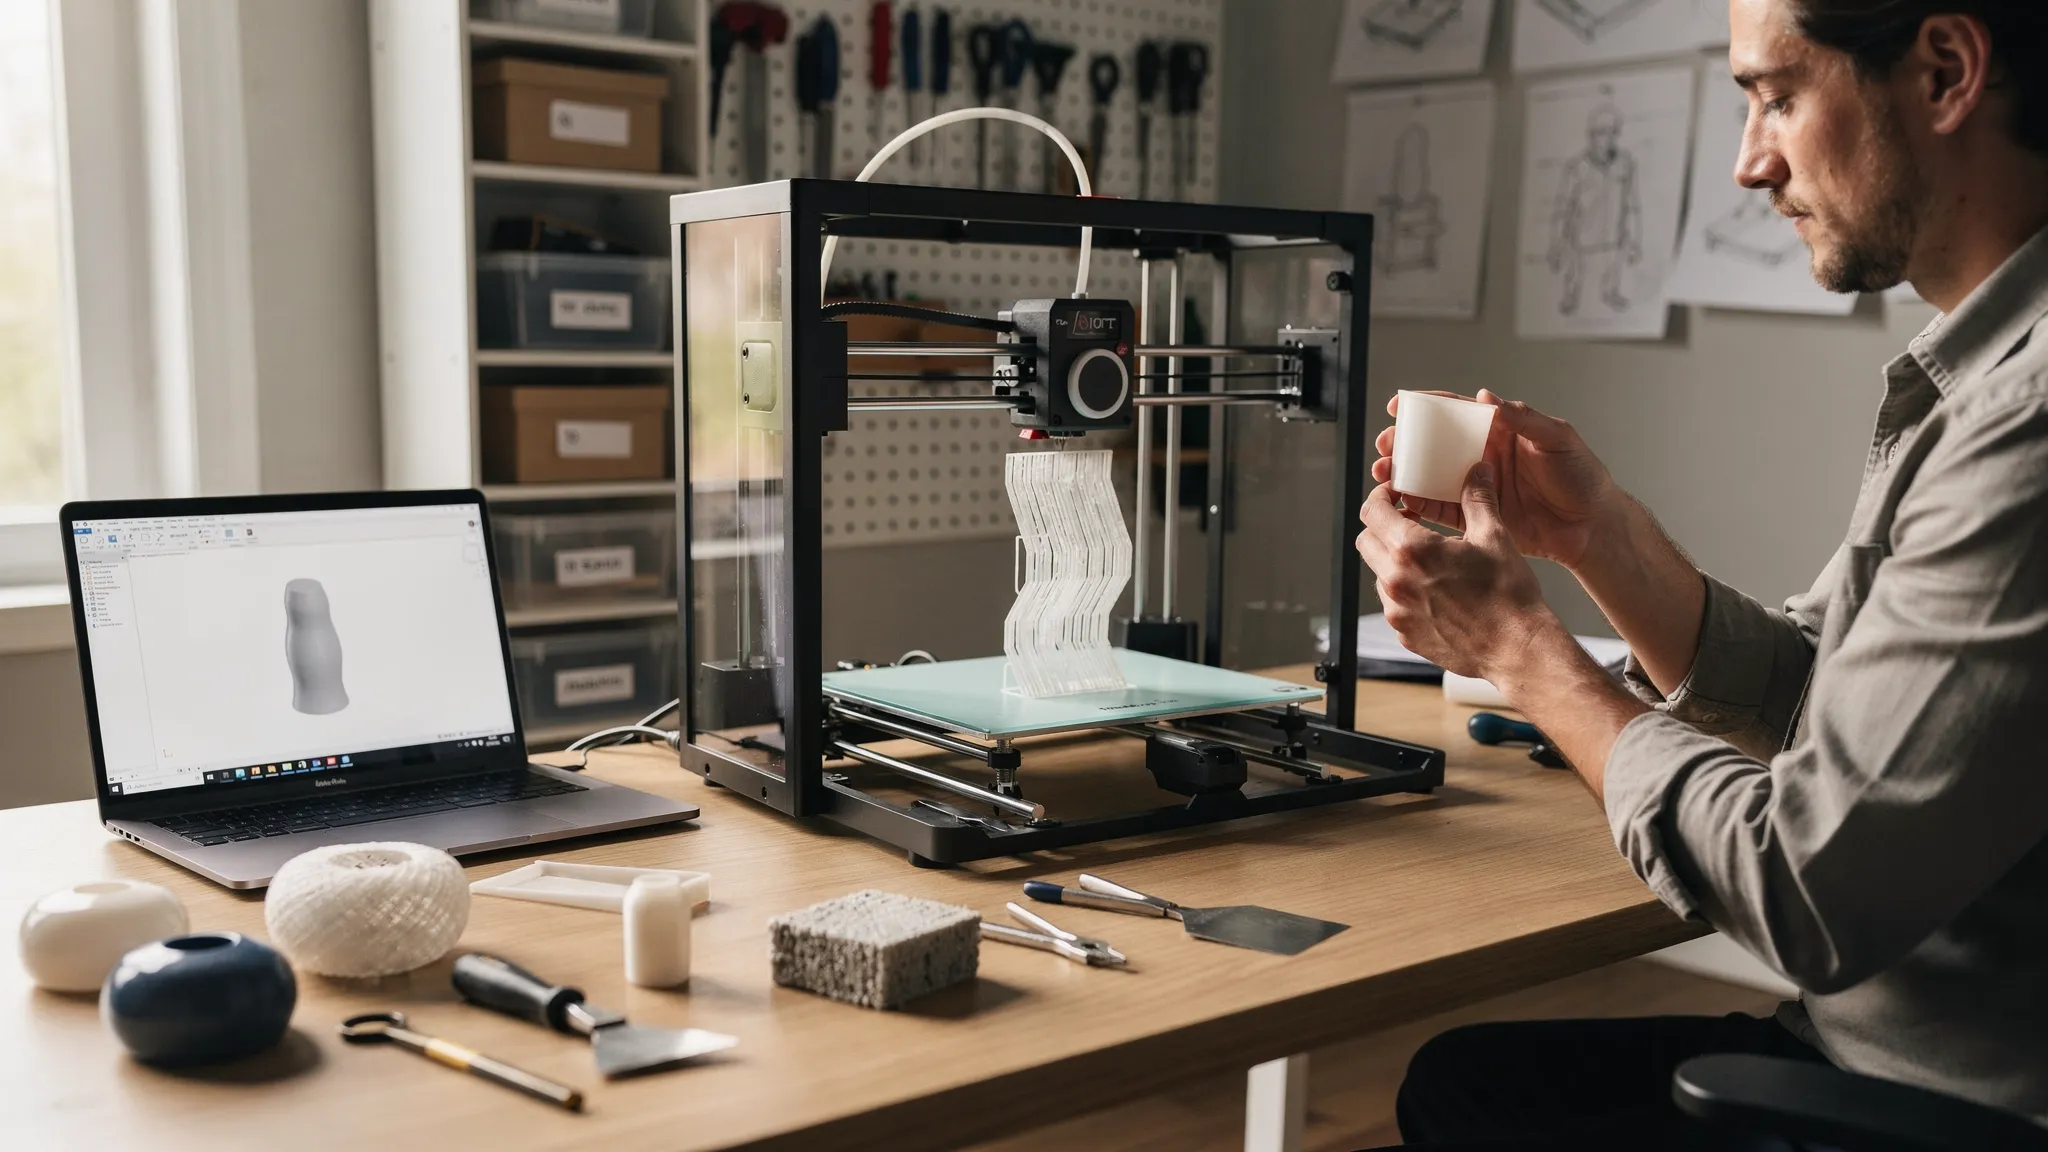
Most people imagine 3D printing as “press print and wait.” In reality, the 3D printing process is a short chain of decisions that turn a digital file into a part you can hold, with each step affecting strength, detail, cost, and how much cleanup you will need afterward.
This guide walks through the process step by step, in plain English, whether you are printing at home or ordering from a service.
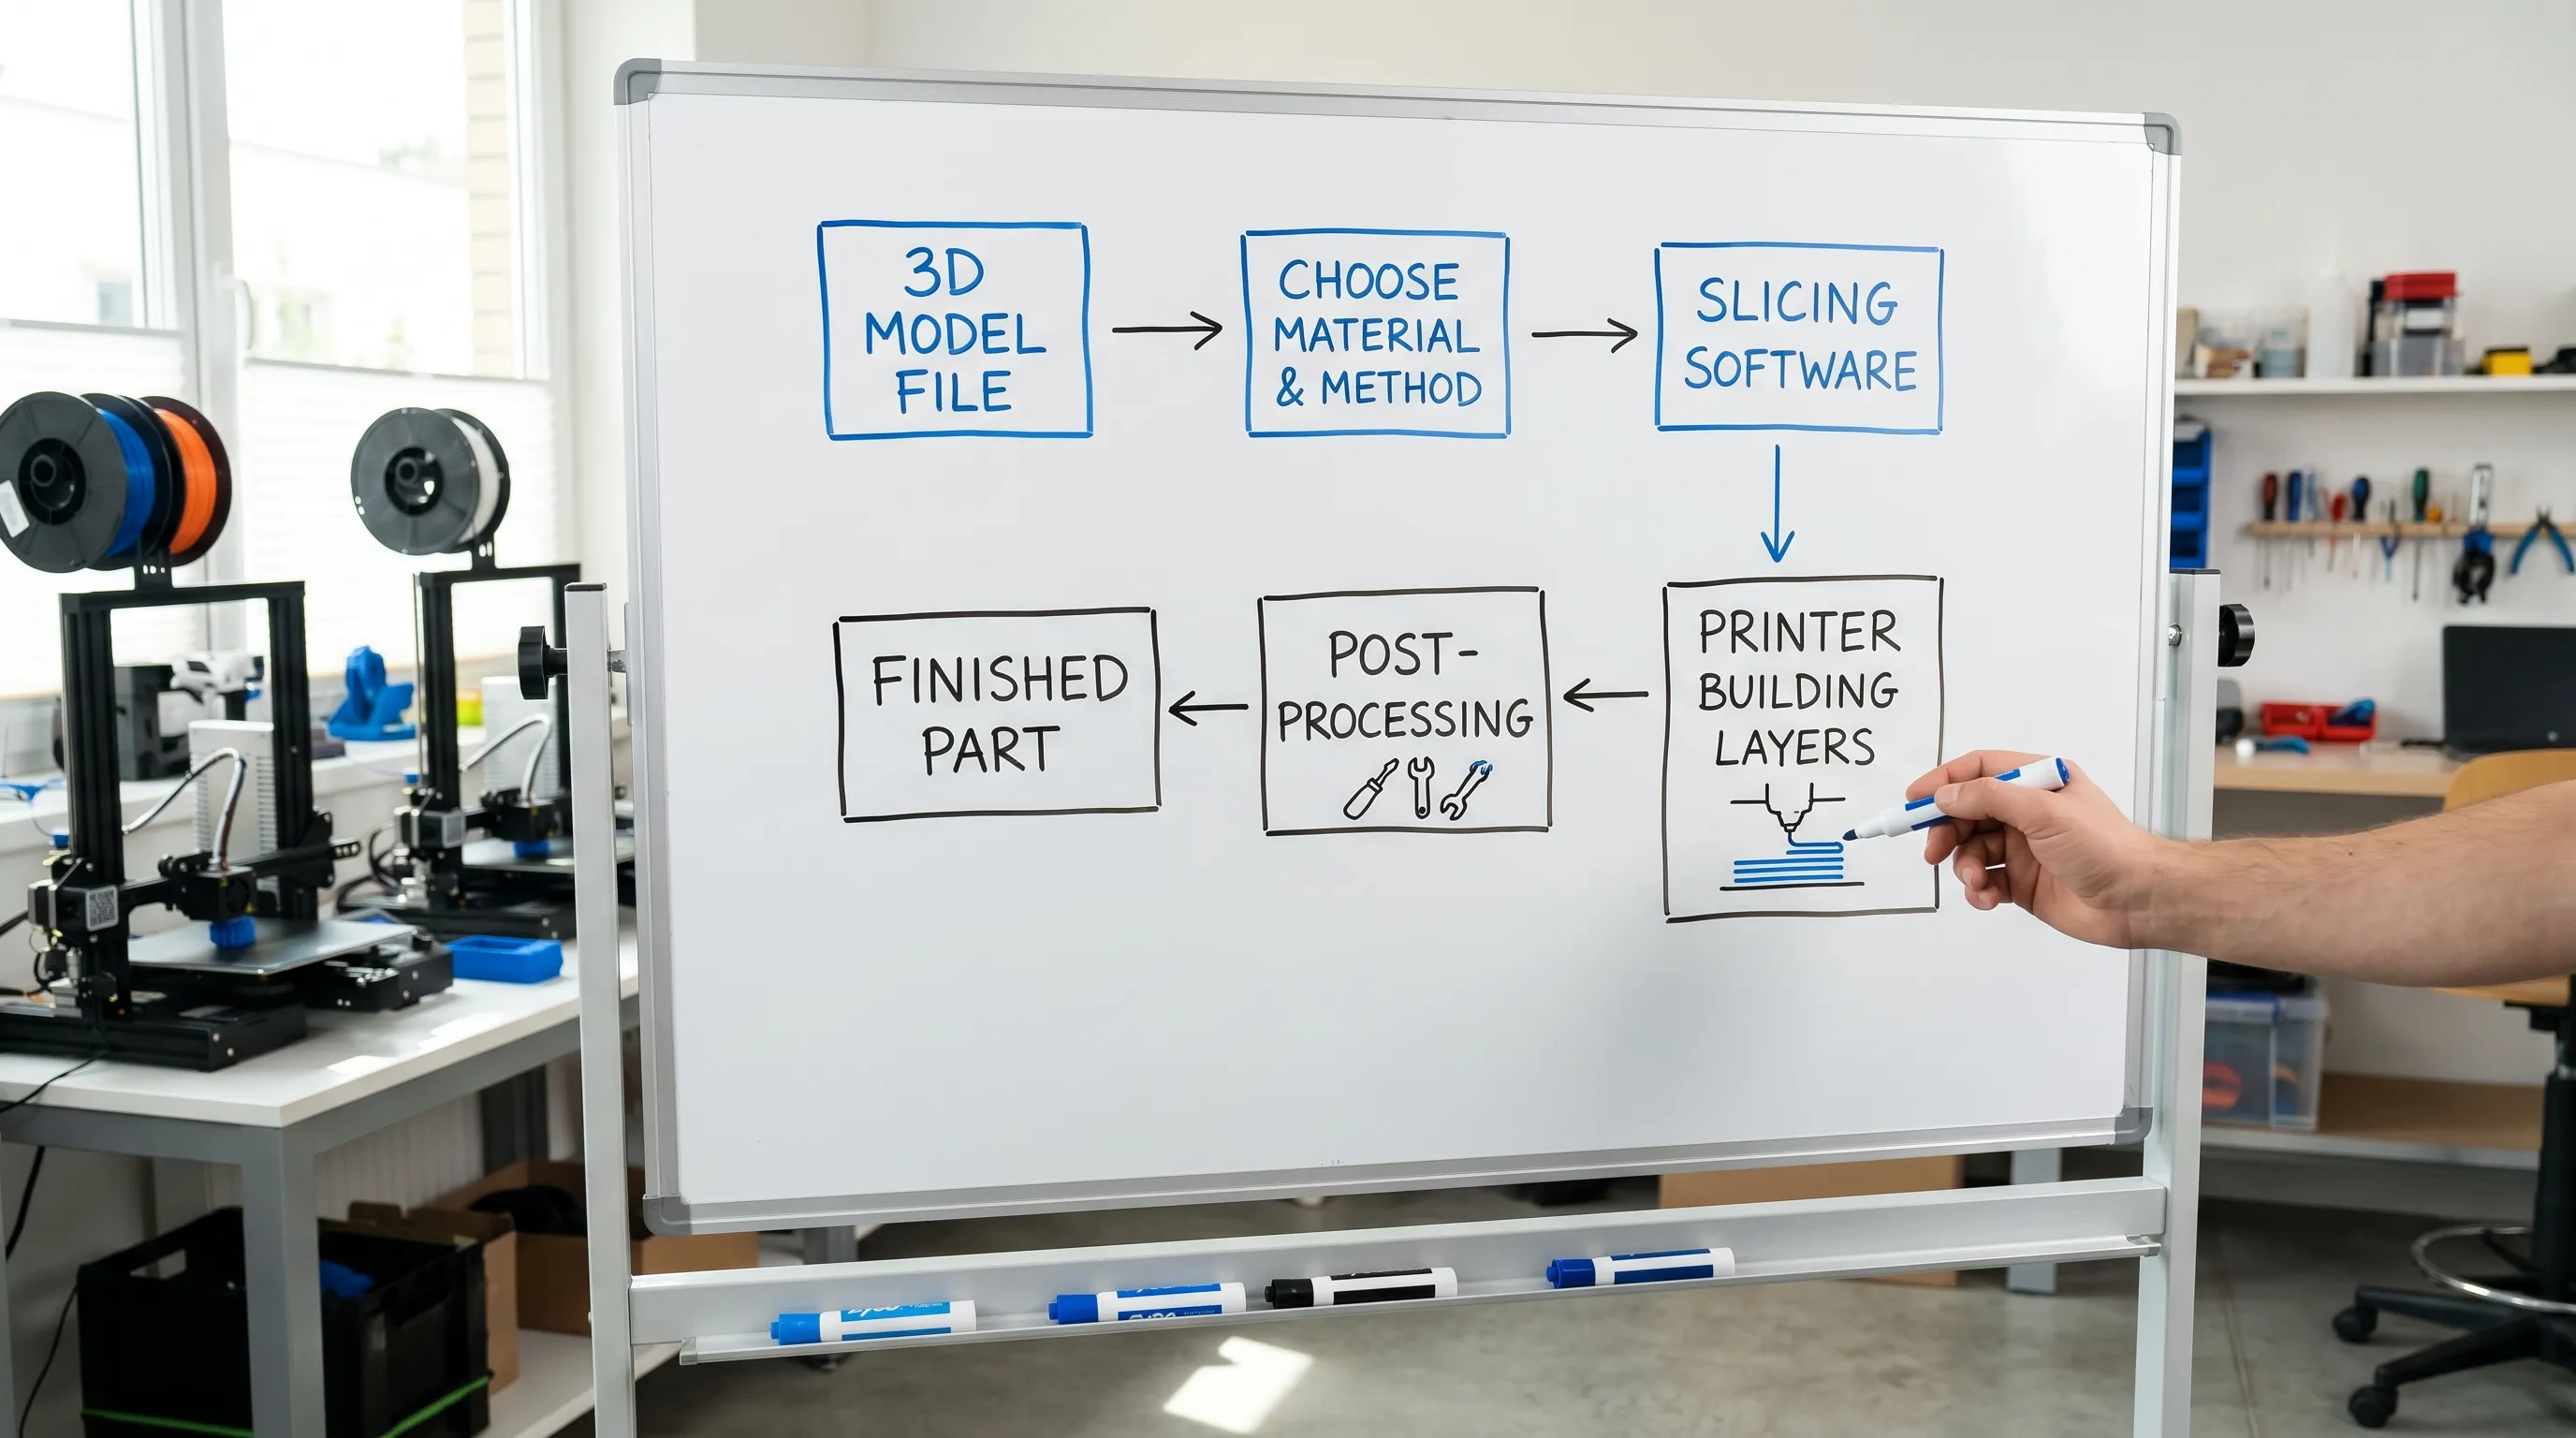
The 3D printing process at a glance
Here is the whole workflow in one view. If you understand this table, you understand 80 percent of 3D printing.
| Step | What happens (no jargon) | What you decide | What it affects most |
|---|---|---|---|
| Design | You start with a 3D model file | Is the model printable and sized correctly? | Success rate, accuracy |
| Choose method + material | You pick how it will be printed and what it is made from | Plastic type, resin type, nylon powder, etc. | Strength, finish, heat resistance |
| Prep (slicing) | Software converts your model into printer instructions | Orientation, supports, quality level | Surface quality, time, cleanup |
| Machine builds the part layer by layer | Speed vs detail tradeoffs | Print time, defects | |
| Post-process | You remove supports and finish the surface | Sanding, curing, painting | Final look and feel |
| Check + iterate | You confirm it fits and works | Adjust design/settings if needed | Reliability, repeatability |
Step 1: Start with a 3D model (the “recipe”)
A 3D printer does not invent shapes, it follows a model file. You might get that file from CAD software, a 3D scan, or a marketplace where designers share printable models.
At this step, the biggest “gotchas” are simple:
- Scale and units: A model drawn in millimeters but interpreted as inches becomes comically large.
- Thin features: A sword blade, clip, or tiny text might look great on screen but be too thin to survive printing and handling.
- Watertight geometry: The model should represent a solid object, not a confusing shell with holes in the mesh.
If you want a deeper checklist for files (formats, licensing, printability checks), Firecloud Printz already has a strong guide on how to choose a 3D model for 3D printer success.
Step 2: Choose a printing method and material (the “ingredients”)
“3D printing” is an umbrella term. Different machines build parts in different ways, and the material choice matters as much as the model.
A simple way to think about the common options:
FDM (filament printing)
This is the style many people picture: a heated nozzle lays down melted plastic like a very precise glue gun. It is great for functional prototypes, brackets, and larger parts where cost matters.
Resin printing (SLA or similar)
Liquid resin is hardened by light to form layers. Resin is often used for high detail, smooth surfaces, miniatures, and parts with fine features.
Powder-based printing (SLS and related)
Powder is fused into a solid part. Because powder supports the part during printing, this method can handle complex shapes without the same kind of support structures you see on other processes.
Your material choice should match real-world needs:
- Display piece or collectible: Prioritize detail and surface finish.
- Functional part: Prioritize strength, temperature resistance, and durability.
- Part that must fit with other parts: Prioritize predictability and plan for post-processing and tolerance.
If you want a broader overview of methods and typical applications, see Firecloud Printz’s primer on additive printing explained: materials, uses, and benefits.
Step 3: Prep the print in a slicer (the “translation step”)
A 3D printer cannot read most 3D model files directly. A slicer is software that turns your model into step-by-step instructions (often called “toolpaths”) for the printer.
This is where a lot of print quality is won or lost, and you do not need jargon to understand why.
Orientation: how you “place” the model
Rotate a part, and you change:
- Which surfaces will look cleanest
- Where supports are needed
- How strong the part is in the directions that matter
- The chance of warping or failing mid-print
Supports: temporary scaffolding
If your model has sections that would otherwise print “in mid-air,” the slicer adds supports. Supports are removed later, so they add time and leave marks. A big part of 3D printing success is designing and orienting to minimize supports.
Quality level: detail vs speed
Most printers can trade speed for detail by using thinner layers (more layers, more time) or thicker layers (faster, more visible layer lines). There is no universal best setting, it depends on how the part will be used and viewed.
If you want practical design strategies for reducing supports and improving results, Firecloud Printz also covers this in 3D designs for 3D printer: supports, overhangs, tolerances.
Step 4: Prepare the machine (the “setup”)
Before printing starts, the machine needs a stable baseline. The details vary by technology, but the idea is always the same: keep the process consistent so the part is predictable.
Common setup tasks include:
- Making sure the build surface is clean and properly aligned
- Confirming the material is dry and feeding correctly (many plastics absorb moisture from air)
- Checking that the first layer will stick well (first-layer problems are a top cause of failed prints)
If you are ordering from a printing service, you do not need to do this yourself, but it helps to understand why a shop may ask about the part’s use case, target finish, and timelines.
Step 5: Printing (where the part is built)
Now the machine builds the object layer by layer. The printer is repeating a simple action thousands of times, so small issues can compound.
What to expect during printing:
- Time is not linear: Doubling the height of a model can more than double time if it increases supports or forces slower settings.
- Failures usually show early: A poor first layer, weak supports, or a snag in material feed can ruin a long print.
- Consistency beats speed: For parts that must fit or be repeated, stable settings are usually more important than shaving off minutes.
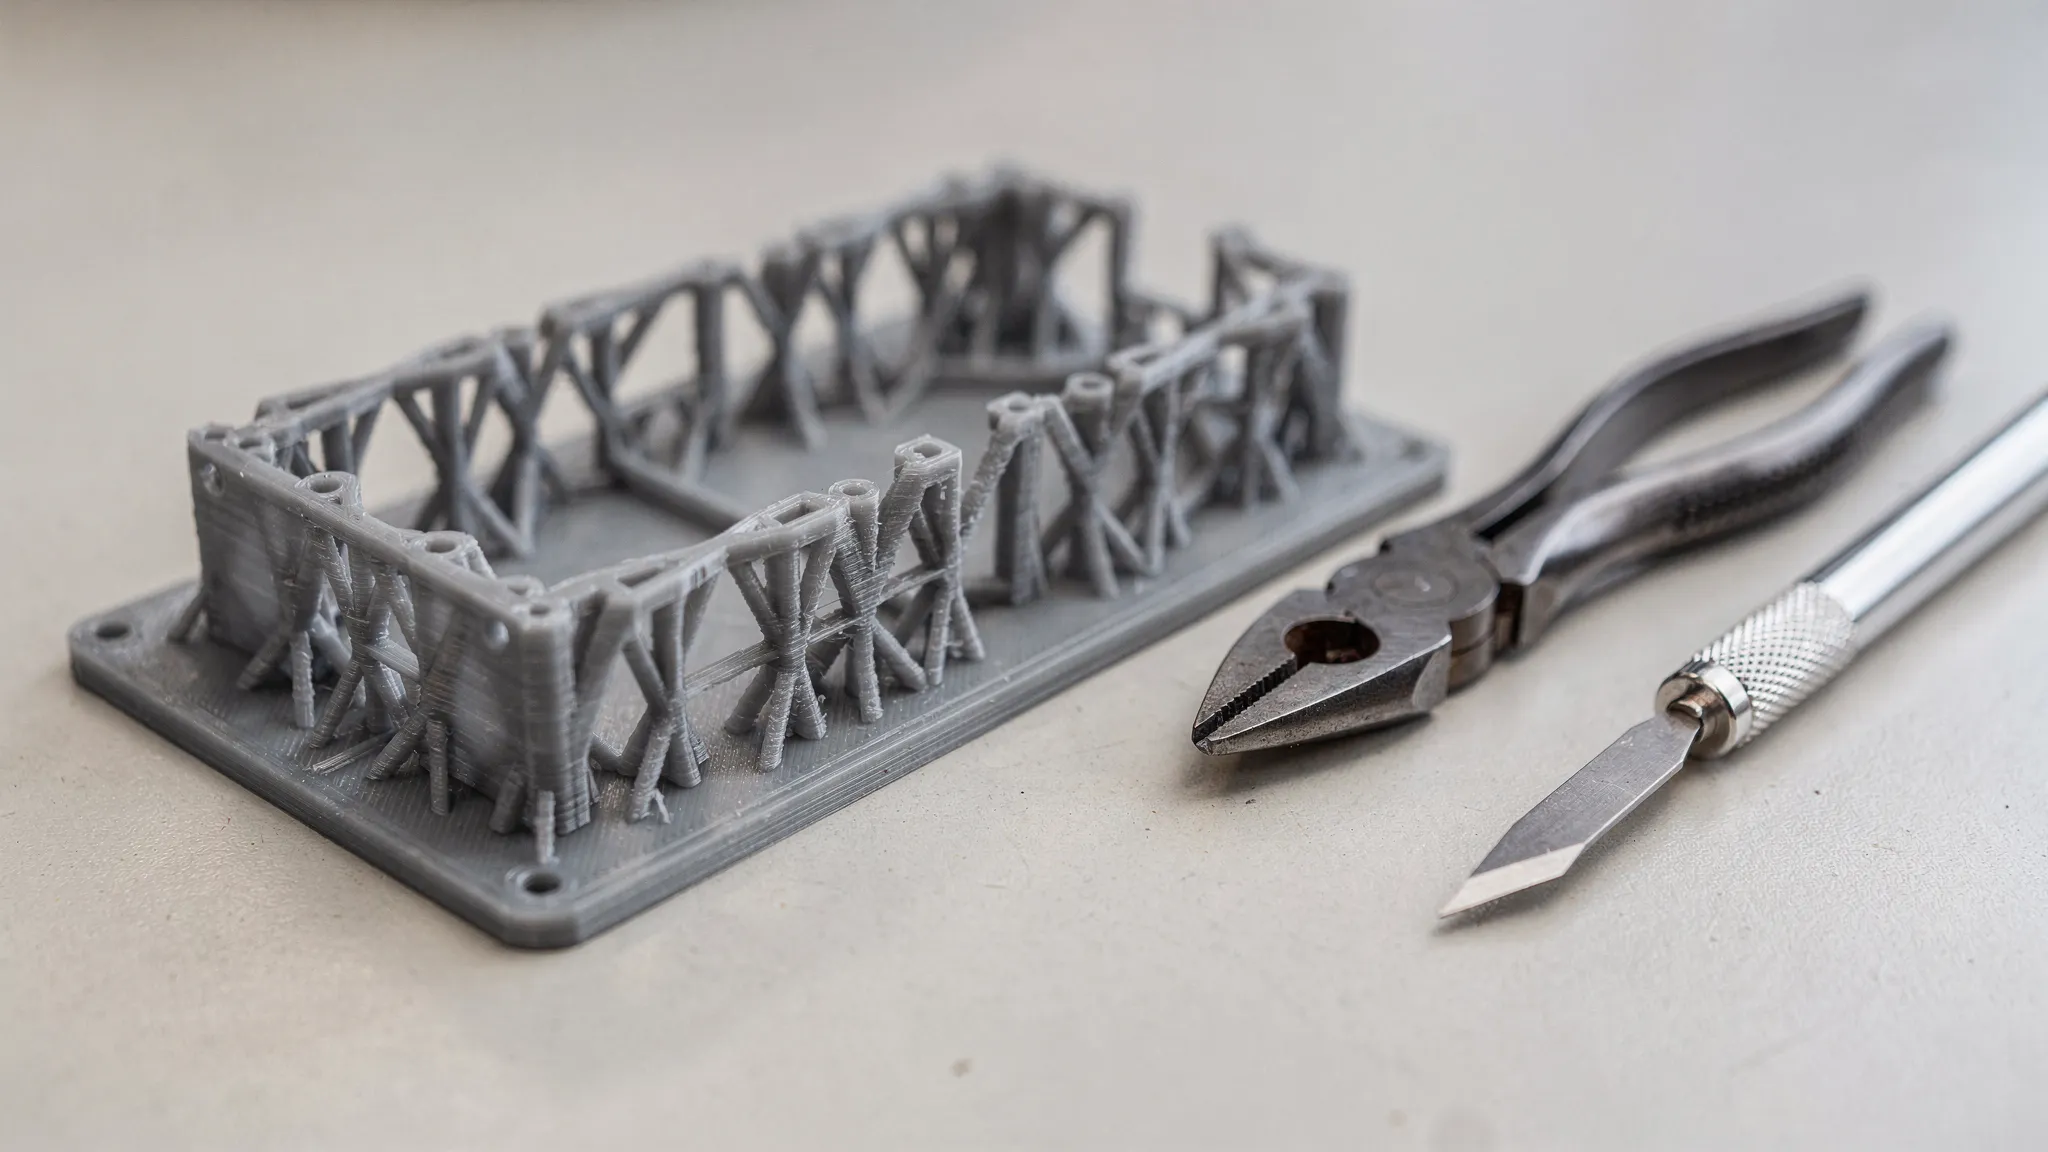
Step 6: Post-processing (turning a print into a finished product)
When printing ends, the part is not always “done.” Post-processing ranges from quick cleanup to full finishing for presentation.
Typical post-processing tasks
- Removing supports
- Cleaning up support marks
- Light sanding for smoother surfaces
- Priming and painting (if a cosmetic finish is the goal)
Resin prints often include washing and curing steps, and powder-based parts may need depowdering. Each method has its own safety and handling best practices.
Step 7: Quality check (the “does it actually work?” moment)
A basic quality check is not about perfection, it is about confirming the part matches the job.
For many projects, the most important checks are straightforward:
- Fit: Does it mate with other parts the way you intended?
- Function: Does it flex, snap, slide, or hold load as expected?
- Finish: Are the visible surfaces acceptable for how it will be used or displayed?
If it is a cosmetic item, you might accept a tiny dimensional variation but care a lot about surface texture. If it is a functional bracket, you might accept visible layer lines but care a lot about strength.
Step 8: Iterate (the secret to great results)
The fastest way to a great print is often one quick iteration.
If something is off, you usually have three levers:
- Change the design: Adjust thickness, add fillets, tweak clearances.
- Change the orientation/support strategy: Reduce support scars and improve strength.
- Change material or method: Choose a better match for the part’s needs.
For businesses and serious hobby projects, it also helps to keep revisions organized (file names, notes about what changed, and which version was approved) so reorders stay consistent.
Ordering from a 3D printing service: what to send (and why)
If you are not printing at home, a good service can save you time and reduce trial and error, but only if they have the right inputs.
Here is a simple, practical checklist you can copy into your order notes or quote request:
- Your 3D file (STL, 3MF, or the format the shop requests)
- Target size (and confirm mm vs inches)
- What the part will be used for (display, prototype, end-use)
- What matters most (strength, detail, smooth finish, heat resistance)
- Any “must-hit” dimensions (holes, slots, mating surfaces)
- Preferred material or finish (if you have one)
- Deadline and quantity
When a shop offers quick order estimates (like Firecloud Printz does), these details are what turn an estimate into a result you will actually be happy with.
A quick tip for creators: show the idea clearly
If you are pitching a concept to a team, client, or community, a short product reveal video or turntable animation can make feedback much faster. Tools like video templates for everyday projects can help you present your prototype professionally without building motion graphics from scratch.
Frequently Asked Questions
Do I need to know CAD to use 3D printing? Not necessarily. You can download designer-made models (with proper licensing), hire someone to model your idea, or start with simple CAD tools. What matters is that the final file is printable and correctly sized.
What is “slicing” in the 3D printing process? Slicing is the step where software converts a 3D model into printer instructions, including layer-by-layer paths, speeds, and where supports will go.
Why do some prints need supports? Supports are temporary structures that hold up areas that would otherwise print in mid-air. They improve success rates but add cleanup time and can leave marks.
How long does a 3D print take? It depends on size, detail level, material, and how much support is needed. Two objects with the same height can take very different times if one requires heavy supports or finer layers.
Is 3D printing strong enough for functional parts? Often, yes, when the material and print method match the job. Strength depends on the material, the part’s geometry, and how it is oriented during printing.
What should I do if my part must fit with another part? Share the “mating” requirements (holes, slots, critical dimensions) and the use case. Expect that some finishing and iteration may be needed for tight fits, especially if surfaces will be sanded or painted.
Bring your file to life with Firecloud Printz
If you have a model ready (or you are close) and want a high-detail print without fighting printer settings, Firecloud Printz offers custom 3D printing plus a curated shop of designer-authorized prints. You can start with a straightforward request, get a quick estimate, and get help choosing a material and finish that match what your part needs.
Explore options or start an order at Firecloud Printz.