
Manufacturing Process of 3D Printing: A Clear Breakdown
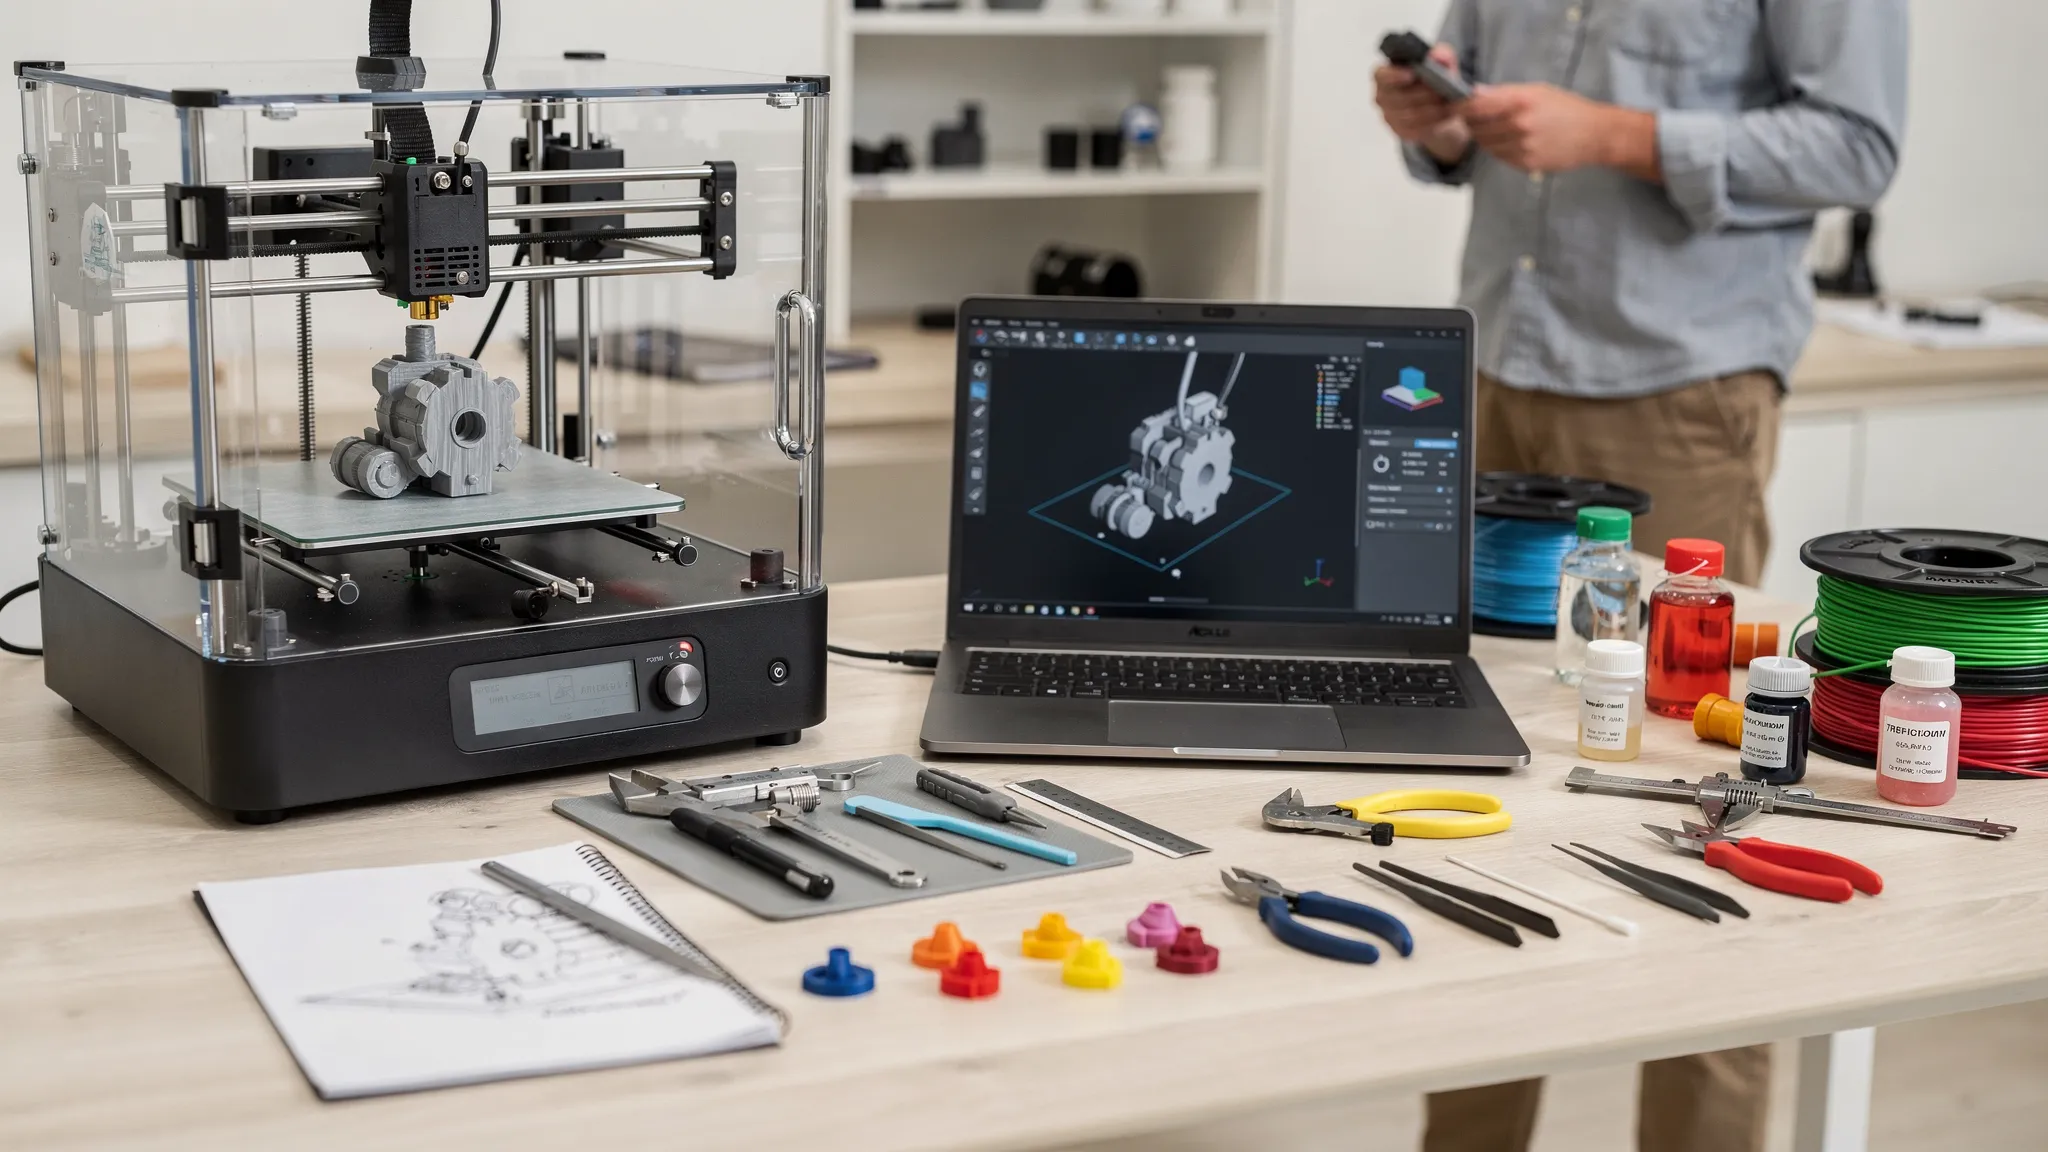
The manufacturing process of 3D printing is best understood as a digital-to-physical workflow. The printer is important, but it is only one part of the system. The final result depends on the design file, material choice, machine setup, print settings, post-processing, inspection, and communication between the customer and the print provider.
That is why two prints made from the same idea can look and perform very differently. A decorative miniature, a replacement clip, a prototype enclosure, and a small-batch product all move through similar stages, but each stage is adjusted for the part's purpose.
This breakdown explains how 3D printing becomes a real manufacturing process, not just a machine creating layers.
What makes 3D printing a manufacturing process?
3D printing is a form of additive manufacturing. Instead of cutting material away from a block or forcing material into a mold, additive manufacturing builds a part from digital data by adding material only where it is needed. The ISO/ASTM 52900 standard defines the core terminology used across the additive manufacturing industry.
In practice, this means the 3D model acts as the starting point for production. The manufacturing plan then converts that model into instructions a machine can follow. Once the part is printed, it still may need cleaning, curing, sanding, support removal, assembly, or quality checks before it is ready to use.
For manufacturers, the biggest advantage is flexibility. You can produce one custom object, revise a prototype quickly, or make a short run of parts without paying for expensive tooling. The tradeoff is that print orientation, layer bonding, material behavior, and finishing steps must be controlled carefully.
The manufacturing process of 3D printing at a glance
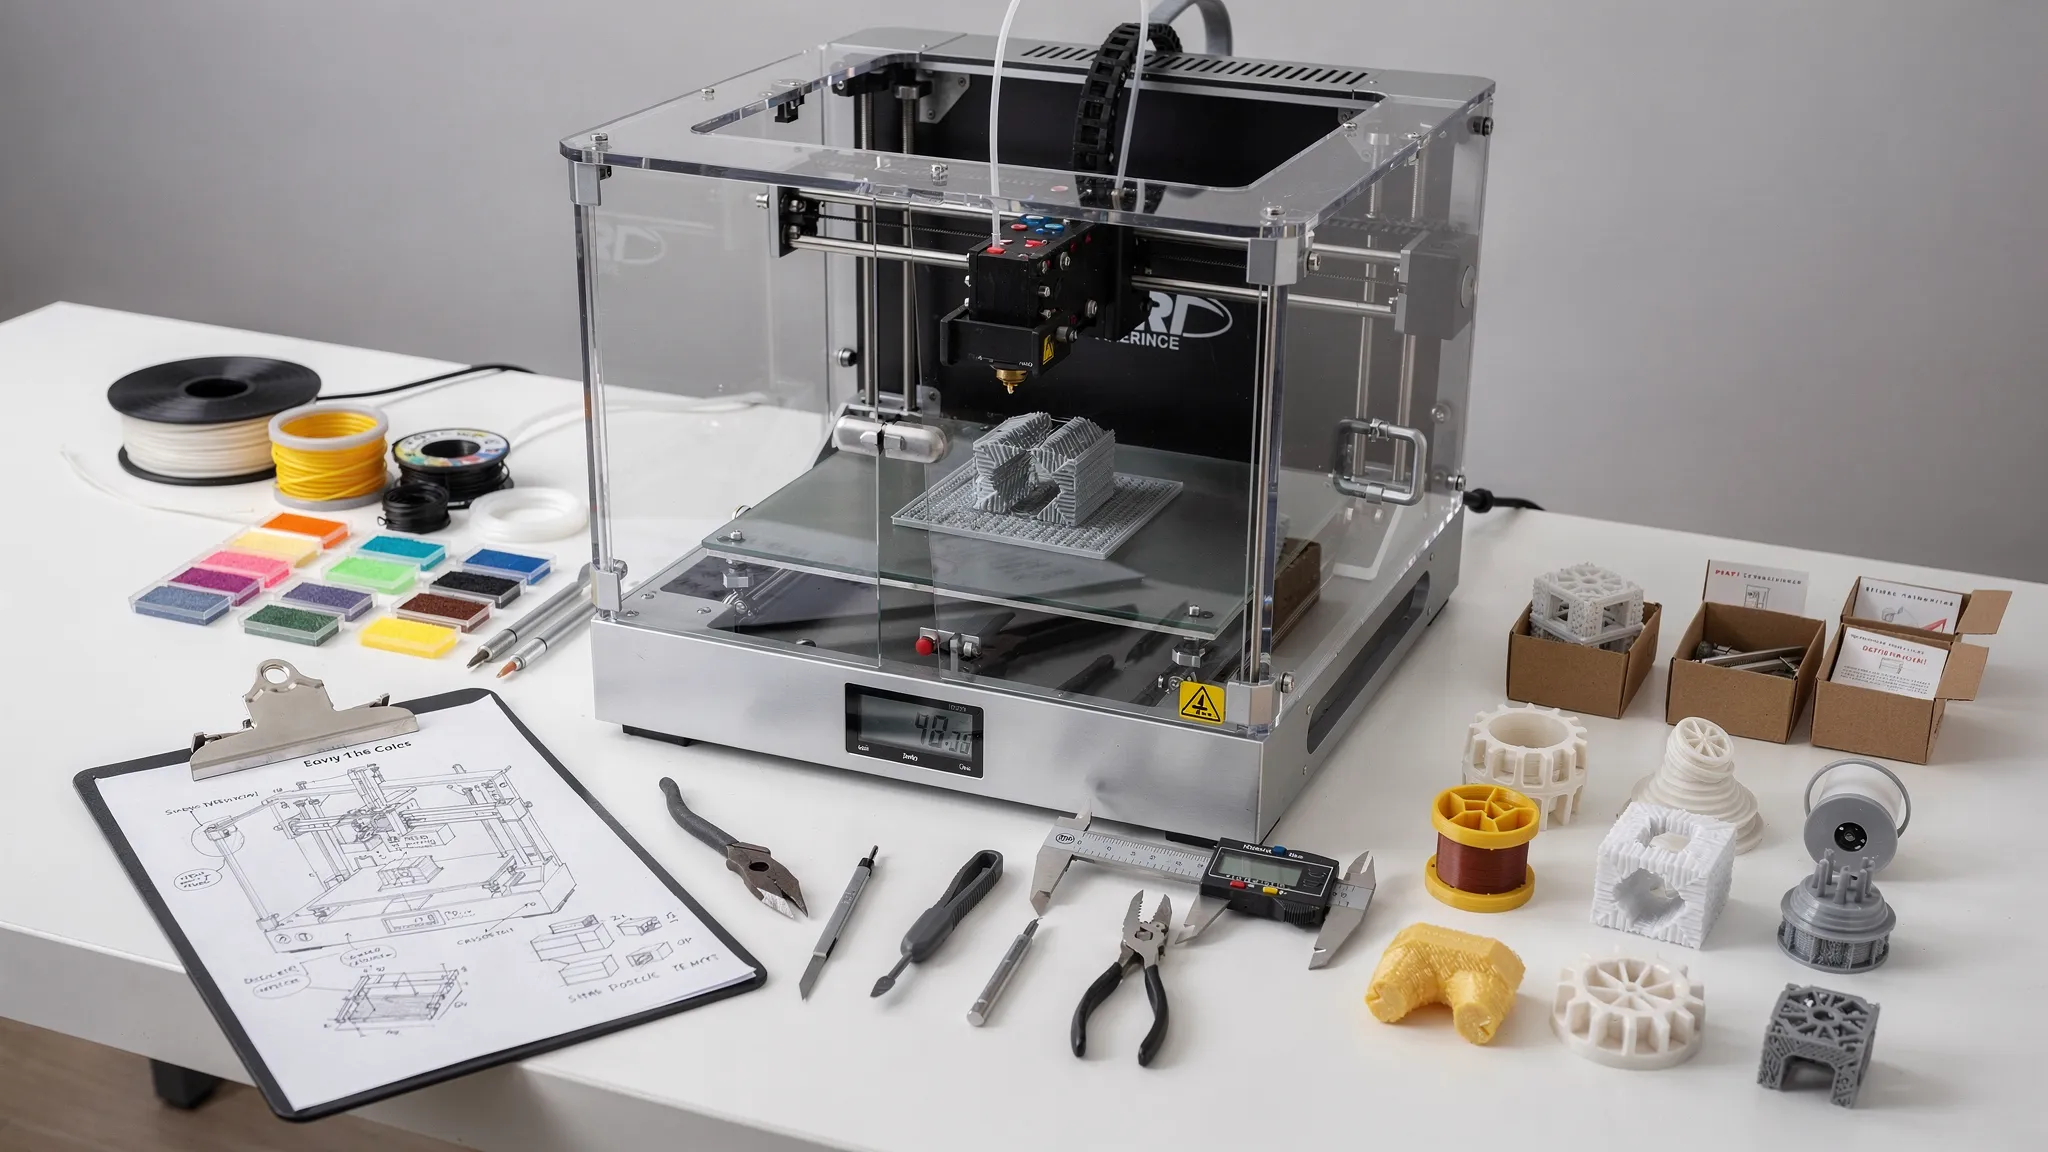
A clear 3D printing workflow has several connected stages. Some projects move through these stages quickly. Others repeat a few of them during testing and refinement.
| Stage | What happens | Manufacturing goal |
|---|---|---|
| Requirements | Define use, size, strength, finish, and quantity | Make sure the part has a clear purpose |
| 3D model preparation | Create, repair, or optimize the digital file | Produce a printable, accurate design |
| Process and material selection | Choose the printing method and material family | Match performance, detail, and budget |
| Slicing and build planning | Convert the model into machine instructions | Control orientation, supports, time, and strength |
| Machine setup | Prepare the printer, material, build surface, and settings | Reduce print failures and variation |
| Printing | Build the part layer by layer | Create the physical object |
| Post-processing | Remove supports, clean, cure, sand, paint, or assemble | Make the part usable and presentable |
| Inspection and fulfillment | Check dimensions, surface quality, fit, and packaging | Confirm the part meets expectations |
The key idea is simple: printing is only the middle of the process. The best results come from treating every step as part of manufacturing.
Step 1: Define the part requirements
Every successful 3D printed part starts with a clear goal. Before choosing a printer or material, the manufacturer needs to know what the part is supposed to do.
A display model may prioritize surface detail, color, and finish. A bracket or clip may prioritize strength, heat resistance, and fit. A prototype might only need to prove shape and dimensions, while an end-use part must survive repeated handling.
Important requirements include the part's overall size, critical dimensions, load-bearing needs, exposure to heat or moisture, expected surface quality, and the number of copies needed. If the part connects to another object, tolerances and clearances matter from the beginning.
This stage prevents a common mistake: choosing a material because it looks good, then discovering later that it is too brittle, too flexible, or not accurate enough for the job.
Step 2: Create or prepare the 3D model
The 3D model is the manufacturing blueprint. It may come from CAD software, a sculpting program, a 3D scan, or a designer-authorized model marketplace. For custom manufacturing, CAD is often preferred for functional parts because dimensions can be controlled precisely.
A printable model needs clean geometry. That means the mesh should be watertight, scaled correctly, free of accidental holes, and thick enough for the chosen process. Very thin walls, unsupported floating details, and intersecting geometry can all cause print failures or weak parts.
File format also matters. STL files are common and widely supported. 3MF files can store more information, such as units, color, and build data. STEP files are useful earlier in the workflow when a model still needs engineering edits, although the final print workflow usually converts the design into a mesh or slicer-ready file.
If the model was made by someone else, licensing is also part of the process. A design that is allowed for personal use may not be allowed for commercial printing or resale. Firecloud Printz supports custom orders and also offers ready-made designer-authorized products, which helps customers shop with more confidence.
Step 3: Choose the right 3D printing process and material
The manufacturing process of 3D printing changes depending on the technology used. Each process forms layers differently, and each material family has its own strengths.
| Process family | How it works | Common strengths | Typical watch-outs |
|---|---|---|---|
| FDM or FFF | Melts thermoplastic filament through a nozzle | Practical, cost-effective, good for many functional parts | Visible layer lines, orientation affects strength |
| Resin printing | Cures liquid resin with light | High detail, smooth surfaces, strong visual quality | Requires washing, curing, and careful handling |
| Powder bed fusion | Fuses powder particles into solid parts | Good for complex shapes and durable small parts | Powder removal and process availability matter |
| Metal additive manufacturing | Fuses or binds metal material | Strong industrial parts and complex metal geometry | Higher cost, stricter engineering controls |
Not every project needs the most advanced process. A simple desk accessory may be perfect in a common thermoplastic. A miniature or display piece may benefit from resin detail. A functional prototype may need a tougher material, thicker walls, or a different orientation.
Material choice is where manufacturing experience pays off. The right choice balances strength, flexibility, heat resistance, surface finish, cost, and turnaround time.
Step 4: Slice the model and plan the build
Slicing converts the 3D model into the layer-by-layer instructions used by the printer. This is where many of the most important manufacturing decisions happen.
The slicer controls layer height, wall count, infill, support structures, print speed, temperature, exposure, and many other settings depending on the process. It also determines how the part sits in the machine.
Orientation affects several outcomes at once. It can change the part's visible layer lines, strength direction, support scars, print time, and risk of warping. For example, a long flat part may print faster lying down, but it may be stronger or cleaner if angled or split into sections.
Supports are another major factor. They allow overhangs and complex shapes to print, but they add material, time, and cleanup. Good manufacturing planning reduces unnecessary supports while still protecting the part during the build.
Step 5: Prepare the machine and material
Machine preparation is the bridge between the digital plan and physical production. A good file can still fail if the printer is not calibrated, the build surface is dirty, the filament is wet, or the resin is not handled correctly.
For filament printers, preparation may include checking bed leveling, nozzle condition, belt tension, build plate adhesion, and filament dryness. For resin printers, preparation may include checking the vat, build plate, resin level, exposure settings, and cleaning workflow. Powder-based systems have their own powder handling, nesting, and recovery requirements.
In a professional workflow, consistency matters. The same file should not produce wildly different results from one batch to the next. This is why manufacturers document material, settings, machine condition, and inspection criteria for repeat orders.
Organizations such as NIST study these controls in depth through additive manufacturing research, especially where repeatability and measurement are critical.
Step 6: Print the part layer by layer
During printing, the machine follows the toolpath or exposure plan created during slicing. The part is built in thin layers until the full geometry is complete.
The first layers are especially important for many processes. Poor adhesion, incorrect leveling, or early movement can ruin the entire print. This is why monitoring the beginning of the print is a practical quality control step, even on reliable machines.
For single custom parts, the goal is usually accuracy and finish. For batches, the goal expands to consistency. Multiple parts on one build plate must be placed with airflow, heat, support access, and failure risk in mind. If one part fails, it should not damage the rest of the order.
Printing time depends on part size, layer height, infill, support needs, and the chosen technology. A small detailed part can take longer than a larger simple shape if it needs fine layers or careful support.
Step 7: Remove supports and complete post-processing
A printed part is not always finished when it comes off the machine. Post-processing is often what turns a raw print into a usable product.
Common post-processing steps include support removal, sanding, trimming, washing, curing, depowdering, polishing, painting, bonding, installing hardware, or adding heat-set inserts. Decorative products may need more surface finishing, while functional parts may need fit checks, deburring, or assembly.
This stage also affects cost and lead time. A print that looks simple in the model may take extra labor if it has deep support marks, fragile details, or hard-to-reach cavities. For that reason, good design tries to make finishing practical from the start.
Post-processing is also where 3D printing connects with broader product design. For interior projects, a printed prototype, bracket, display component, or custom fixture may need to match surrounding materials and finishes. The same design-first thinking appears in tailored interior products such as custom acoustic wall and ceiling panels, where performance and appearance are both part of the manufacturing brief.
Step 8: Inspect the finished part
Inspection closes the manufacturing loop. A part should be checked against the requirements defined at the beginning.
For a decorative piece, inspection may focus on visible defects, support marks, color, and surface consistency. For a functional component, inspection may include critical dimensions, hole sizes, fit with mating parts, stiffness, and orientation-related strength.
For repeat orders, inspection should be more systematic. The file version, material, print settings, and acceptance criteria should be clear. If a change is made, it should be documented so future parts do not accidentally use the wrong revision.
Inspection does not mean every part must be laboratory tested. It means the quality checks should match the risk and purpose of the part.
How 3D printing differs from traditional manufacturing
Traditional manufacturing often depends on tooling, molds, dies, jigs, or machining setups. These methods can be excellent for high-volume production, tight tolerances, and certain materials. They are not always efficient for one-off parts, complex geometry, frequent design changes, or personalized products.
3D printing changes the economics because the digital file carries much of the manufacturing instruction. This makes it easier to produce custom geometry without making a new mold each time.
The main differences are:
- Tooling is often reduced or avoided for prototypes and low-volume parts.
- Design changes can be tested quickly by updating the digital model.
- Complex internal shapes, curves, and lightweight structures can be easier to make.
- Small batches and personalized products can be practical.
- Material waste may be reduced for some geometries, although supports, failed prints, and energy use still need to be managed.
The limitations are just as important. 3D printing is not automatically cheaper for large production runs. It may not match injection molding for high-volume plastic parts, and it may require finishing to achieve a polished consumer-product look.
What makes a 3D printed part production-ready?
A production-ready 3D printed part is not just a successful first print. It is a part that can be made again with predictable results.
That usually requires a locked design file, a defined material, stable print orientation, repeatable settings, clear post-processing steps, and simple inspection criteria. If the part is sold or used in a business setting, packaging and documentation may also matter.
For small-batch manufacturing, the biggest shift is from experimentation to control. During prototyping, it is normal to change the file, test several materials, and adjust settings. During production, uncontrolled changes create confusion and inconsistent parts.
A good rule is to separate learning builds from production builds. Use prototypes to answer questions. Once the design works, document the version and repeat the approved process.
How to prepare for a smooth custom 3D printing order
If you are working with a 3D printing service, preparation makes quoting and production faster. You do not need to know every technical setting, but you should provide enough context for the print provider to make good decisions.
Helpful order details include:
- A 3D model file, preferably STL, 3MF, or another agreed format.
- The intended use, such as display, prototype, replacement part, fixture, or product sample.
- Any critical dimensions or mating parts that must fit.
- Preferred color, finish, or material behavior.
- Quantity needed now and whether future repeat orders are likely.
- Deadline or event date if timing matters.
- Photos, sketches, or notes if the part replaces an existing item.
Firecloud Printz offers custom 3D printing, ready-made designer products, quick order estimates, multiple material options, secure payments, and customer support. If you already have a design, a clear brief helps turn it into a tangible product with fewer surprises. If you are still learning the basics, the related guide on the 3D printing process step by step is a useful next read.
Frequently Asked Questions
Is 3D printing considered manufacturing? Yes. 3D printing is a form of additive manufacturing because it creates physical parts from digital files by adding material layer by layer or section by section.
What is the most important step in the manufacturing process of 3D printing? The most important step is defining the part requirements before printing. Strength, fit, finish, environment, and quantity all influence design, material, orientation, and post-processing choices.
How long does the 3D printing manufacturing process take? Timing depends on model complexity, material, size, printer availability, finishing needs, and quantity. A simple part may be quick, while a detailed or post-processed order can take longer.
Can 3D printing be used for production, not just prototypes? Yes. It is often used for low-volume production, custom products, replacement parts, tooling, fixtures, and bridge manufacturing. For very high-volume production, molding or other traditional processes may be more cost-effective.
What file do I need for 3D printing? STL and 3MF files are common for printing. STEP files are useful when the design may need engineering edits before it is prepared for printing.
Ready to manufacture your idea?
The manufacturing process of 3D printing works best when the design, material, print settings, finishing, and inspection all support the same goal. Whether you need a custom prototype, a functional part, or a high-detail designer-authorized print, the right workflow makes the difference.
If you are ready to turn a digital design into a physical object, start with Firecloud Printz for custom 3D printing, quick estimates, and support from idea to finished print.
