
3D Printing Manufacturing Process: From Quote to Delivery

A strong 3D print starts long before the machine begins moving. The best results come from a clear, repeatable workflow that turns a model file, sketch, or product idea into a finished part with fewer surprises along the way.
That is the purpose of the 3D printing manufacturing process: to connect quoting, file review, material selection, production, quality checks, and delivery into one practical path. Whether you are ordering a one-off display piece, a replacement part, a prototype, or a small batch of custom components, understanding the process helps you ask better questions, avoid reprints, and get a part that matches your expectations.
Below is a quote-to-delivery walkthrough of how a professional 3D printing order typically moves through production, plus tips for making your next order faster and cleaner.
Why the quote-to-delivery process matters
3D printing is flexible, but it is not automatic. A model that looks perfect on screen may still need changes before it can be manufactured well. Thin walls, unsupported overhangs, unclear tolerances, oversized geometry, or the wrong material can all affect cost, strength, finish, and turnaround.
A structured manufacturing process solves that by answering the important questions early:
- What is the part supposed to do?
- What level of detail or finish is required?
- Which material makes sense for the environment?
- Are there features that may fail, warp, or need support cleanup?
- How will the finished part be inspected, packed, and delivered?
At Firecloud Printz, the goal is to make custom 3D printing straightforward, from ready-made designer-authorized prints to fully custom orders that require a quote and production review.
Step 1: Submit the request for a quote
The manufacturing process begins with a quote request. This is where you provide the details needed to estimate cost, feasibility, material options, and turnaround.
For simple ready-made products, the process may be as easy as choosing an item from the shop, adding it to the cart, and checking out securely. For custom 3D printing, the quote stage is more important because every design has its own geometry, print time, support requirements, and finishing needs.
The more complete your request is, the more accurate the estimate can be.
| Information to provide | Why it matters | Helpful example |
|---|---|---|
| 3D model file | Allows printability review and estimating | STL, 3MF, OBJ, or CAD export |
| Quantity | Affects setup, batch planning, and unit cost | 1 prototype or 25 finished parts |
| Size and units | Prevents scale mistakes | 120 mm long, not 120 inches |
| End use | Helps choose material and orientation | Decorative display, bracket, enclosure, prototype |
| Strength needs | Guides wall thickness, infill, and material | Must hold light hand pressure or support a small device |
| Finish expectations | Affects process choice and post-processing | Smooth display surface or functional finish |
| Deadline | Helps determine scheduling feasibility | Needed for an event, launch, or repair |
| Assembly details | Helps plan tolerances and hardware fit | Screws, magnets, inserts, snap-fit parts |
If you do not have a finished file yet, you can still start the conversation with reference images, measurements, sketches, or a description of the part. A production-ready model is usually needed before final manufacturing, but early details can help identify the best path.
For more guidance before submitting a file, Firecloud Printz also has a practical guide on how to choose a 3D model for 3D printer success.
Step 2: Review the model for manufacturability
Once the file or design details are received, the next stage is manufacturability review. This is where the print provider checks whether the model can be printed reliably and whether the final part will match the intended use.
This review is not just about asking if the printer can produce the shape. It is about asking if the part can be produced well.
Common checks include wall thickness, mesh errors, overhangs, support needs, small details, part orientation, and clearances between moving or mating parts. For resin-style prints, drainage and hollowing may also matter. For FDM-style prints, layer direction, warping risk, and seam placement can affect strength and appearance.
| Review area | What can go wrong | Typical fix |
|---|---|---|
| Thin walls | Walls may break, warp, or fail to print | Increase wall thickness or change material |
| Overhangs | Sagging, rough undersides, heavy support marks | Reorient, split the model, or redesign angles |
| Tolerances | Parts may be too tight or too loose | Add clearance based on process and use |
| Scale | Part prints at the wrong size | Confirm units before production |
| Enclosed cavities | Resin or trapped material may remain inside | Add drain holes or redesign geometry |
| Large flat areas | Warping or bed adhesion issues | Add fillets, split the part, or change orientation |
This step is where a good print service adds real value. It can prevent a quote from becoming a failed print, and it can turn a risky model into a more reliable physical product.
Step 3: Build the estimate
A 3D printing quote is based on more than the amount of material used. Material matters, but so do machine time, setup, supports, risk, post-processing, inspection, and packaging.
Two parts with the same weight can have very different prices if one prints quickly and cleanly while the other needs slow settings, complex supports, careful cleanup, or multiple orientations.
Key quote drivers usually include:
| Cost factor | How it affects the quote |
|---|---|
| Part size | Larger parts use more material and machine space |
| Print time | Longer jobs occupy equipment for more hours |
| Material | Specialty or performance materials may cost more |
| Detail level | Fine detail may require slower settings or a different process |
| Supports | More supports mean more material, time, and cleanup |
| Post-processing | Sanding, curing, support removal, or fitting add labor |
| Quantity | Batches may improve efficiency, but also require consistency checks |
| Risk level | Difficult geometry can require more planning or test prints |
A useful estimate should also clarify assumptions. For example, the quote may depend on the supplied file being final, the chosen material being suitable, or the requested finish being achievable with the selected process.
This is why the lowest quote is not always the best quote. A better estimate explains what is included, what may change, and what tradeoffs you are making.
Step 4: Choose the material and print approach
Material selection is one of the most important parts of the 3D printing manufacturing process. The right material depends on how the part will be used, not just how it looks.
A decorative figure, a desk accessory, a prototype housing, and a functional bracket all have different needs. Some parts need detail. Some need toughness. Some need heat resistance, outdoor durability, flexibility, or a specific surface finish.
| Goal | Material or process priority | What to consider |
|---|---|---|
| Display quality | Fine detail and smooth surfaces | Layer visibility, support marks, painting needs |
| Functional prototype | Strength and dimensional accuracy | Load direction, fit, wall thickness, tolerances |
| Outdoor use | Weather and temperature resistance | UV exposure, moisture, heat, mounting stress |
| Flexible component | Elasticity and tear resistance | Bend radius, thickness, expected wear |
| Small batch parts | Repeatability and efficient production | Consistent orientation, inspection criteria, packaging |
You do not need to know every material before asking for a quote. In many cases, it is better to describe the use case and let the print provider recommend available options.
For example, saying the part will sit on a shelf is very different from saying it will be mounted in a garage, exposed to heat, or used as a load-bearing component. The more context you provide, the better the recommendation.
Step 5: Confirm the order details
After the estimate is reviewed, the next step is order confirmation. This is where the project details should be locked before production begins.
A clean confirmation reduces confusion later. It should cover the file version, quantity, material, color if applicable, finish level, delivery information, and any special notes. If the part must fit another object, this is also the time to confirm measurements and tolerances.
For custom work, avoid changing the file after approval unless the provider confirms the revision. Even a small design change can affect print time, supports, strength, or price.
For ready-made designer-authorized prints, confirmation is usually simpler. The product has already been prepared for production, so you can focus on selecting the item, completing checkout, and watching for order updates.
Step 6: Prepare the file for production
File preparation is the bridge between the approved quote and the actual print. In this stage, the model is oriented, sliced, and prepared for the selected machine and material.
Slicing software converts the 3D model into machine instructions. This includes layer height, wall count, infill, support structures, print speed, temperature, exposure settings for resin processes, and other production parameters.
This stage has a major impact on the final part. Orientation can change surface quality, support marks, strength, and print duration. Layer height can affect detail and speed. Support strategy can determine whether delicate features survive cleanup.
A professional workflow usually considers three priorities at the same time:
- Part function: The print should be oriented so the part performs well in its intended use.
- Surface finish: Visible faces should be protected from unnecessary support scars where possible.
- Production reliability: The print should be set up to reduce failures, warping, detachment, or deformation.
If you want a plain-English explanation of the broader workflow, read Firecloud Printz’s guide to the 3D printing process step by step.
Step 7: Manufacture the print
Once the file is prepared, the print enters production. This is the stage most people picture when they think of 3D printing, but it is only one part of the full manufacturing process.
During production, the machine builds the part layer by layer. Depending on the process, that may involve extruding thermoplastic filament, curing resin, or using another additive method. Print duration can range widely based on size, detail, material, and quantity.
Early monitoring is especially important. A poor first layer, support issue, resin adhesion problem, or material feed issue can cause a failed print if not caught. Professional production workflows aim to reduce waste by preparing carefully, monitoring critical stages, and making informed adjustments when needed.
This is also where sustainable production practices can matter. Reducing failed prints, choosing appropriate materials, nesting parts efficiently, and avoiding unnecessary overbuilding all help limit waste while still protecting quality.
Step 8: Post-process the part
A print is not always finished when it leaves the machine. Many parts need some level of post-processing before they are ready to ship or use.
Post-processing depends on the material, process, and requested finish. It may include support removal, cleaning, curing, sanding, trimming, fitting, or basic surface preparation. Some parts may also need holes cleared, edges deburred, or mating surfaces checked.
For decorative prints, post-processing affects appearance. For functional prints, it can affect fit and usability. Support removal, for example, must be done carefully so that small details are not damaged. Resin parts may require proper washing and curing. FDM parts may need cleanup around seams, bridges, or support contact points.
The key is to align post-processing with the goal of the part. A hidden bracket usually does not need the same finish as a display model. A prototype may need fast turnaround more than cosmetic perfection. A customer-facing product may justify extra finishing effort.
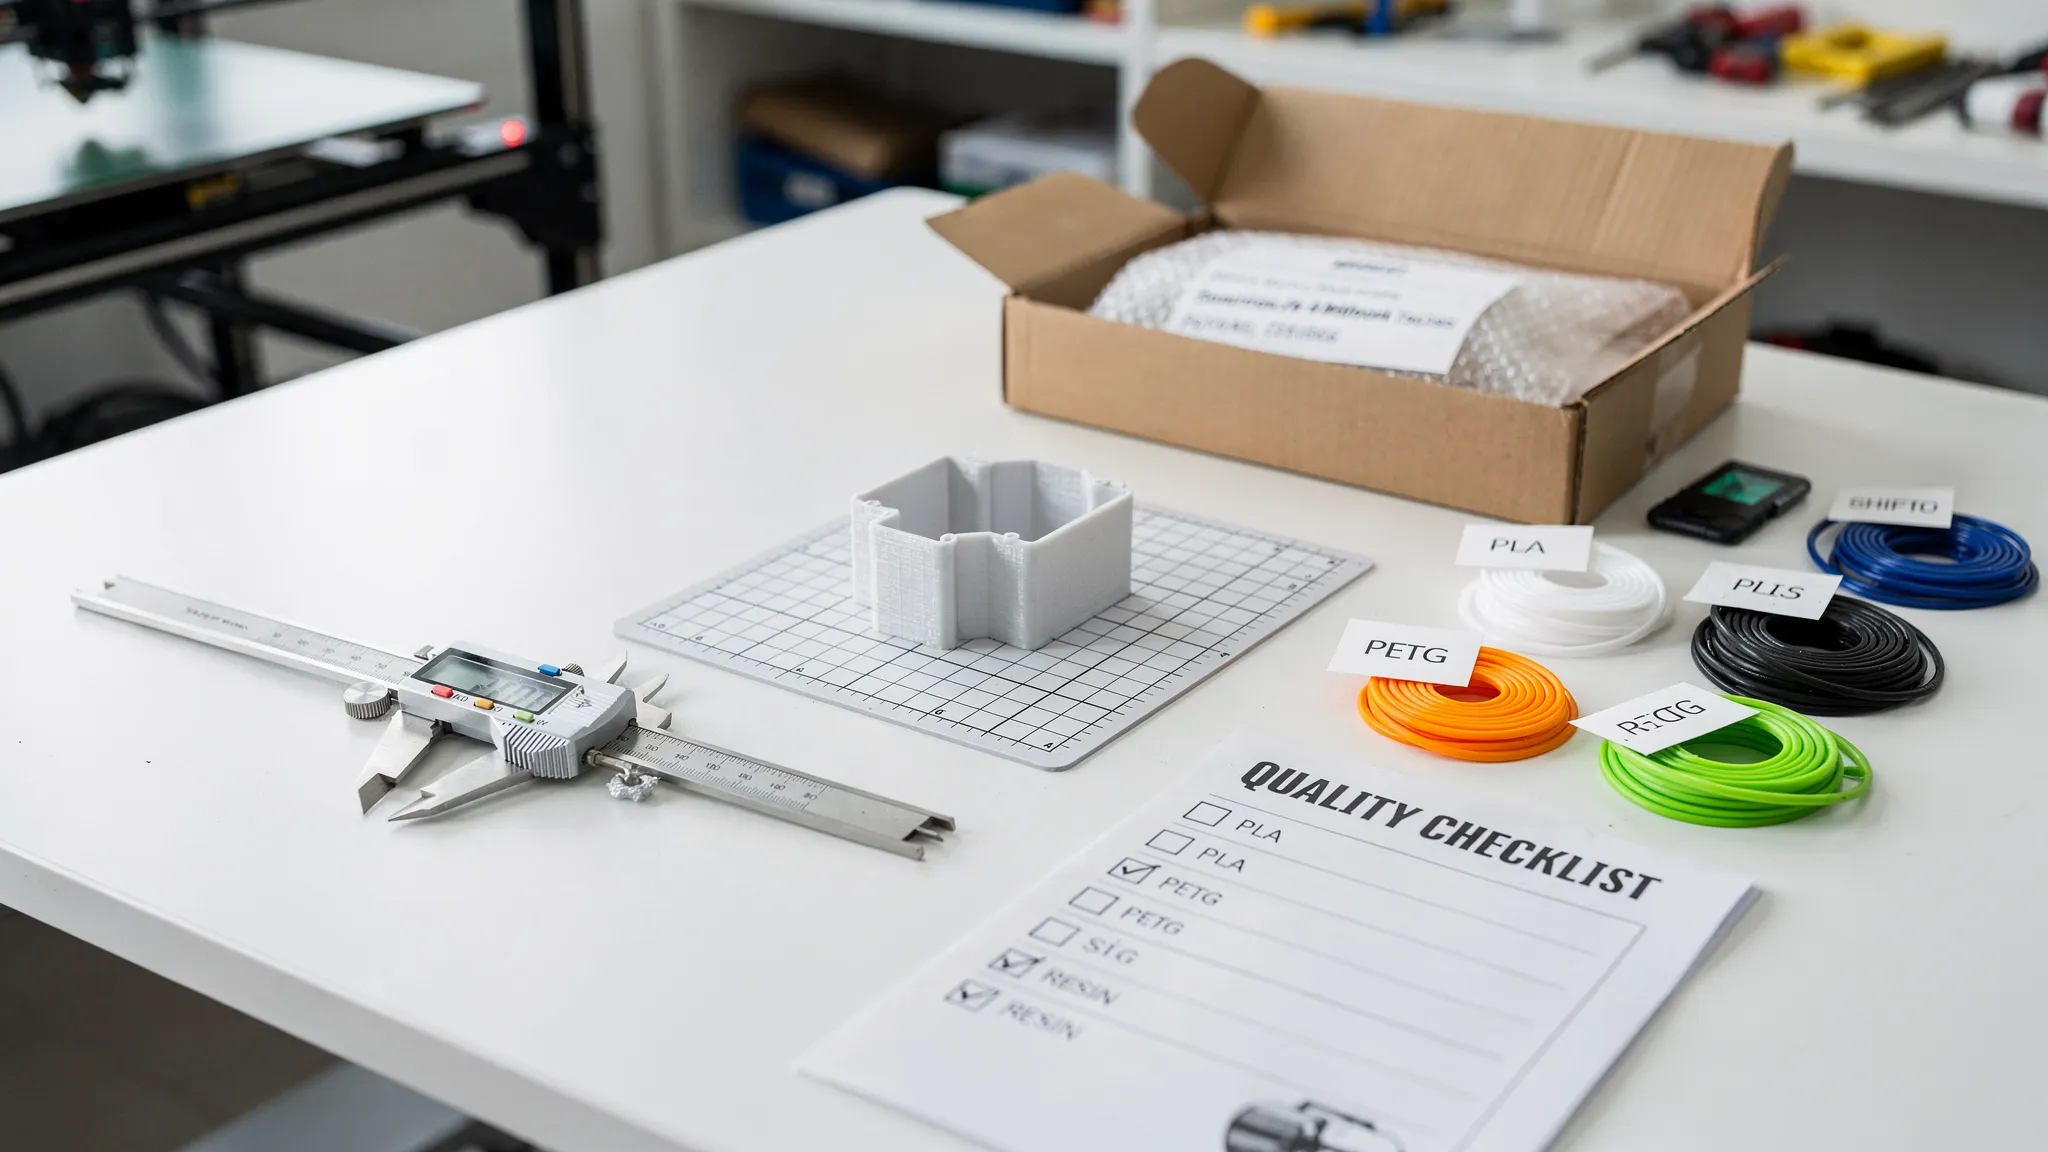
Step 9: Quality check before delivery
Quality control is where the finished print is checked against the order requirements. This step helps catch issues before the part reaches the customer.
A quality check does not always mean advanced lab inspection. For many custom 3D printed parts, it means confirming that the print is complete, clean, dimensionally reasonable, and consistent with the agreed expectations.
| Quality check | What it confirms |
|---|---|
| Visual inspection | No major defects, missing features, or severe surface issues |
| Dimension check | Critical measurements are close to the requested size |
| Fit review | Mating parts, holes, or slots are checked when possible |
| Quantity count | Batch orders include the correct number of parts |
| Finish review | Support marks and cleanup match the expected finish level |
| Packaging review | Fragile features are protected for delivery |
For functional parts, it is important to remember that 3D printing has process-dependent tolerances. A printed hole, snap fit, or sliding feature may need different clearance than an injection molded or machined part. If fit is critical, consider ordering a test piece before producing a full batch.
Step 10: Package and deliver the finished order
The final step is packaging and delivery. Good packaging protects the part from impact, bending, abrasion, and small-feature breakage during handling.
Fragile display pieces, thin brackets, detailed miniatures, and multi-part assemblies may need extra care. Parts with sharp edges, delicate pins, or cosmetic surfaces should be packed so they do not rub against each other.
Delivery expectations should be clear before production begins. If you have a deadline, event, repair need, or product launch date, mention it at the quote stage. Fast turnaround is easiest when the file is ready, the material choice is clear, and the order details do not change midstream.
What can slow down a 3D printing order?
Many delays happen before the printer starts. A missing measurement, unclear file version, non-printable model, or undecided material can slow production more than the print itself.
The most common causes of delays include unclear end use, late file revisions, unrealistic tolerances, missing scale information, difficult support removal, and requests for finishes that were not included in the original estimate.
Functional projects can also require extra clarification. If a printed part interacts with equipment, hardware, electrical components, locks, cameras, or installation work, it should be reviewed in context. For physical security projects, coordinate printed accessories with qualified installers or specialists. For example, Locked Safe Holland focuses on security technology and services where correct installation, maintenance, and reliable hardware choices are essential.
The takeaway is simple: tell your print provider how the part will be used, not just what it looks like.
How to make your quote faster and more accurate
You can speed up the process by sending complete information from the start. Even if your model is not perfect, context helps the provider recommend the right next step.
Use this quick checklist before requesting a custom 3D printing estimate:
- Send the best available 3D file, preferably in STL, 3MF, OBJ, or a common CAD export.
- Confirm the real-world size and units.
- Explain whether the part is decorative, functional, a prototype, or a finished product.
- Share quantity, color preference, and material preference if you have one.
- Identify critical dimensions, holes, clips, threads, or mating surfaces.
- Mention the environment, including heat, moisture, sunlight, outdoor use, or repeated handling.
- Share your deadline and any packaging or delivery needs.
If you are unsure about material, finish, or tolerances, say so. A good custom printing workflow can help turn an incomplete idea into a practical manufacturing plan.
When should you order a prototype first?
A prototype is often the smartest first order when fit, ergonomics, strength, or assembly matters. It lets you test the design before committing to a final finish or larger quantity.
Prototype first when the part must snap onto another object, hold weight, align with screws, fit inside an enclosure, or match a customer-facing product. A prototype can reveal small design issues that are hard to see on screen.
For simple decorative prints or proven ready-made models, a prototype may not be necessary. For new custom parts, especially functional ones, it can save time and money by catching problems early.
Frequently Asked Questions
What is the 3D printing manufacturing process? The 3D printing manufacturing process is the full workflow used to turn a digital model or design request into a finished physical part. It typically includes quoting, file review, material selection, slicing, printing, post-processing, quality checks, packaging, and delivery.
How long does a custom 3D printing order take? Turnaround depends on the file, size, material, quantity, print time, post-processing, and production queue. A ready-to-print file with clear requirements is usually faster to estimate and manufacture than a model that needs revisions.
Can I request a quote without a 3D file? Yes, you can often start with photos, measurements, sketches, or a description. However, a production-ready 3D model is usually needed before the final print can be manufactured accurately.
Which file format is best for 3D printing? STL and 3MF are common for 3D printing. 3MF can store more information, while STL is widely supported. The best format depends on the model, software, and project requirements.
Why did my quote change after review? A quote may change if the model is revised, the scale is corrected, the material changes, support needs increase, or additional post-processing is requested. Clear files and complete order details help reduce surprises.
Do I need to choose the material myself? No. If you know the material you want, include it in your request. If not, describe how the part will be used, and Firecloud Printz can help you evaluate available material options for your project.
Ready to move from idea to finished print?
Firecloud Printz helps bring digital designs to life through custom 3D printing, high-detail prints, ready-made designer-authorized products, quick order estimates, and customer support throughout the process.
If you have a file ready, a model you want printed, or an idea that needs help becoming a physical object, start with Firecloud Printz at firecloudprintz.com. Share your project details, confirm your goals, and take the next step from quote to delivery with a clearer manufacturing process.