
What Makes a Good 3D File for a 3D Printer
A model can look perfect on a screen and still be a poor candidate for printing. The difference is that a good 3D file for a 3D printer is not just a visual object. It is a manufacturing-ready instruction set that tells the printer, slicer, or print service how to turn digital geometry into a physical part.
The best files are clear about size, clean in their geometry, realistic about wall thickness, and designed with the chosen printing process in mind. They also reduce guesswork, which means fewer failed prints, less wasted material, and a faster path from idea to finished object.
The simple definition of a good 3D file
A good 3D file is printable, accurate, and complete. Printable means the file describes a real solid object, not just surfaces floating in space. Accurate means the scale, units, and geometry match what you actually want. Complete means the file and notes include enough context for the right material, orientation, finish, and tolerances.
Here is a quick scorecard:
| Quality factor | What it means | Why it matters |
|---|---|---|
| Correct file format | The file type fits the project and preserves the needed data | Prevents missing units, textures, or design information |
| Proper scale | Dimensions and units are clear | Avoids parts printing too large, too small, or unusable |
| Solid geometry | The model is watertight and manifold | Helps slicers understand inside vs. outside |
| Real thickness | Walls, pins, text, and details are physically printable | Prevents fragile or missing features |
| Fit allowances | Moving or mating parts have clearances | Reduces sanding, forcing, and reprints |
| Process awareness | The design considers FDM, resin, or another method | Improves strength, finish, and support strategy |
| Useful notes | Intended use, material needs, and finish expectations are included | Helps the print provider make better decisions |
Think of the file as a recipe. A beautiful photo of a cake is not enough to bake it. A 3D model needs the right ingredients, measurements, and instructions to become a reliable print.
Choose the right file format for the job
The file format is the container for your model data. Some formats only store surface geometry, while others can preserve units, colors, textures, assemblies, or CAD data.
| Format | Best for | Watch out for |
|---|---|---|
| STL | Simple single-material prints, prototypes, replacement parts | Usually does not store units, color, or material data |
| 3MF | Modern print-ready files with better support for units and metadata | Not every older workflow uses it, but it is increasingly common |
| OBJ | Visual models with color or texture information | Textures may need to be included separately |
| STEP or STP | Editable CAD models, mechanical parts, professional quoting | May need to be converted before slicing |
| ZIP folder | Assemblies, textures, multiple parts, reference images | Must be organized clearly so nothing is missing |
For many straightforward prints, STL is acceptable. For more complex work, 3MF or STEP can be more helpful because they preserve more information. If you are ordering a custom print and you have both the original CAD file and an exported STL or 3MF, include both when possible. The exported file shows what you expect to print, while the source file can make repairs or design adjustments easier.
Make sure the geometry is a real solid
A slicer needs to know which parts of the model are inside and which are outside. If the geometry has holes, flipped faces, self-intersections, or paper-thin surfaces, the slicer may guess incorrectly. That can lead to missing walls, strange toolpaths, hollow sections, or a file that cannot be processed at all.
A strong print-ready file usually has:
- Closed, watertight geometry with no accidental holes
- Manifold edges, meaning every edge belongs to a valid solid surface
- Outward-facing normals so the software understands the outside of the part
- No duplicate shells occupying the same space
- No self-intersecting surfaces or hidden internal junk geometry
- Separate parts arranged intentionally, not floating by accident
This is especially important for models made for games, animation, rendering, or concept art. Those models often look great visually, but they may use surfaces without thickness, overlapping shells, or decorative pieces that were never meant to exist as physical objects.
Automatic repair tools can fix small holes or minor mesh problems. They cannot always fix a design that was never built as a solid object. If a handle, spike, tab, or decorative feature has no real volume, it usually needs to be redesigned rather than repaired.
Confirm scale and units before printing
One of the most common 3D file problems is incorrect scale. A file may be modeled in inches but interpreted as millimeters, or a miniature may be exported without the intended scale. On screen, this can be easy to miss. In production, it can turn a useful part into a tiny ornament or an oversized block of plastic.
A good file makes scale obvious. If the file format does not preserve units, include at least one reference dimension in your notes, such as final height should be 120 mm or hole spacing should be 2.5 inches center to center.
Scale matters most for:
- Replacement parts that must match an existing item
- Miniatures, terrain, and collectibles
- Enclosures for electronics
- Brackets, mounts, clips, and hardware interfaces
- Multi-part assemblies that must fit together
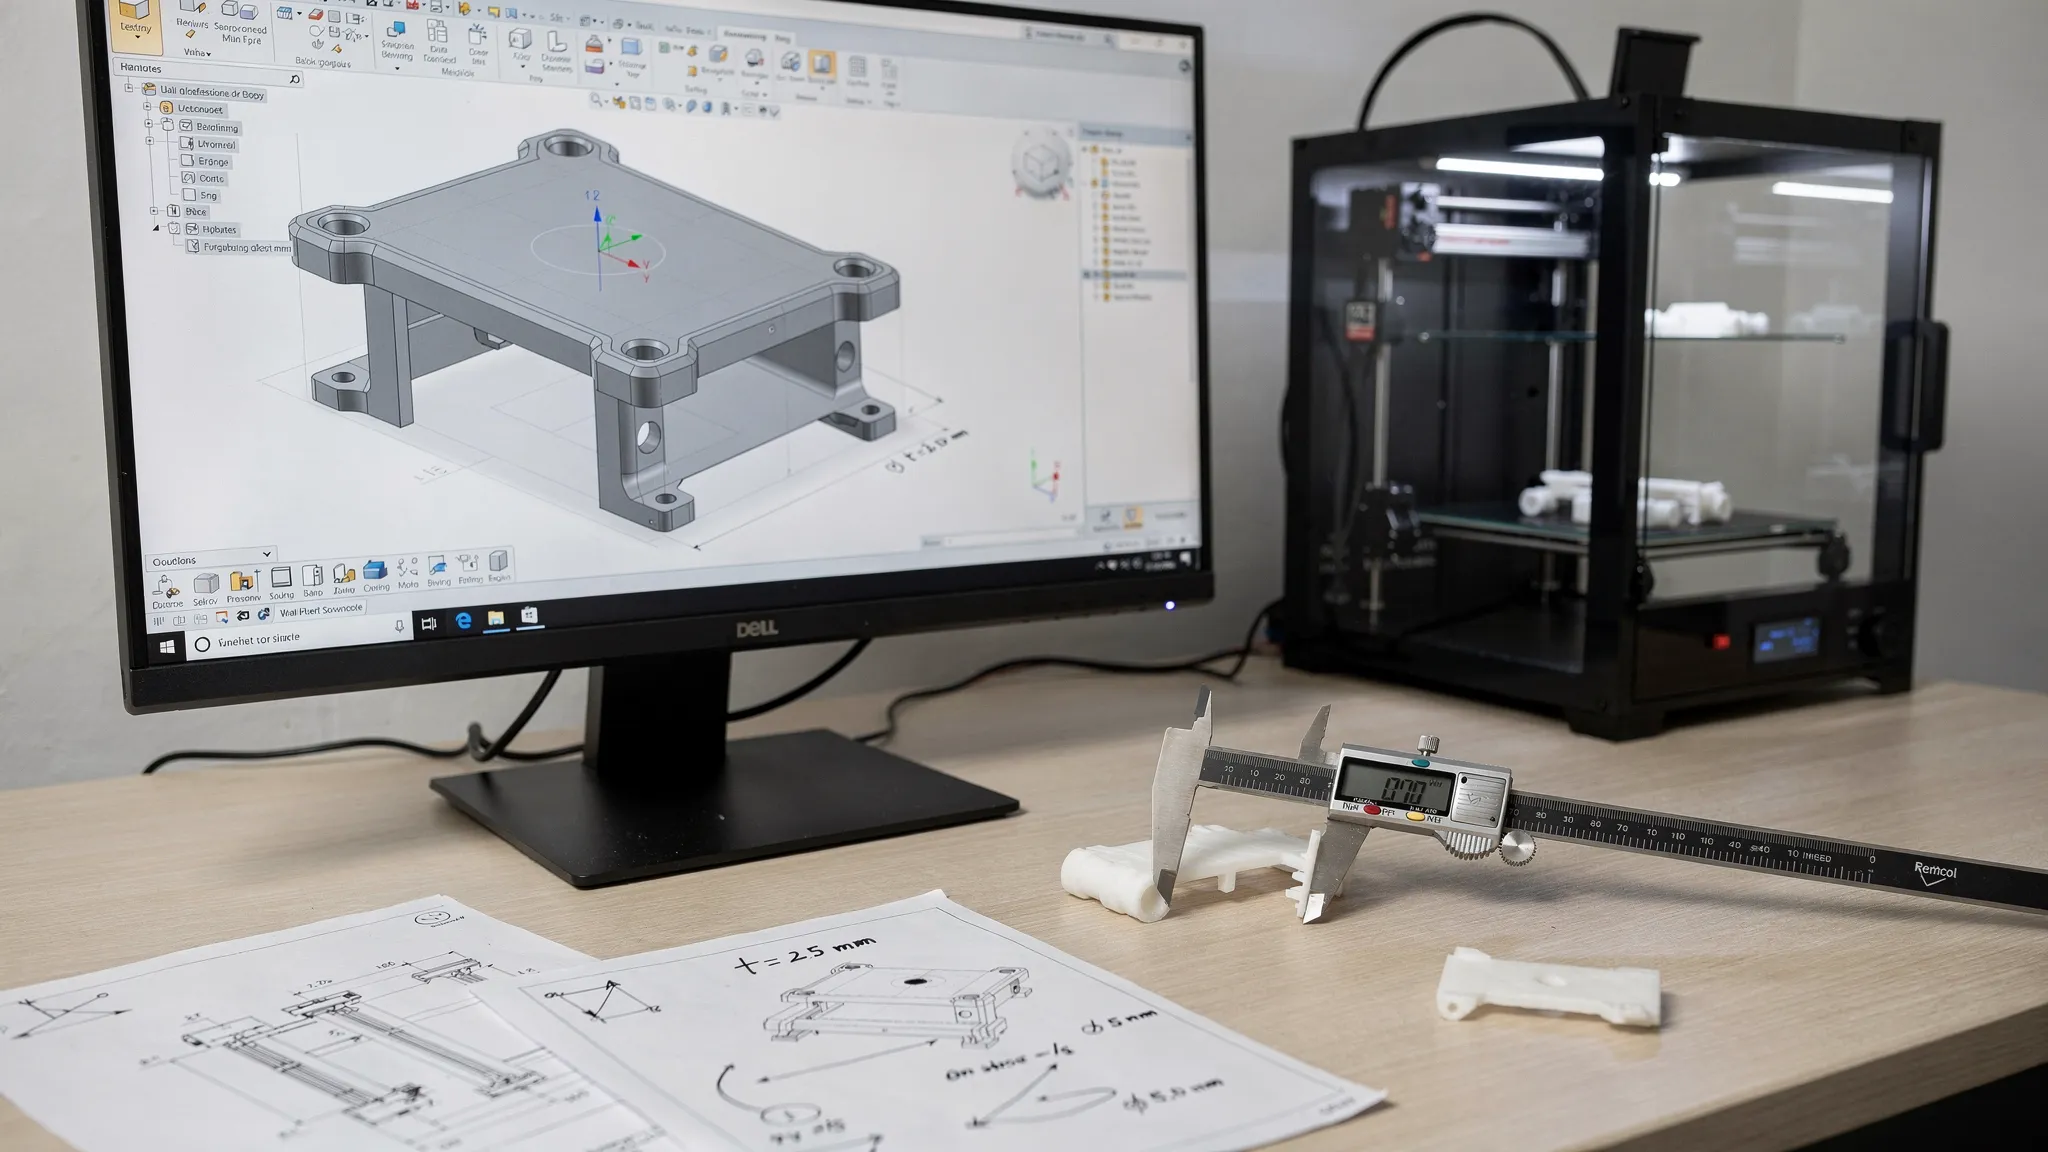
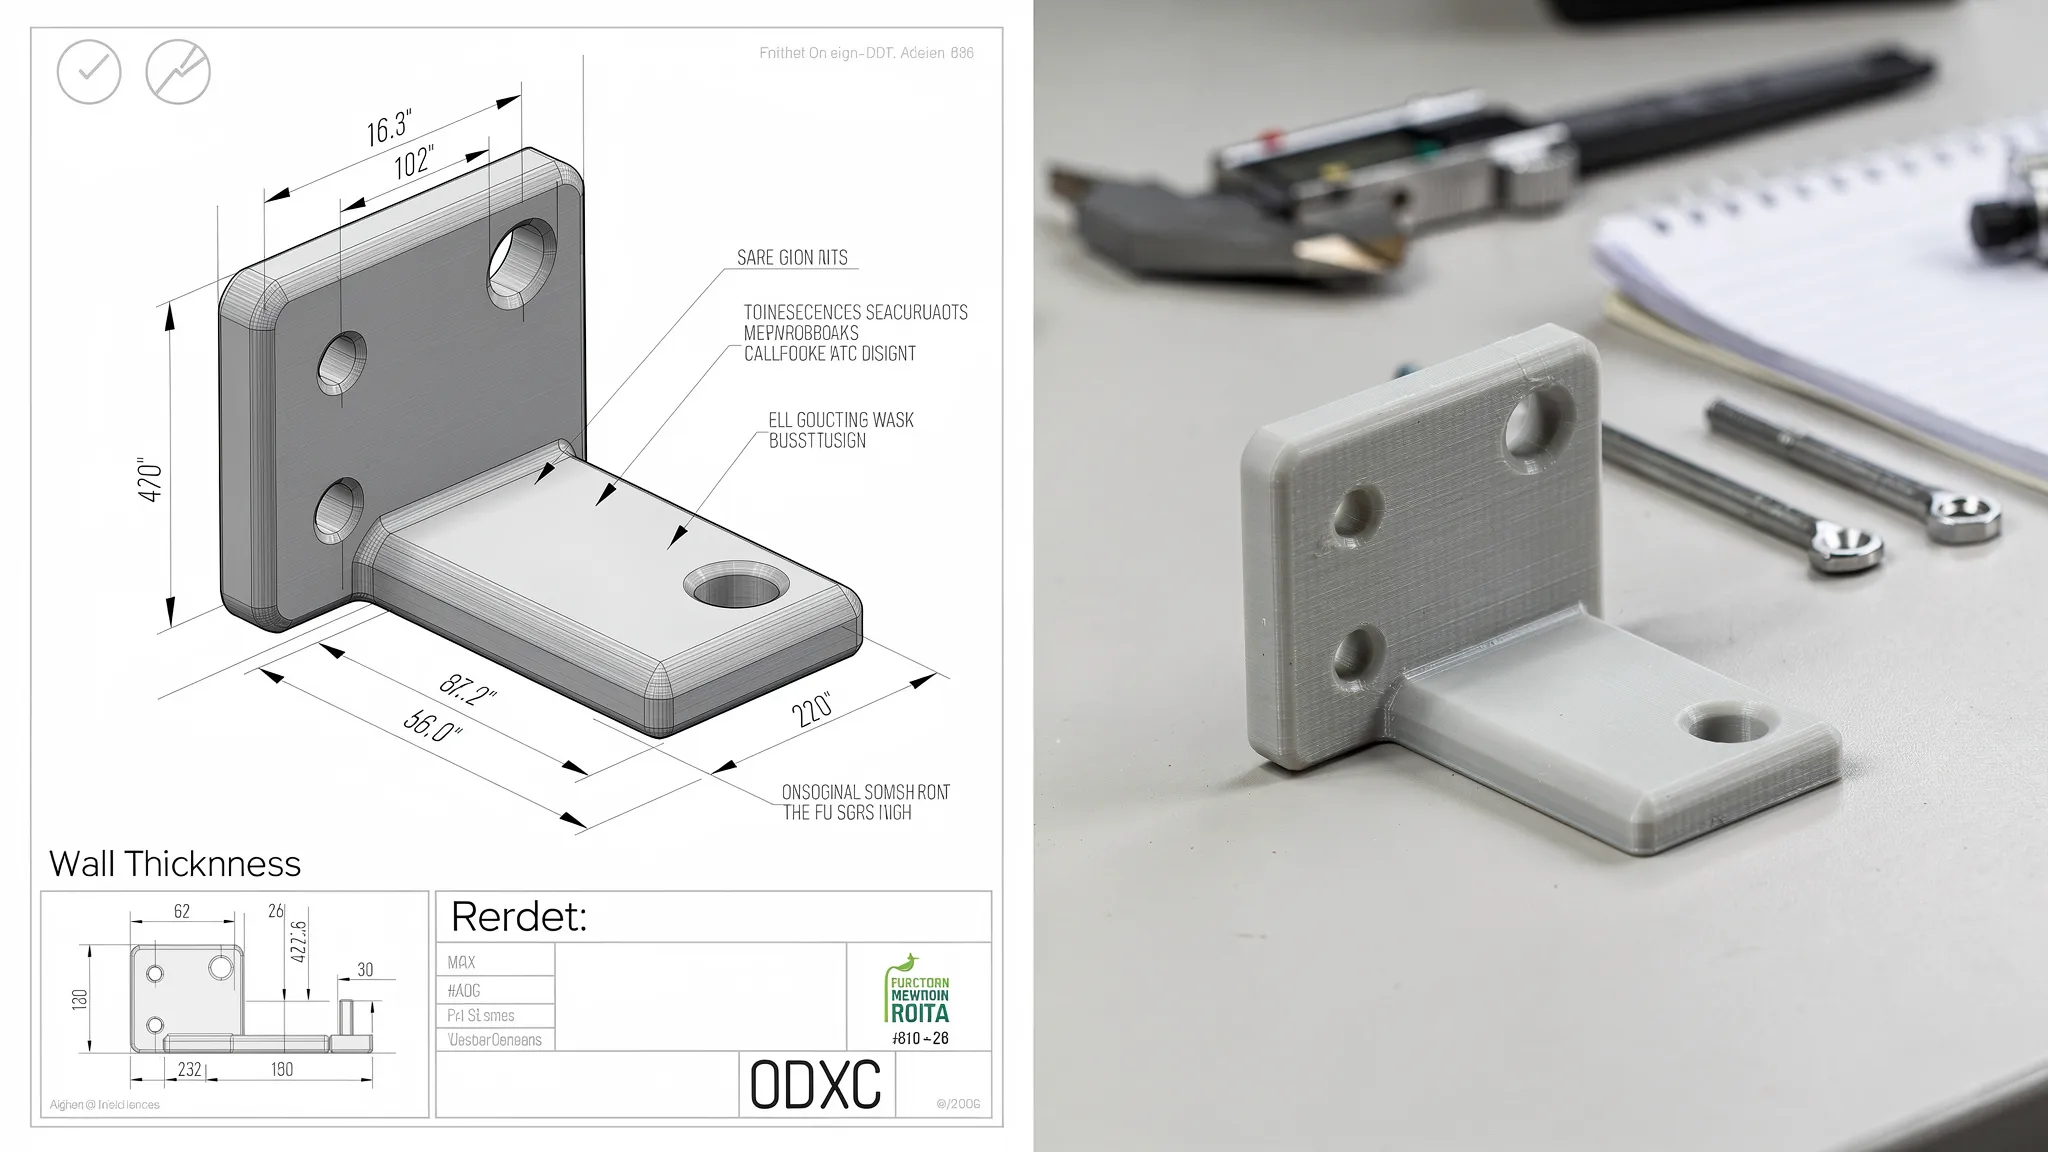
If a single dimension is critical, call it out. If all dimensions are critical, include a drawing, sketch, or annotated screenshot. Clear dimensions prevent back-and-forth and help your print provider check the file before material is used.
Design walls and details that can survive the real world
A 3D printer cannot reliably print infinitely thin edges. Every process and material has practical limits. A wall that looks elegant in CAD may become brittle, warped, translucent, or completely missing after slicing.
The right wall thickness depends on process, material, part size, and intended use, but these general starting points are useful:
| Feature type | Safer starting point | Notes |
|---|---|---|
| Small decorative resin details | 0.3 to 0.6 mm | Fine details may print, but they can be fragile |
| Resin walls for small display parts | 0.8 to 1.5 mm | Larger parts may need thicker walls or ribs |
| FDM decorative walls | 1.2 to 1.6 mm | Often aligns better with nozzle-based printing |
| FDM functional walls | 2.0 mm or more | Load, heat, and impact may require more material |
| Small pegs or pins | 2.0 to 3.0 mm or more | Add fillets where possible to reduce snapping |
| Raised or engraved text | 0.5 mm or more in depth or height | Readability depends on font, size, and process |
These are not universal rules. They are starting points. A tiny resin miniature, a large outdoor bracket, and a flexible TPU part all need different design choices.
Good files also avoid long, skinny features that connect at sharp corners. If a hook, clip, or tab needs strength, add fillets, widen the base, and think about the direction of force. Strength in 3D printing is not only about material. It is also about geometry and print orientation.
Build in tolerances for parts that fit together
Printed parts are physical objects, not perfect mathematical surfaces. Materials shrink, layers have texture, resin can slightly overcure, and FDM parts can vary based on nozzle, temperature, and orientation. If two parts are designed with zero gap, they may fuse, scrape, or fail to assemble.
For mating parts, add clearance. For critical fits, prototype first.
| Fit type | FDM starting clearance | Resin starting clearance | Practical note |
|---|---|---|---|
| Loose slip fit | 0.4 to 0.6 mm | 0.2 to 0.4 mm | Good for parts that should assemble easily |
| Snug removable fit | 0.2 to 0.4 mm | 0.15 to 0.3 mm | Test before committing to a large batch |
| Hinges or moving joints | 0.4 to 0.7 mm | 0.25 to 0.5 mm | Orientation and cleanup affect motion |
| Press fit | Test required | Test required | Depends heavily on material and geometry |
Clearance is not just about the printer. It also depends on whether the part will be sanded, painted, coated, or exposed to heat. A painted peg may no longer fit a hole that was perfect before finishing.
Design with the printing process in mind
A file that is excellent for one 3D printing method may be difficult for another. The same object can behave very differently when printed with filament, resin, or powder-based methods.
For FDM filament printing, consider layer direction, overhangs, support marks, and warping. Large flat parts with sharp corners can lift from the build plate. Tall thin parts may wobble or break along layer lines. Overhangs beyond roughly 45 degrees often need support, depending on the machine, material, and feature size.
For resin printing, think about support contact points, drainage, suction forces, and trapped liquid. Hollow resin parts usually need drain holes. Cup-like shapes can create suction during printing, which can damage the part or reduce accuracy.
For powder-based processes, enclosed cavities and trapped powder can be an issue. Parts that need moving joints or internal channels may require escape holes or design adjustments.
This is why a good 3D file is not only clean, it is process-aware. If you know the desired process or material, mention it. If you do not, describe what the finished part needs to do, and let the print provider recommend an option.
Keep mesh resolution high enough, but not excessive
Resolution affects surface quality. A low-resolution mesh can make curves look faceted, especially on cylinders, spheres, and organic shapes. On the other hand, an extremely dense mesh with millions of triangles can slow down slicing, make repairs harder, and increase file size without improving the final print.
A good export balances smoothness and practicality. Curved surfaces should look smooth at the intended print size. Flat mechanical faces should stay flat. Tiny decorative textures should be large enough for the chosen process to reproduce.
If the model is a mechanical part, keep a CAD source file if possible. Mesh files like STL are harder to edit accurately after export. For replacement parts, brackets, enclosures, and components with hole patterns, a STEP file can be valuable because it preserves design intent better than a triangle mesh.
Include context, not just the file
Even a technically clean file can fail to meet expectations if the goal is unclear. A display model, a functional prototype, and a production-ready part may need different materials, orientations, finishes, and quality checks.
Good digital workflows depend on structured information. That same principle shows up in other technology-driven systems, from collaborative manufacturing to civic participation platforms focused on transparent citizen decision-making. Better inputs lead to better outcomes because fewer assumptions are left to chance.
When sending a file for printing, include concise notes such as:
- Intended use, for example display piece, bracket, prototype, enclosure, miniature, or gift
- Final dimensions or at least one critical reference dimension
- Preferred material or performance needs, such as heat resistance, flexibility, outdoor use, or detail
- Cosmetic priorities, including which faces must look best
- Fit requirements for holes, pegs, lids, threads, magnets, screws, or bearings
- Quantity and whether all parts must match closely
- Any post-processing expectations, such as sanding, painting, priming, or assembly
- License or permission details if the model came from a designer or marketplace
That last point matters. A good 3D file is not only printable, it is allowed to be printed. If you downloaded a model, check the license before ordering a print, especially if the item will be sold, used commercially, or reproduced in quantity. Firecloud Printz also offers ready-made designer-authorized prints for customers who want a simpler route.
Red flags that a file may not print well
Some issues are easy to fix. Others are warnings that the model may need redesign before it becomes printable.
| Red flag | Likely problem | Better approach |
|---|---|---|
| File looks great but has no thickness | It was made for rendering, not manufacturing | Add real wall thickness and closed solids |
| Model imports extremely tiny or huge | Units were lost or misread | Confirm dimensions before printing |
| Thin spikes, whiskers, or antennae | Features may snap or fail to form | Thicken, simplify, or print separately |
| Huge polygon count with no visible benefit | File may be slow to slice or repair | Reduce mesh density while preserving shape |
| Multiple shells overlap inside the model | Slicer may create strange internal paths | Clean and merge geometry intentionally |
| No clearance between moving parts | Parts may fuse or scrape | Add process-appropriate gaps |
| No drain holes in hollow resin parts | Liquid may trap inside | Add drainage and cleaning access |
| Unknown license | Printing may violate designer rights | Verify permission or choose an authorized model |
A preflight checklist before you submit a file
Before uploading a model or requesting an estimate, run through this quick checklist:
- Open the file in a slicer or viewer and confirm it appears as expected
- Check that the scale and units are correct
- Verify at least one important dimension with a measurement tool
- Confirm the model is watertight and has no obvious mesh errors
- Inspect thin walls, small details, pins, hooks, and text
- Add clearances for parts that need to fit, slide, rotate, or snap together
- Consider support marks and which face should look best
- Remove hidden, duplicate, or unnecessary internal geometry
- Include all related files, textures, or assembly parts if needed
- Add notes about purpose, material, finish, quantity, and licensing
If you want a deeper step-by-step workflow, Firecloud Printz has a dedicated guide on how to prepare 3D files for 3D printing.
What if your file is not perfect?
You do not need to be a professional CAD designer to get something printed. Many files only need small adjustments, clearer dimensions, or a better material choice. The key is knowing when a file is close enough to review and when it needs real redesign.
Small mesh holes, minor scale questions, and simple orientation decisions are often manageable during the estimate and preparation stage. But zero-thickness surfaces, missing parts, unsupported functional features, and unclear dimensions can delay the job or require a revised model.
If you are unsure, send the file with a short explanation of what you want the finished print to do. Firecloud Printz supports custom 3D printing, multiple material options, quick order estimates, and high-detail prints, so the more context you provide, the easier it is to match your file to a successful result.
Frequently Asked Questions
What is the best 3D file format for a 3D printer? STL works well for many simple prints, but 3MF is often better when units and print-related metadata matter. STEP is useful for editable CAD and mechanical parts. The best format depends on the model, the printing process, and whether the file needs repair or modification.
Can any 3D model be printed? No. Many models are made for animation, games, or rendering and may not have solid geometry, wall thickness, or printable details. A model must describe a real physical object before it can reliably become a print.
How do I know if my file is watertight? Open it in a slicer, mesh repair tool, or 3D viewer and look for warnings about holes, non-manifold edges, flipped normals, or self-intersections. If the slicer preview shows missing walls or strange internal paths, the file likely needs cleanup.
How much clearance should I add between parts? For FDM, start around 0.2 to 0.6 mm depending on the fit. For resin, smaller clearances may work, often around 0.15 to 0.4 mm. Critical fits should always be tested because material, orientation, and finishing can change the result.
Do I need to choose a material before sending my file? Not always. If you know the material, include it. If not, describe the part’s purpose, environment, strength needs, and finish expectations so the print provider can recommend a suitable option.
Turn a clean file into a high-quality print
A good 3D file removes uncertainty. It has the right format, clear scale, solid geometry, printable wall thickness, realistic tolerances, and enough project context to guide production.
If you already have a file, Firecloud Printz can help turn it into a high-detail physical print. If you are still deciding between a ready-made designer product and a custom order, start at Firecloud Printz to explore options or request guidance for your project.