
Why “3D Printing Printing” Happens and How to Avoid Reprints
If “3D printing printing” sounds like a typo, it is also a surprisingly accurate way to describe one of the most frustrating problems in additive manufacturing: printing the same part twice because the first attempt failed, fit poorly, looked wrong, or missed the intended use.
Reprints are not always a sign that something went wrong. Prototyping is supposed to involve iteration. But unnecessary reprints waste time, material, budget, and momentum. For businesses, creators, hobbyists, and product teams, the goal is not to eliminate learning. The goal is to avoid preventable failures.
Most reprints happen before the machine ever starts. They begin with unclear requirements, unprintable geometry, the wrong material, missing tolerances, or assumptions that were never communicated. The good news is that a better preflight process can dramatically reduce the chance of needing to print again.
What Counts as a Reprint in 3D Printing?
A reprint is any second attempt made because the first printed part did not meet the goal. That goal might be cosmetic, dimensional, functional, or logistical.
For example, a part may technically finish printing but still need to be remade because a snap-fit is too tight, a wall flexes too much, the visible surface has support marks, or the material softens in a warm environment. In other cases, the print fails more obviously: warping, layer shifting, poor bed adhesion, resin support failure, or a broken thin feature.
That distinction matters. A failed print is easy to spot. A successful-looking print that fails in use is more expensive because the issue may not appear until after cleanup, assembly, shipping, or customer review.
Why 3D Printing Reprints Happen
3D printing is a chain of decisions. A problem at any point can force a reprint, even if every later step is done correctly. The model, material, orientation, supports, machine setup, post-processing, and end-use requirements all work together.
| Reprint cause | What it looks like | How to prevent it |
|---|---|---|
| Unclear purpose | The part prints well but is not strong, smooth, flexible, or accurate enough for the job | Define function, fit, finish, environment, and quantity before printing |
| Bad model geometry | Holes in the mesh, non-manifold edges, paper-thin walls, missing details, or unexpected gaps | Run a printability check before slicing or ordering |
| Wrong scale or units | A part prints too small, too large, or with mismatched mating features | Confirm units, key dimensions, and reference measurements |
| Poor material choice | The part cracks, warps, melts, absorbs moisture, or lacks flexibility | Match material to heat, load, appearance, and use conditions |
| Weak orientation | A functional part breaks along layer lines or a cosmetic face shows support scars | Choose orientation based on strength and visible surfaces |
| Support problems | Sagging, scars, failed overhangs, resin islands, or broken fine details | Adjust angles, add supports thoughtfully, or redesign for fewer supports |
| Printer setup issues | Poor first layer, layer shifts, under-extrusion, zits, blobs, or failed adhesion | Calibrate, clean, dry material, and monitor the start of the print |
| Missing tolerance plan | Assemblies are too tight, too loose, or impossible to fit together | Design clearances for the printing process and test critical fits |
| Post-processing surprises | Sanding removes detail, curing changes fit, or support removal damages features | Plan finishing steps before printing and protect critical geometry |
The Root Problem: Starting Before Defining Success
The most common reason for reprints is not a bad printer. It is an undefined target.
Before printing, you should be able to answer a few practical questions. What does the part need to do? Which surfaces will people see? Does it need to fit another object? Will it be indoors, outdoors, warm, wet, or under load? Is this a display piece, a prototype, a replacement part, a sales sample, or a production run?
Without those answers, a print can only be judged after the fact. That is how “looks good” turns into “doesn’t work.”
This is especially important for businesses using 3D printing for product launches, trade shows, prototypes, packaging tests, or promotional displays. A reprint can delay photography, sales demos, or campaign timing. If printed assets are tied to advertising or ecommerce plans, keep print approval dates in the same launch calendar you use with a data-driven digital marketing partner like Realisma, so production and promotion stay aligned.
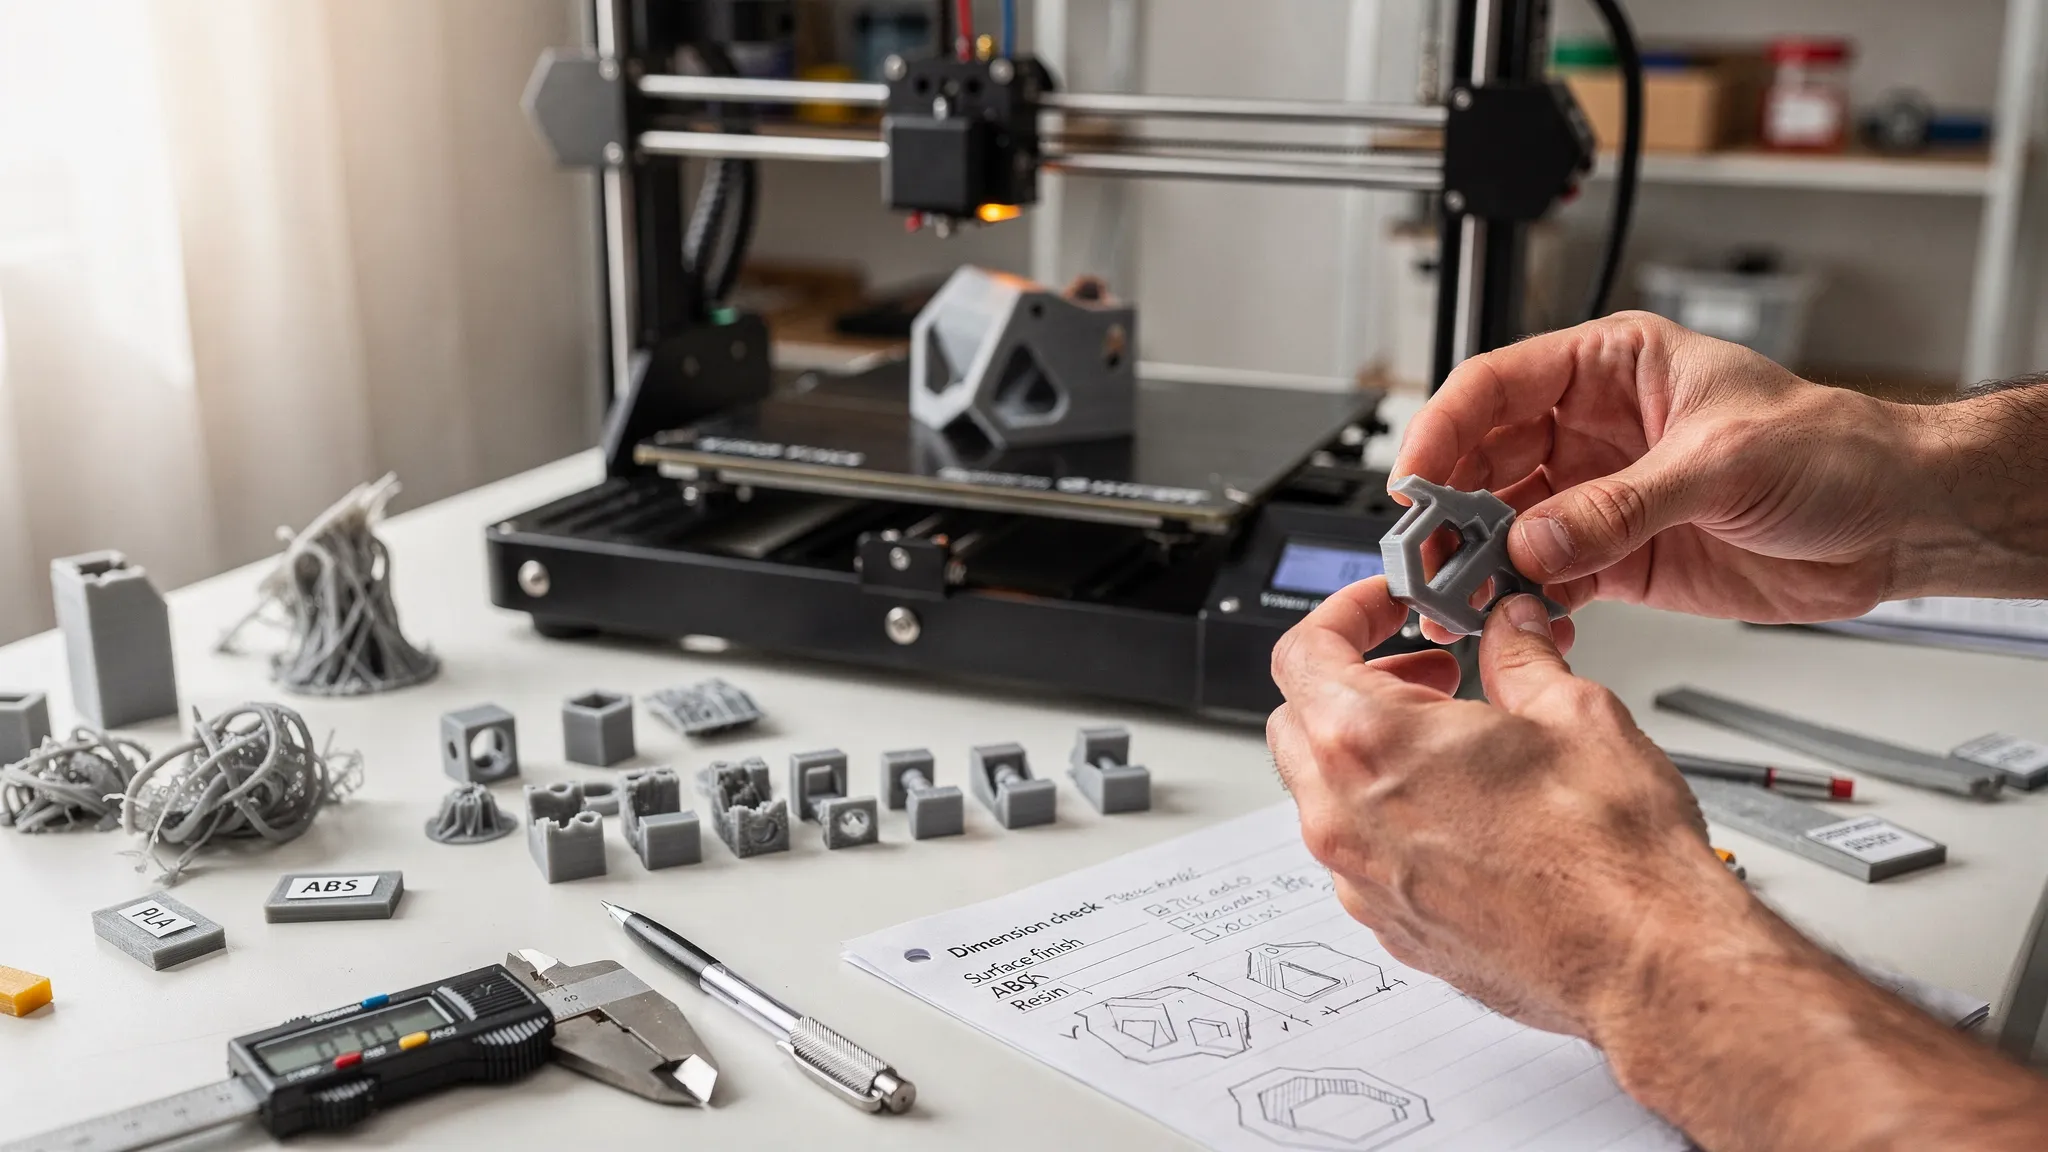
Preflight the File Before You Print
A 3D model that looks perfect on screen may still be difficult or impossible to print. Digital models do not automatically obey the physical limits of a printer, material, or finishing method.
Start with model integrity. The file should be watertight, manifold, correctly scaled, and free from accidental internal geometry. If you are downloading a model, check whether it was designed for printing or simply made for rendering. A beautiful display mesh can hide thin walls, unsupported details, and geometry that slicers interpret unpredictably.
Wall thickness deserves special attention. Thin walls may disappear, flex, crack, or print inconsistently. Small pins, horns, clips, text, and decorative edges often look sturdy on screen but become fragile in real life. If the feature matters, make it thick enough for the selected process and material.
Clearance is another major reprint trigger. Hinges, lids, sockets, sliding parts, and snap-fits need intentional space between mating surfaces. A gap that works in one process may not work in another. Resin, FDM, and powder-based processes all behave differently.
If you are still choosing or preparing a model, Firecloud Printz has a practical guide on how to choose a 3D model for 3D printer success. It is especially useful when comparing downloaded files, custom designs, and remix-ready models.
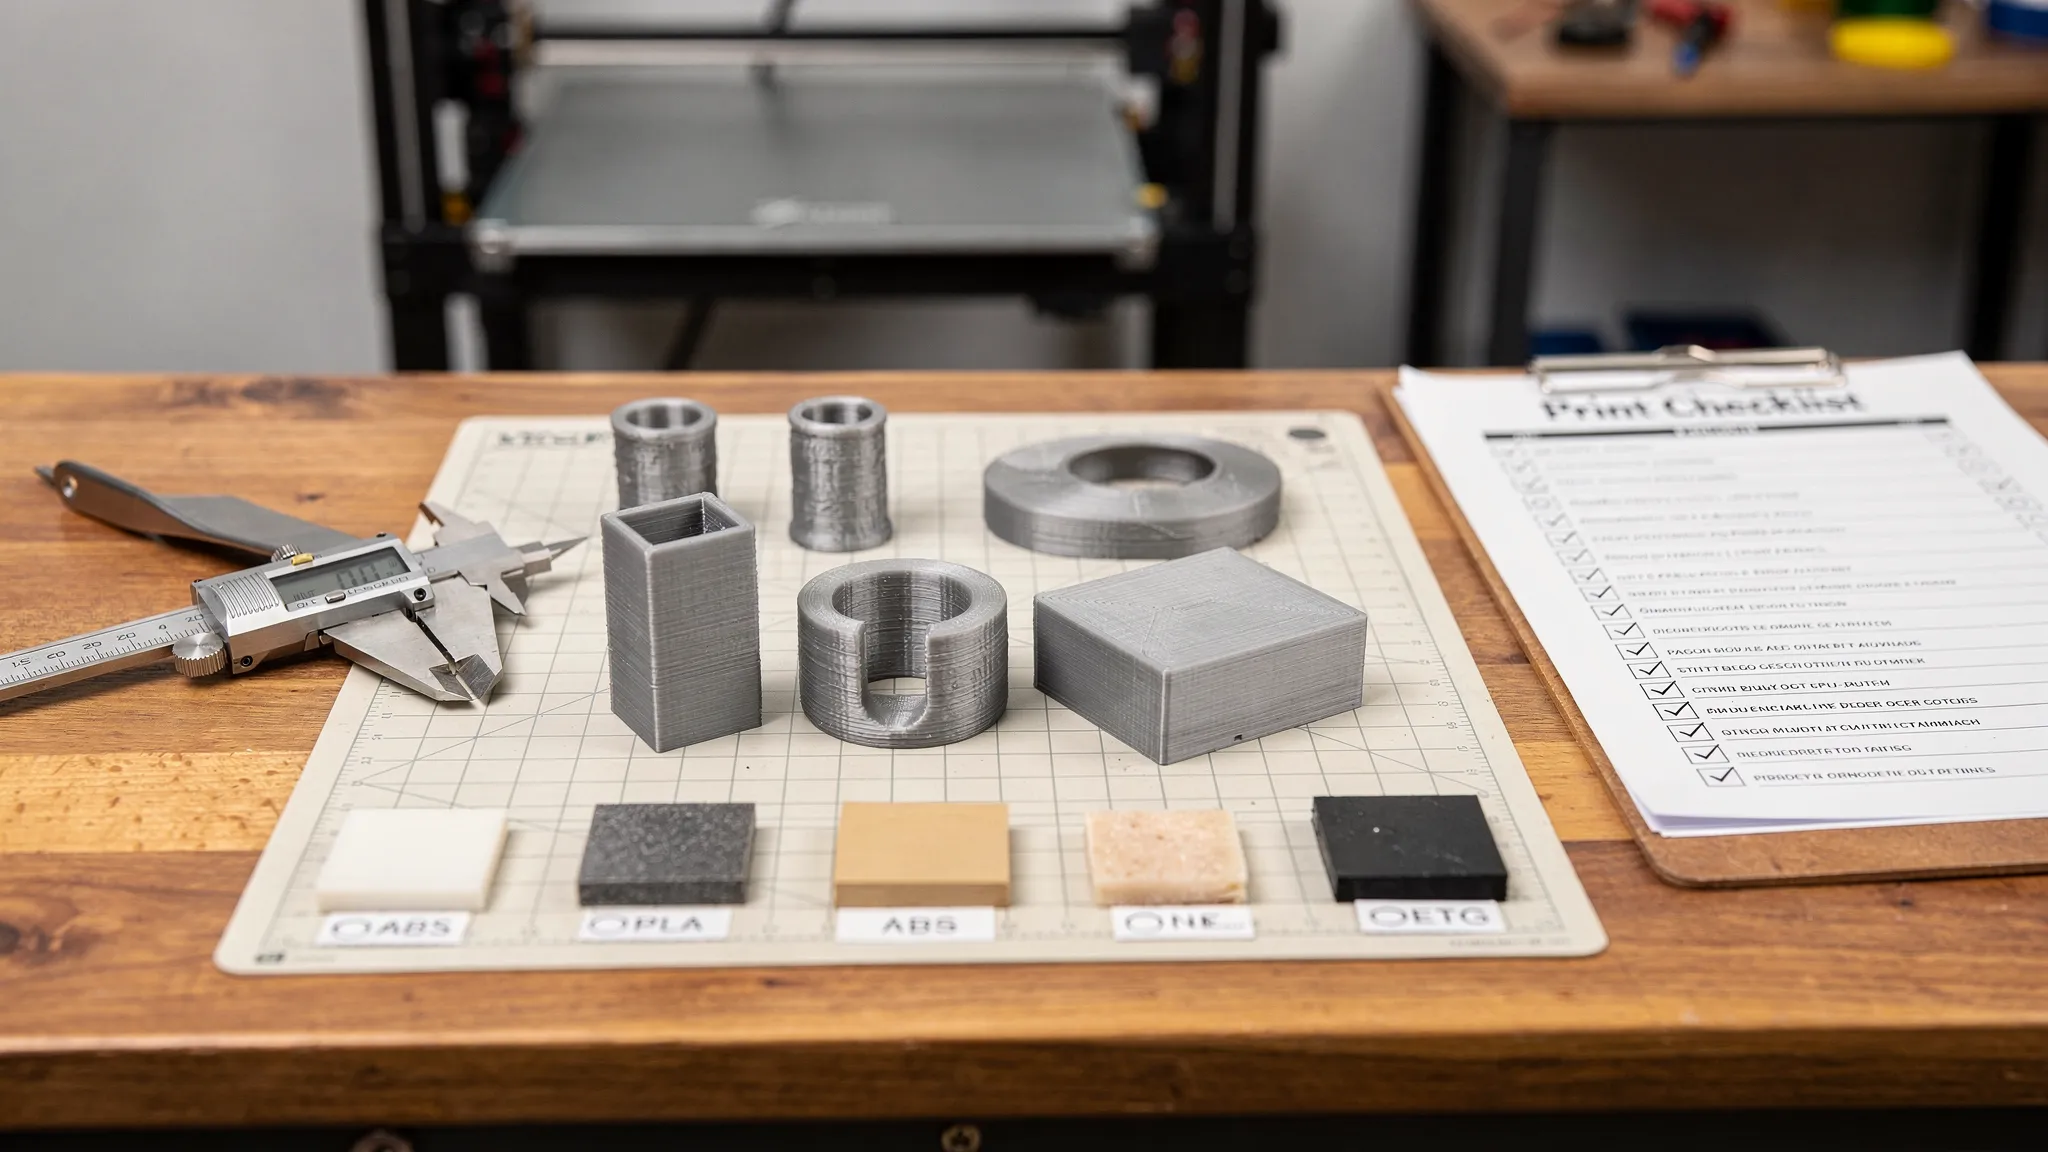
Match the Material to the Job, Not Just the Look
Material selection is one of the easiest ways to avoid reprints. Many failed parts are not printed badly. They are printed in a material that was never right for the job.
PLA can be excellent for display pieces, prototypes, organizers, and many low-stress indoor items. But if a part will sit in a hot car, handle repeated flexing, or experience impact, another material may be more appropriate. PETG, ABS, ASA, TPU, nylon, engineering resins, and specialty materials each bring different tradeoffs in durability, flexibility, heat resistance, surface finish, and print complexity.
The best material is not always the strongest material. It is the material that matches the use case. A rigid material may crack where a flexible one would survive. A highly detailed resin may be ideal for miniatures but unsuitable for a large impact-loaded bracket. A weather-resistant material may matter more than fine surface detail for outdoor parts.
Ask yourself what failure would look like. Would the part bend, crack, melt, deform, wear down, or simply look too rough? Once you know the failure mode, material selection becomes much easier.
Use Orientation to Control Strength and Appearance
Orientation is not just about fitting the part on the build plate. It affects strength, surface quality, supports, dimensional accuracy, and post-processing.
For FDM printing, layer lines create directional strength differences. A hook, clip, bracket, or hinge printed in the wrong orientation may snap along layers even if the material itself is strong. For resin printing, orientation influences suction forces, support placement, drainage, and visible marks. For display pieces, the best orientation is often the one that hides support contact points from the main viewing angle.
A good orientation balances three priorities: the part must print reliably, the critical surfaces must come out clean, and the load-bearing features must be positioned for strength. Sometimes that means splitting a model into multiple pieces, adding alignment features, and assembling it after printing.
For deeper design guidance, especially around supports and overhangs, see Firecloud Printz’s guide to 3D designs for 3D printer supports, overhangs, and tolerances.
Avoid Reprints During Machine Setup
Even a perfect file can fail if the printer setup is not ready. Machine condition, material handling, calibration, and first-layer behavior all matter.
For filament printing, moisture is a common hidden issue. Wet filament can cause popping, stringing, weak layers, rough surfaces, and inconsistent extrusion. Bed adhesion is another frequent reprint cause. If the first layer is too high, the part may detach. If it is too low, details can smear and dimensions can distort.
For resin printing, support strategy and cleanliness are critical. Weak supports may let the part detach mid-print. Poor drainage can trap resin inside hollow parts. Incomplete washing or curing can affect surface quality, fit, and long-term stability.
The first few minutes of a print are worth watching. Many reprints can be avoided by stopping early when the first layer, raft, brim, or supports are clearly wrong. It is better to cancel a bad start than discover a preventable failure hours later.
| Symptom | Likely issue | First thing to check |
|---|---|---|
| Corners lift or curl | Warping or poor bed adhesion | Bed temperature, surface cleanliness, brim, enclosure, material choice |
| Stringing between features | Oozing or wet filament | Retraction settings, nozzle temperature, filament dryness |
| Layers shift sideways | Mechanical slip or impact | Belt tension, pulleys, obstructions, print speed |
| Thin details break | Feature too small or poorly oriented | Minimum thickness, material, support placement, orientation |
| Part fits too tightly | Clearance too small or surface swelling | Tolerance values, elephant foot, post-processing, scale |
| Resin print detaches | Support or exposure issue | Support density, contact size, orientation, resin settings |
| Surface has scars | Support contact or poor orientation | Rotate part, move supports, split model, choose different finish |
Test Critical Features Before Printing the Whole Thing
A small test print can save a large reprint.
If the project includes a snap-fit, hinge, press-fit, threaded insert, sliding rail, lid, peg, socket, or tight assembly, print only that section first. This is much faster than printing a full-size object just to learn the tolerance is wrong.
Test coupons are useful for finish decisions too. If color, layer height, surface texture, or resin detail matters, print a small representative section before committing to a large piece or batch. This is especially helpful for custom gifts, display models, cosplay parts, product samples, and branded pieces.
A test is not a waste. It is a controlled way to learn before the expensive print begins.
Communicate Better When Ordering Custom 3D Prints
When working with a 3D printing service, the file is only part of the order. The more clearly you describe the intended outcome, the easier it is to avoid reprints.
A useful custom print request should include:
- The 3D file, preferred format, and revision name
- Overall dimensions and any critical measurements
- The part’s intended use, such as display, prototype, fixture, replacement, or gift
- Material preferences, color preferences, and finish expectations
- Surfaces that must look clean or remain support-free if possible
- Holes, slots, threads, clips, or mating features that must fit another part
- Quantity, deadline, and whether a prototype should be approved before a full run
- Photos, sketches, or measurements of any object the print must interact with
This kind of detail gives the print provider room to flag risks before production. For example, a service may notice that a part is too thin, a detail may not survive support removal, or a material choice may not match the environment.
Firecloud Printz supports custom 3D printing, ready-made designer products, quick order estimates, high-detail prints, multiple material options, secure online ordering, and customer support. If you are unsure whether your file is ready, sharing the intended use along with the model helps the team understand what success should look like.
Keep Revision Control Simple
Reprints become confusing when nobody knows which file was printed. This is common when models are revised quickly, especially during product development or custom design work.
Use clear filenames and avoid sending multiple versions with vague labels like “final,” “final2,” and “real-final.” Include the date, version number, and a short description. For example, “bracket-v03-2026-04-27-larger-holes.3mf” is much easier to track than “bracket-new.stl.”
If a test print fails, record why. Was the hole too small? Did the clip break? Was the surface too rough? Change one or two things at a time so you can tell what improved the result. Random changes make reprints less useful because you lose the lesson from each attempt.
When a Reprint Is Actually the Right Move
Avoiding unnecessary reprints does not mean accepting a bad part. Sometimes printing again is the responsible choice.
A reprint is worth it when the part does not meet the defined requirements, the fit is unsafe, the material is unsuitable, the finish does not match the agreed standard, or a design change would clearly improve performance. This is normal in prototyping, where each version brings the design closer to the final outcome.
The key is to separate learning reprints from avoidable reprints. A learning reprint answers a question. An avoidable reprint repeats a mistake that could have been caught earlier.
A Simple Reprint-Prevention Workflow
You do not need a complicated quality system to reduce reprints. A consistent workflow is enough for most custom, hobby, and small-batch projects.
Before printing, confirm the goal, inspect the file, choose the material, plan the orientation, and identify any high-risk features. For functional parts, test the critical fit before printing the full object. For cosmetic parts, decide which surfaces matter most. For batches, approve one sample before producing the rest.
After printing, inspect the part against the original goal rather than against a vague idea of “good.” Measure critical dimensions. Test fit before finishing if possible. Photograph issues so they can be discussed clearly. If changes are needed, update the model version and document the reason.
This approach turns 3D printing from guesswork into a repeatable process.
Frequently Asked Questions
Why does my 3D print look good but still need to be reprinted? A print can look successful but fail the actual requirement. Common reasons include poor fit, weak orientation, wrong material, rough support marks on visible surfaces, or missing tolerances for moving parts.
How can I avoid reprints when ordering from a 3D printing service? Send the file, dimensions, intended use, material preferences, finish expectations, and any critical fit details. If the part must connect to another object, include measurements or photos of that object.
Should I print a prototype before the final version? Yes, if the part has critical fit, strength, or appearance requirements. A small test piece or first article can prevent wasting time and material on a full-size reprint.
What file problems cause the most reprints? Non-manifold geometry, incorrect scale, thin walls, missing clearances, unsupported overhangs, and models designed for rendering instead of printing are common causes.
Is a reprint always a bad thing? No. Reprints are part of healthy iteration when they answer a design question. The problem is preventable reprints caused by unclear requirements, poor file prep, or mismatched materials.
Bring Your Next Print to Life With Fewer Surprises
Reprints happen, but most do not have to. A better file check, clearer requirements, smarter material choice, and early communication can save time, cost, and frustration.
If you want help turning a digital design into a clean, detailed physical print, Firecloud Printz can support custom orders, ready-made designer-authorized products, and quick estimates. Share your file, your goal, and any critical details, and start your next print with fewer unknowns.